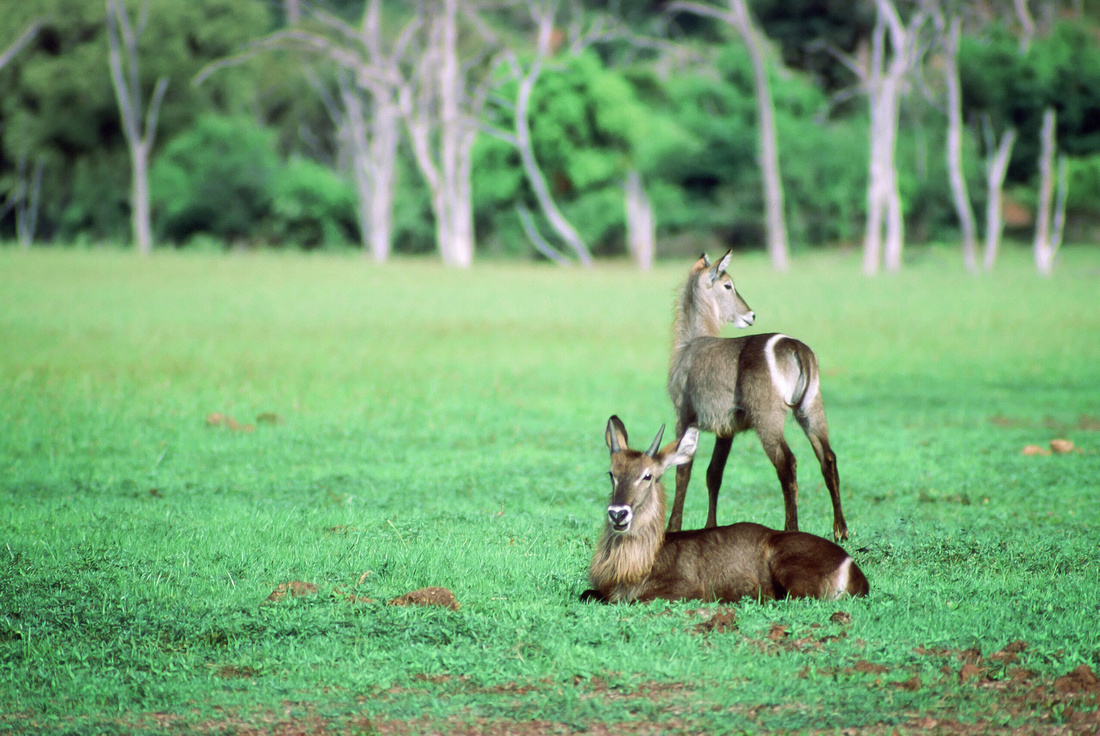
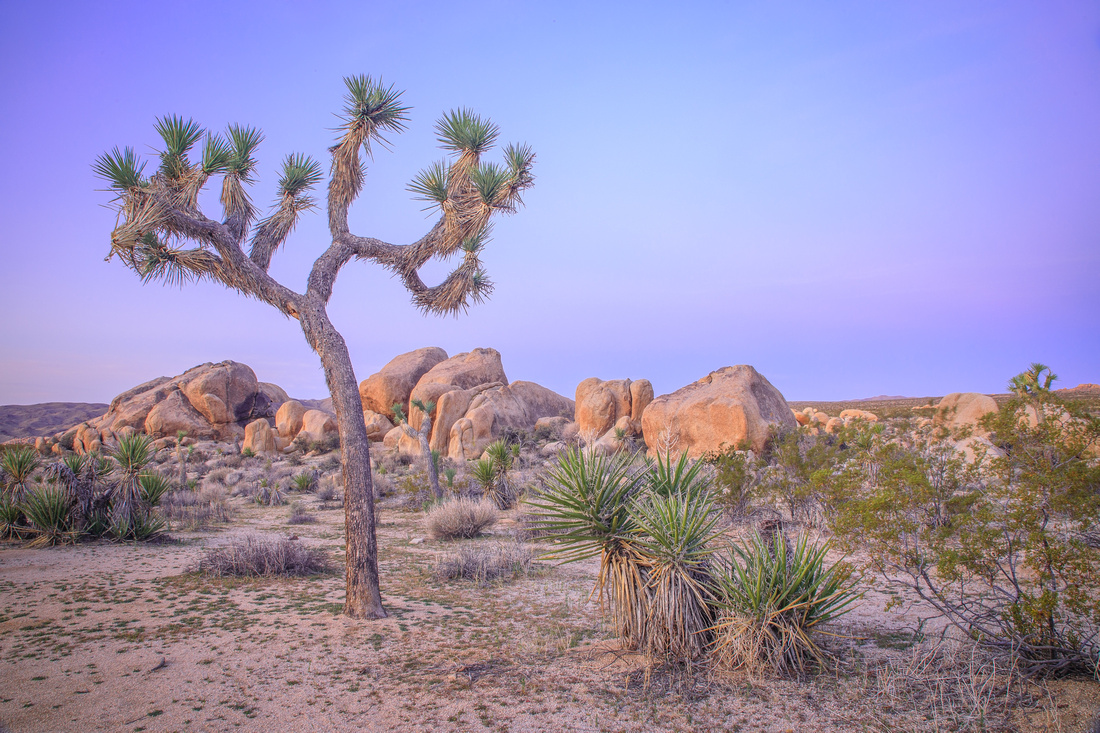
A throwback to Velvia
A throwback to Velvia
Text and photos by Heather Cline
If I haven’t mentioned this twenty times in previous posts, my foray into photography started before the digital age truly took off. I learned all about film and how each brand and formula produced different results. Like many photographers, I learned using black and white film but quickly incorporated color slide film like Kodachrome, Ektachrome, and my favorite, Fuji Velvia. Velvia was known for producing rich, vivid colors that made your images pop. It was my “go to” for landscape images and even wildlife.
|
|
With the transition into digital photography, the unique characteristic each film brought to the table of film seem to fade away but the desire to achieve that same look did not. To my knowledge, there is no perfect replication for Velvia, but that doesn’t mean you can’t try! I did some research to see how I might recreate the look using Photoshop or Lightroom and thought I would share some results here.
|
Saguaro Cactus, Oregon Pipe Cactus National Monument - digital image with settings adjusted to mimic Velvia |
Even scanned images shot with Velvia won't look exactly like they do on the slide because color shifts can occur during the scanning process.
|
|
Interested in creating this look for yourself? Here’s a few steps you can follow using Photoshop – and tweak along the way to make it your own:
1. Open the image in Photoshop. (I always start with a RAW image and recommend doing the same for best results.)
2. Make these adjustments as needed:
a. White Balance = Daylight
b. Clarity = +25
c. Saturation = +20
d. Camera Calibration = Camera Landscape
e. Create a Hue/Saturation layer
i. Master Channel Hue = +2, Saturation = +15
ii. Yellow Channel Hue = + 3, Saturation = +4, Lightness = -8
iii. Blue Channel Saturation = +12, Hue = -4
f. Create a new duplicate layer, and while in this layer:
i. Go to Filter > Noise > Reduce Noise
ii. Strength = 4
iii. Preserve Details = 60%
iv. Color Noise = 35%
g. Create another duplicate layer, and while in this layer:
i. Change Blending Mode to Overlay
ii. Go to Filter > Other > High Pass
iii. Radius = 1.5
h. Flatten Image
|
|
If you have Velvia slide images, you can compare against a digital image and adjust the "formula" to suite your taste.
 Hot Air Balloons, Velvia film scan Hot Air Balloons, Velvia film scan Hot Air balloons - scanned image shot with Velvia film, 50 IS
 |
Its a fun and easy project that will make you wanting to go through digital images to see which ones would benefit from a Velvia makeover.
|
|
That's it! I hope this post brightened your day as much as Velvia has brightened my photographic life. See you at the next post!


