Tips for photographing fog
The Fog Blog
Text and photos by Heather Cline
If you've ever looked outside and felt a depressed by a blanket of fog, this post will convert you to a fog photographer! Fog is a gift from nature that we don't see every day. That is part of what makes it so special. But it's also special because of the wonderful effects it has on images. This post is also about fog, planning for it, how it impacts your images, and tips for maximizing on its positive attributes.
1. Planning For Fog
Predicting or locating fog is easier when you understand the conditions in which it occurs. There are two ways fog forms: when moisture moves over a large body of water - or - when air that is carrying a lot of water vapor cools down such as when overnight temperatures drop in winter. While fog can occur any time of the day, it is often more common in the morning. Fog is also common when conditions are cool and rain has recently occurred.
You can use a weather app, like WeatherPro to help determine if foggy conditions are in your future. Look for this combination to determine if you might have foggy conditions in the morning.
- Low temperature
- High Humidity: the closer to 100% this is, the more water vapor is in the air
- High Pressure: anything close to 1020 millibars (mb) is considered high
2. Fog's Impact On Photos
Fog can make for some dramatic images, but it can also create challenges for the photographer.
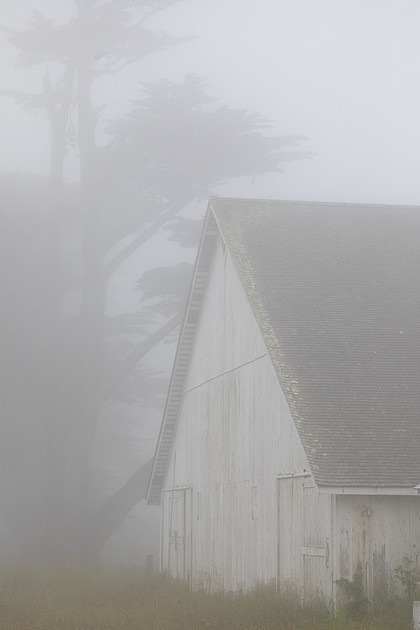
- You will often experience reduced contrast within the scene. You can embrace this effect:
- Or, you can make some adjustments in the field to increase contrast, including setting to the smallest aperture and fastest shutter speed you can, given the lighting conditions. You can also make some post-processing adjustments, such as increasing contrast or dehaze in your processing software.
- Visibility may be reduced when looking through your camera’s viewfinder. This can make it difficult for your camera to achieve focus. If the fog is moving, consider walking around the scene, or simply 'waiting it out' to see if you can get improved visibility. You can also set your camera to manual focus. If you are having trouble determining if the subject is in focus for manual focus, try turning on live view and zooming in to fine tune focus.
3. Tips For Photographing Fog
- Using a tripod will give you the ability to shoot at lower ISO's and faster shutter speeds while maintaining good depth of field. Consider apertures in the range of f8 - f11.
- Fog is basically tiny particles of water and as you are shooting, these can collect on the front lens element which will interfere with sharp images. Carry a lens cleaning cloth to keep it high and dry!
- Test out different white balance settings. Fog can produce a more blue-ish cast so you may want to compensate for this by setting your white balance to shade or cloudy.
- Fog will disperse light evenly. Depending on where the sun is located and how much it is able to permeate the fog (or is obscured) you may end up with over or under exposed images. Check your exposure and compensate as you are shooting.
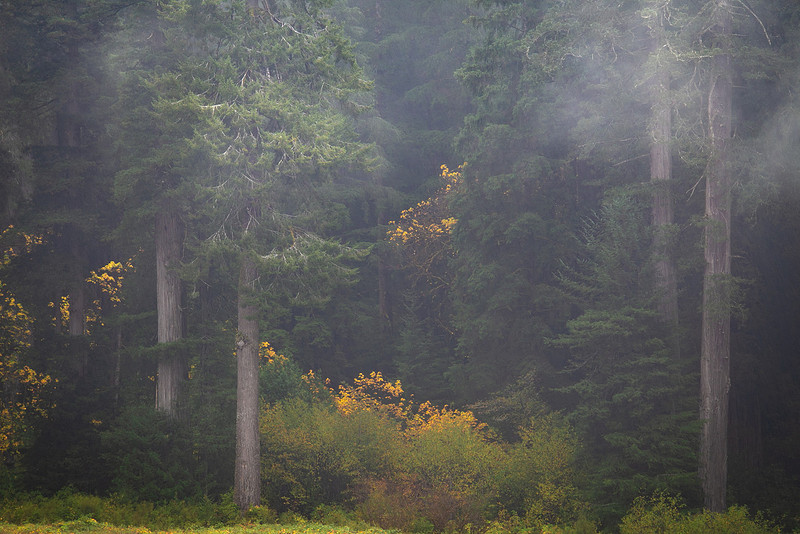
- If the sun is breaking through the fog, this can create beautiful light rays. To capture these best, make sure the sun is behind your subject.
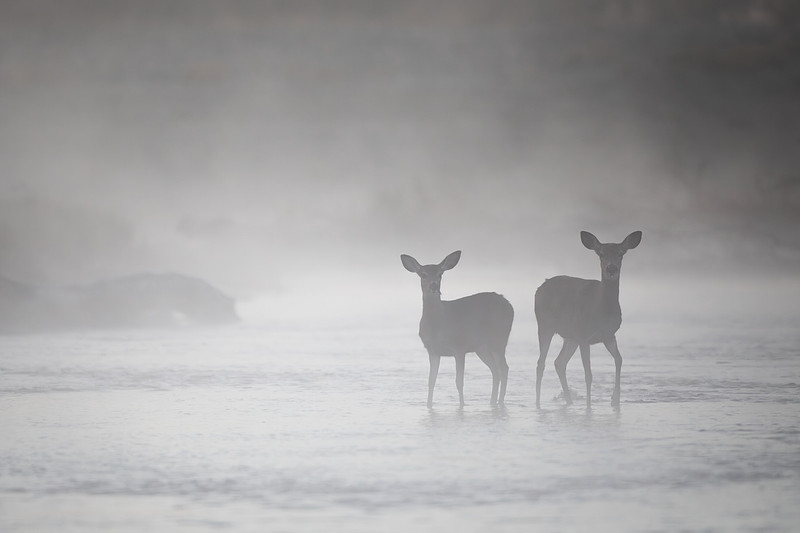
- Fog can also create stunning silhouettes. Try underexposing slightly to capitalize on this effect.
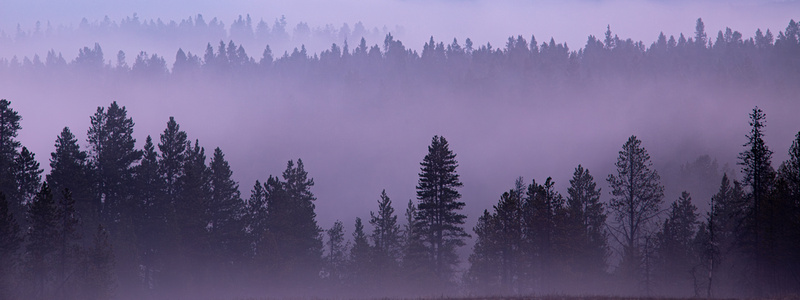
- When the opportunity presents itself, incorporating multiple layers from the foreground to the background will help to create depth.
The season is primed and ready to create fog - all for your convenience - so I encourage you to get out there and capture something unique. I'd love to hear how these tips worked out for you. Happy shooting!


