"V" is for viewpoint.
There is more to getting a great photograph than just holding your camera up to your face and taking the shot. Set aside the need to understand exposure, focus, and all those pesky rules of composition. While those are all important, it is equally important to understand your viewpoint. Where should the camera be placed relative to your subject to achieve the best photograph?
The answer may have you investing in yoga. Just kidding! But, there are times when you just have to press your face to the ground to get the shot just right.
Here are some images I have taken from different viewpoints and why I chose each.
#1 Look up
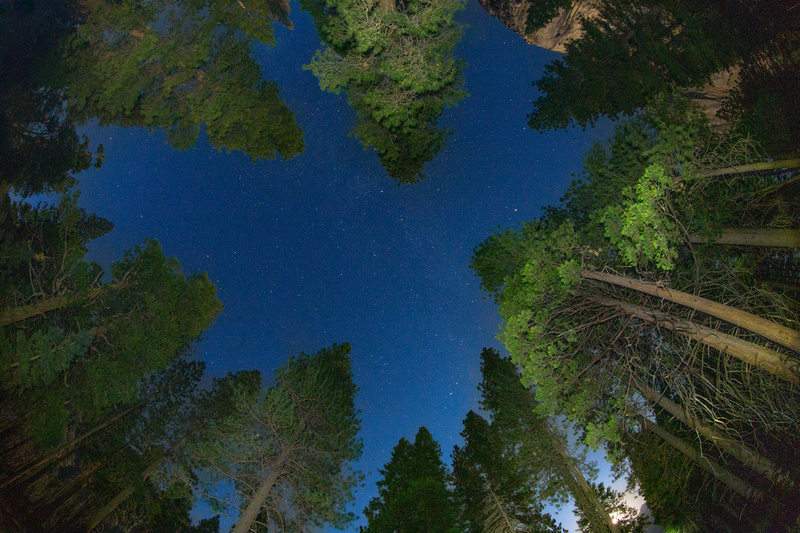 
Yosemite National Park has been photographed by millions of people for nearly a century, so finding a unique image can be challenging. Looking straight up can create interesting possibilities. Using a wide-angle lens helps tremendously. This was shot at night while I light painted the trees with a flashlight.
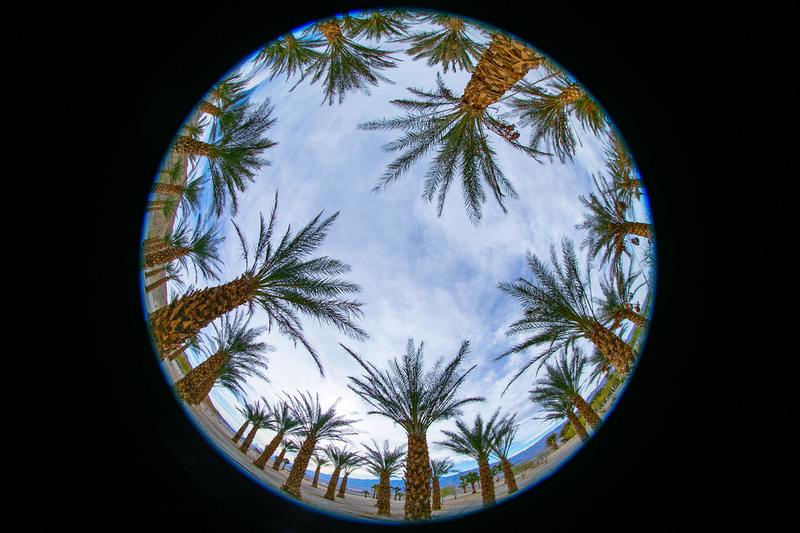 
Using a fisheye lens will allow you to go a step further when looking up by capturing a near 360-degree view. This photo was taken in a newly planted palm grove in Death Valley, at 8mm. It doesn't get much more wide angle than that!
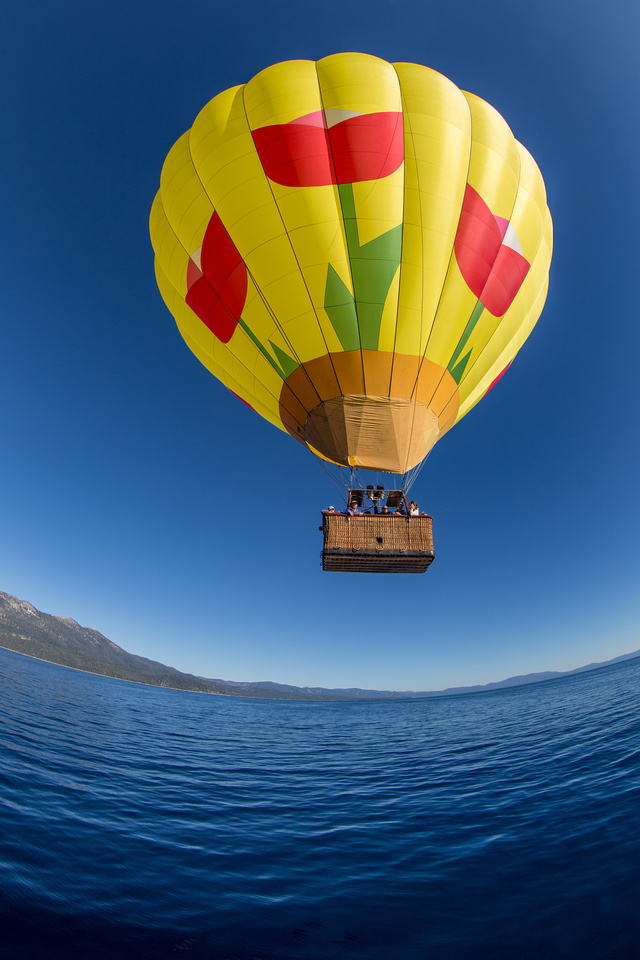 
Looking up doesn't mean the foreground doesn't matter. I included this photo because the fact that it looks like I am shooting it from the water is unique, and because I'll include another shot for my "looking down" viewpoint from this same balloon.
|
#2 Look down
 
With the explosion of drone photography, this type of viewpoint is becoming more common, for good reason. It is still a viewpoint we don't see every day which makes it more interesting. This image is directly above Taylor Creek in Lake Tahoe, and you can see the shadow created by the hot air balloon near the center.
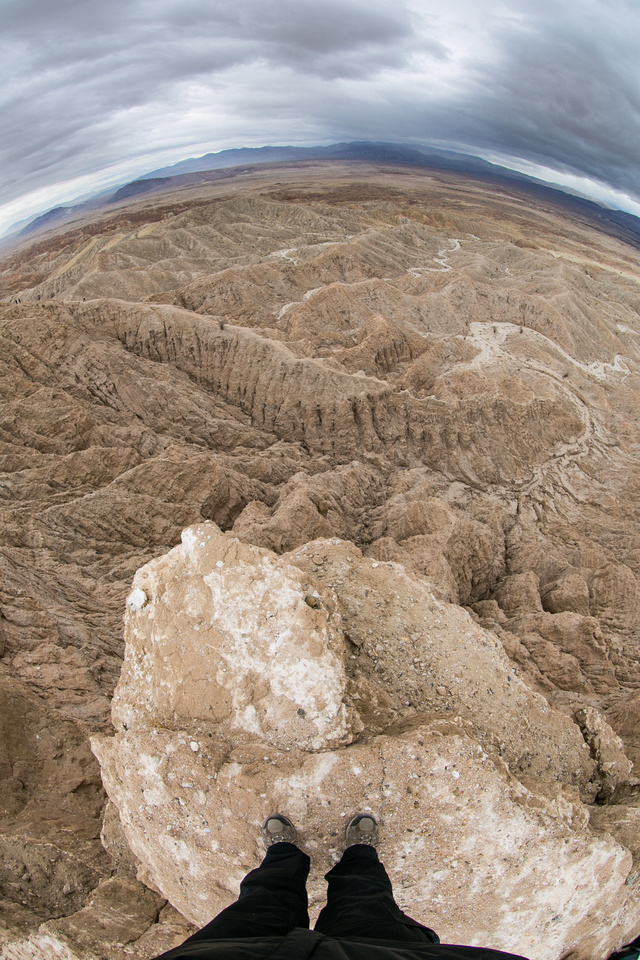 
Shooting downwards with an extreme wide-angle lens can alter reality. While scouting for the following morning's sunrise shot at Fonts Point in Anza Borrego, I was having a little fun with my fisheye lens. I was standing close to the edge of a fairly high drop-off, but the viewpoint makes it seem a little more precarious than it was in reality.
|
#3 Look ahead
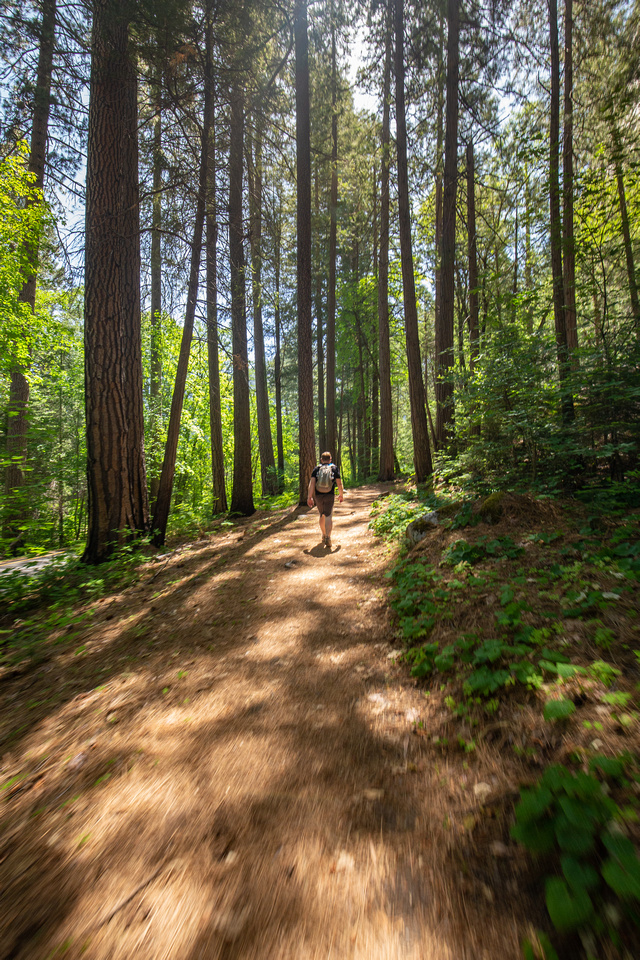 
Look ahead is a little different than an eye level shot in that you are moving with the camera to create a sense of motion/movement. These take a little experimentation. I was hiking with my husband this summer and asked him to walk ahead of me so I could practice, and he figured it was the easiest modeling job he would have all day, so he obliged!
|
#4 Look through a "frame"
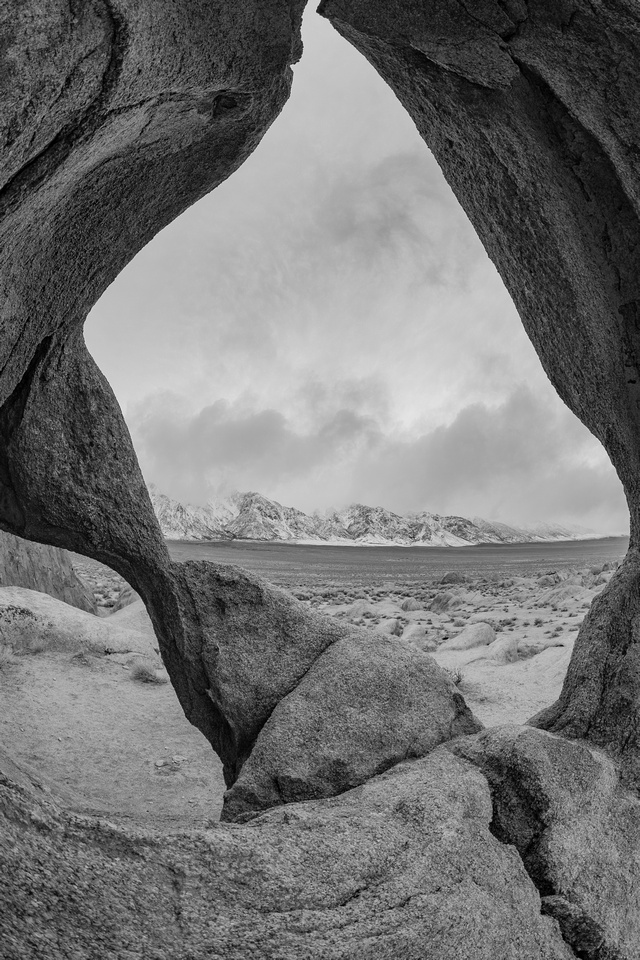 
This is Cyclops Arch in the Alabama Hills, an area known for having over 400 arches. This arch is large enough that you can sit inside it, creating a frame for the landscape. Using foreground subjects to create a frame for the landscape is great way to create more visual interest in the photo and to give a sense of place.
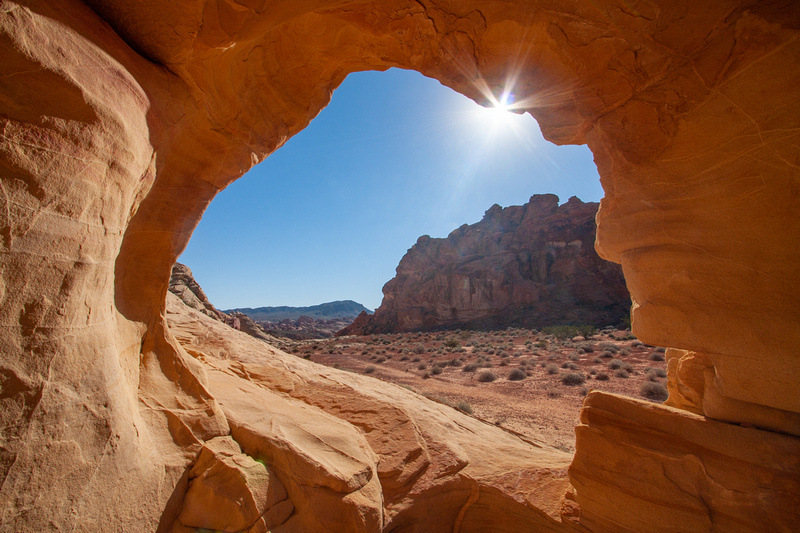 
Here is another framed image created by a small cave in Valley of Fire State Park.
|
#5 Eye level
 
Wildlife is typically best photographed at eye level because it gives the viewer a better sense of their world from their vantage point. It also allows you to include some of the environment they live in.
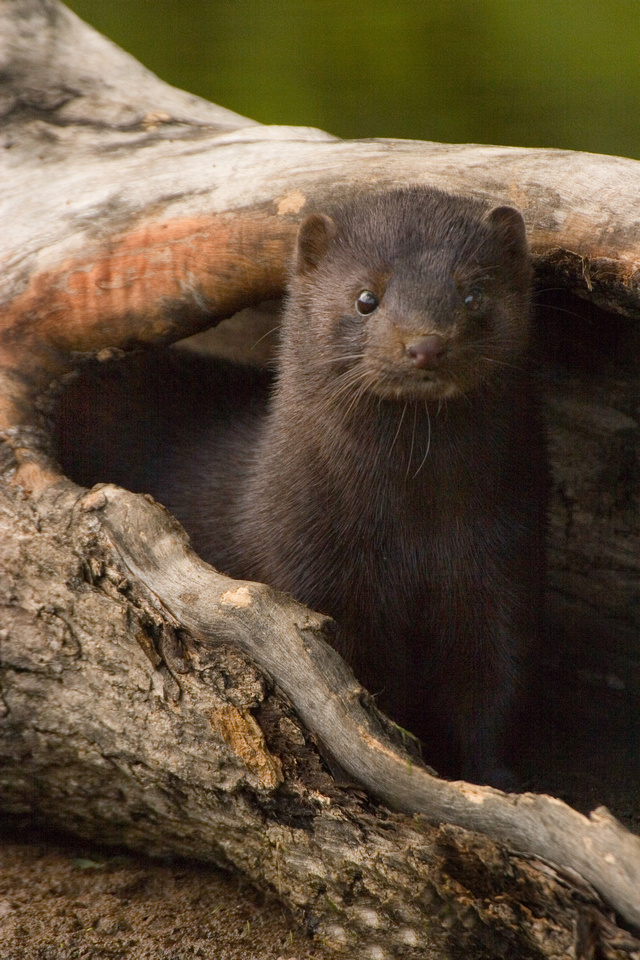 
Smaller animals require that you get closer to the ground so you can achieve that eye level shot. When I photograph wildlife, I am typically shooting at very wide apertures, which decreases to the plane of focus. Shooting eye level allows me to keep the subject in focus, something I could not have done if I had taken this from up above.
|
#6 Wide angle
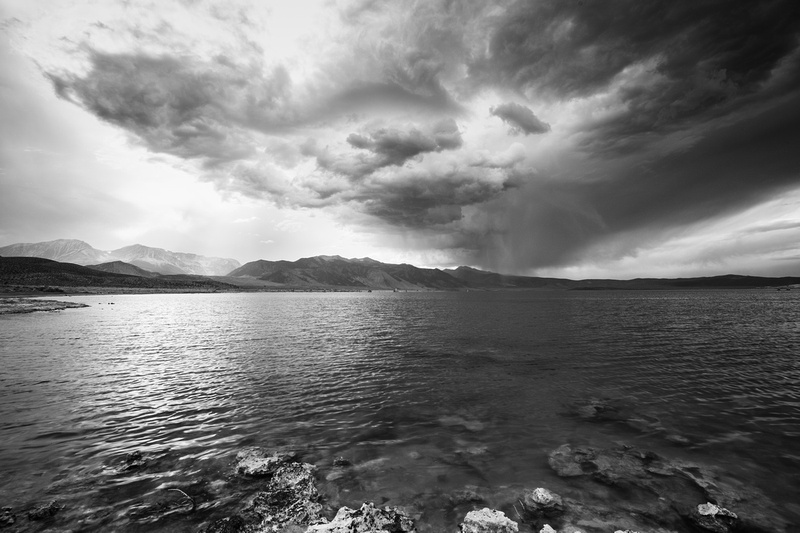 
This photo of an approaching storm at Mono Lake was shot at eye level, but wouldn't have been nearly as effective if I had shot it at a 50mm focal range, which is considered "normal", because it would have forced me to crop out some of the sky or the lake shore in the foreground. Instead, this was shot at 16mm, allowing all the important elements to be included.
|
#7 Telephoto
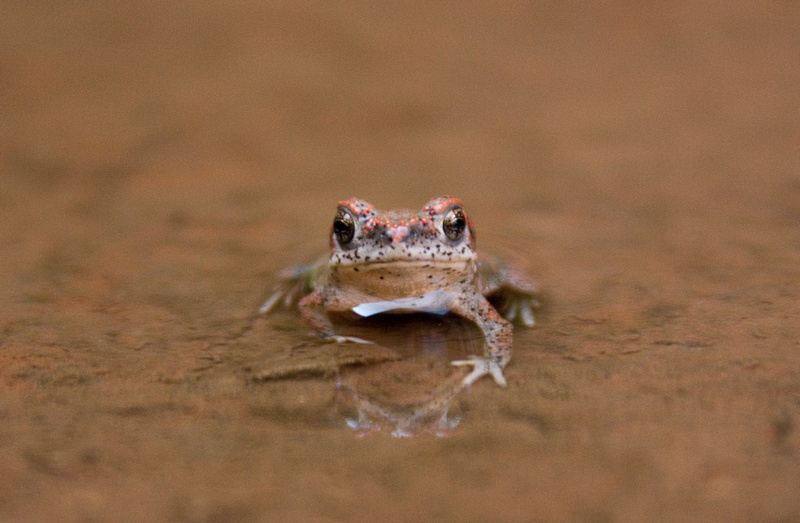 
This image was also taken at eye level, but at a longer focal length of 400 mm. If I had taken this with a 50mm lens, I would have to be inches from this tiny frog's face to get him large enough in the frame to make him the star of the photo. I've never met a frog whose quite that cooperative! Not only that, it would have been impossible to eliminate background elements that would have served as a distraction.
|
#8 Low angle
 
Low angle shots allow you to capture interesting foreground elements and can alter perception. This shot, taken in Death Valley is a few feet off the ground, angled slightly downwards, to accentuate the polygon shapes of the salt flats.
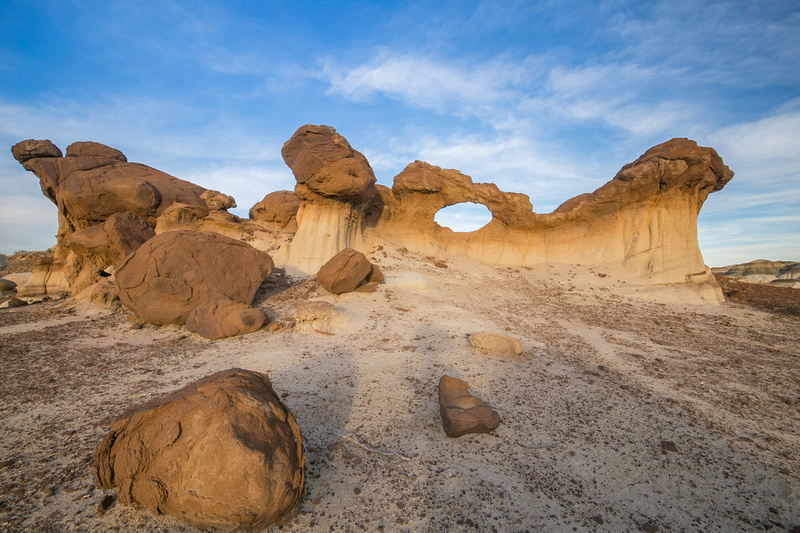 
This is an arch in the Bisti Badlands of New Mexico. My camera was so low that the left side of my face was resting in the dirt while I focused the lens. Because of the low angle and use of a wide angle lens, this arch looks quite large, but in actuality, it only stands a few feet high.
|
#9 Reflection
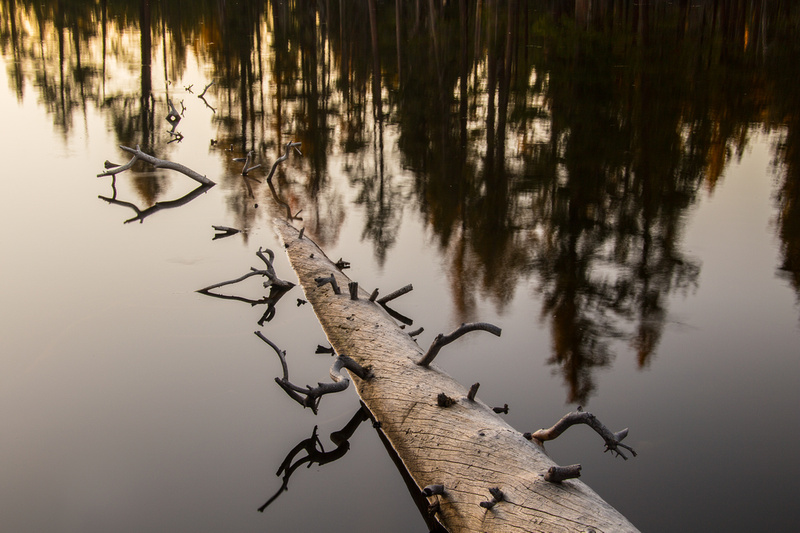 
You can use a variety of surfaces to reflect your subject when considering different viewpoints, like mirrors, glass, or water. Using reflections to create a different viewpoint can introduce a whole new world of unique photographs.
|
#10 Worm's eye
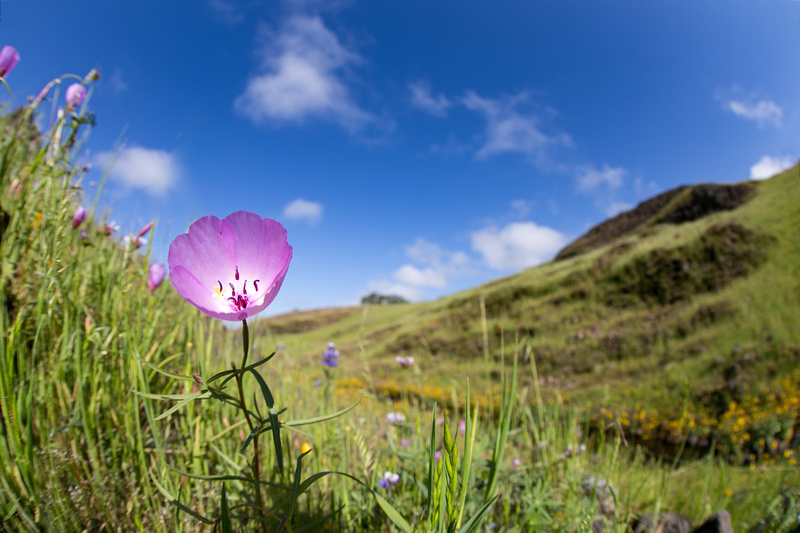 
Worms eye view is similar to low angle but even more extreme. I like to use this approach to get different perspectives on wildflowers than you would typically see.
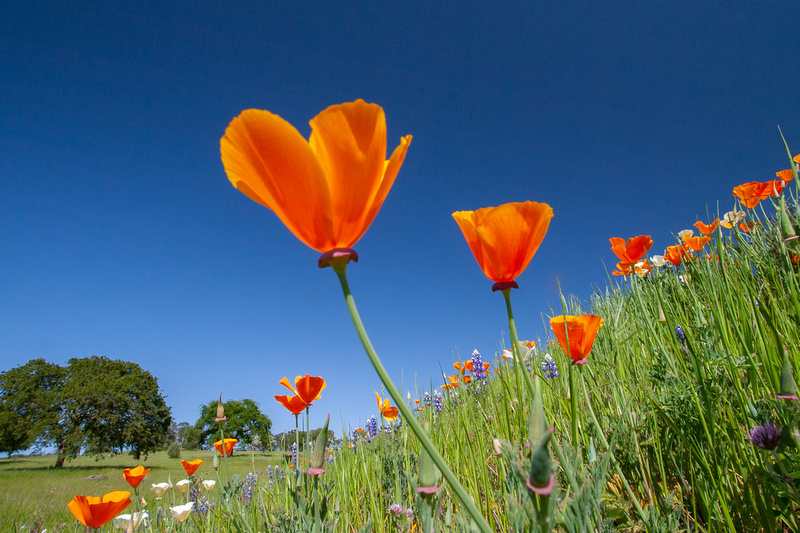 
Shooting this low requires either setting your camera on the ground - or - if using a tripod, getting it completely flat. I like to use a tripod for these shots because it usually takes many tries to get it just right and the tripod allows you to take a break in between shots without losing your composition.
|
I hope you enjoyed this post and that it helped inspire some different viewpoints the next time you are taking picture. Stay tuned to see what "W" is for.


