Dodging and burning
"D" is for Dodging and Burning.
While post processing techniques are performed digitally today, these all started in a darkroom.
Prints were made using projectors and light sensitive papers, and techniques were applied to control contrast, highlights, and shadows.
Dodging and burning was one of these techniques and involved adding or subtracting light as the print was being exposed. Dodging prevented the amount of light that was allowed to reach the paper. The result was lighter tones and lower contrast. Burning added more light reach the paper. The result was darker tones and higher contrast.
| Hover over any image for additional information, or click on any image to open in the gallery. | |
|
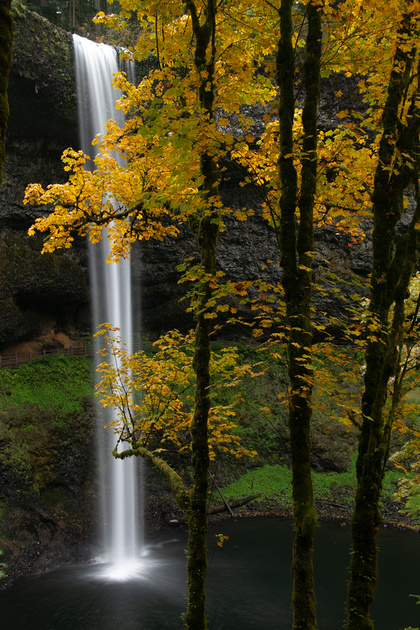
BEFORE |
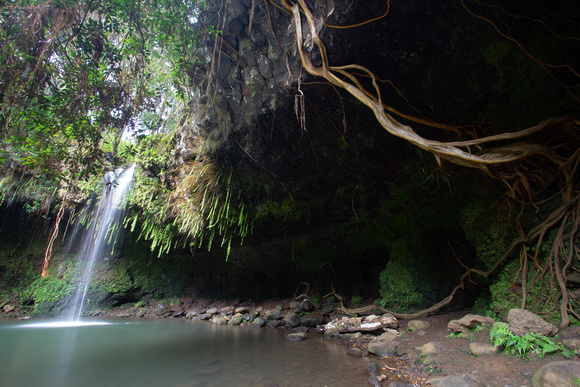
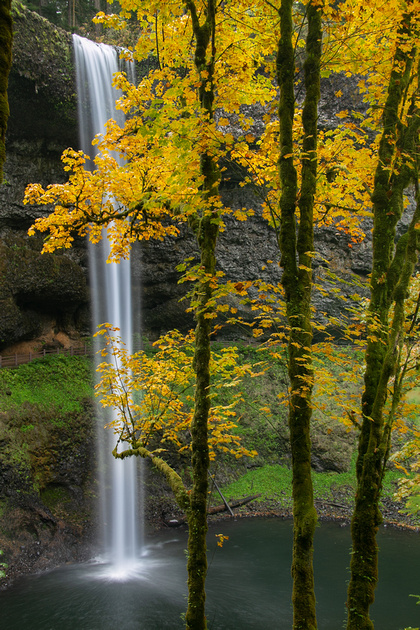
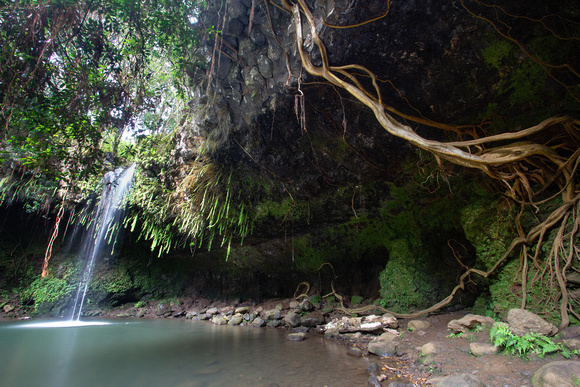 Twin Falls, Road to Hana, Maui - AfterAfter dodging and burning to bring down the highlights on the waterfall and bring up the shadows in the overhang. Twin Falls, Road to Hana, Maui - AfterAfter dodging and burning to bring down the highlights on the waterfall and bring up the shadows in the overhang. AFTER
AFTER |
These adjustments were done by hand using thick paper or cardboard cut into various shapes. I remember having a collection of shapes that I kept in my box of photo paper so I always knew where it was when I was about to start making prints. It was actually quite fun to make prints because they appeared before your eyes. However, you also had to wait until the print was in the final rinse before you could tell if you had done a good job with dodging and burning. Digital post processing is an advantage in two ways:
- First, you know if you dodged and burned successfully in real time and
- Second, you can easily undo a bad dodge or burn without wasting any paper
| Hover over any image for additional information, or click on any image to open in the gallery. | |
|
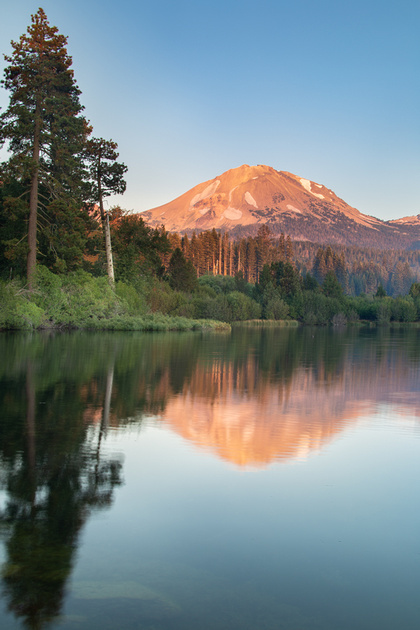
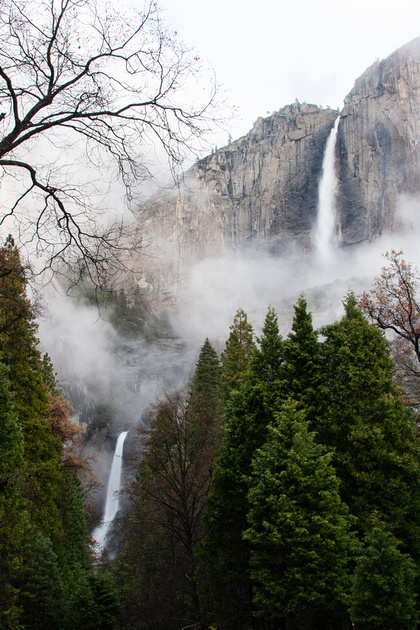
BEFORE |
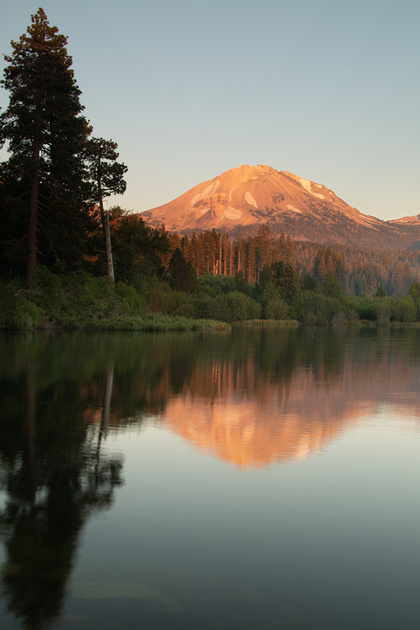
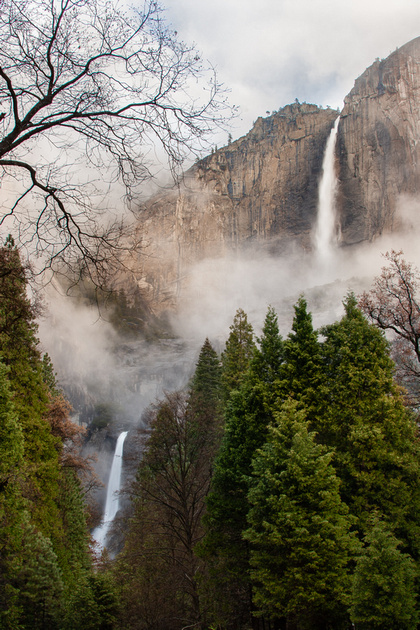
 Manzanita Lake, Lassen National Park - AfterA little dodging brought back the detail in the tress. I also cooled down the sky and water color to be a more pleasing share of blue.
AFTER Manzanita Lake, Lassen National Park - AfterA little dodging brought back the detail in the tress. I also cooled down the sky and water color to be a more pleasing share of blue.
AFTER |
Here is how to complete the dodging and burning process in Lightroom:
1. Start by making your global edits, like contrast, clarity, dehazing, etc.
2. Locate and click on the local adjustment brush tool. This tool represents that piece of paper we used in the ol' days.
3. Once you have selected the tool, you can adjusts the size, feather, flow and density.
4. Next, if you are dodging (lightening), you will increase the exposure slider. If you are burning, (darkening), you will decrease the exposure slider. Note: You can do the same thing with color temperature, saturation, contrast - but today - we are talking about dodging and burning so I'll stick to that.
6. Now you can start using the tool to lighten or darken specific areas. You can adjust the exposure once you have started to lighten or darken to achieve the desired effect.
7. Once you are done, simply un-click the tool to deactivate it.
Here are a few more examples where I used Lightroom to dodge and burn to improve my images.
| Hover over any image for additional information, or click on any image to open in the gallery. | |
|
BEFORE |
AFTER |
|
BEFORE |
AFTER |
|
BEFORE |
AFTER |

I hope you enjoyed this post and found it useful. Now I have to think of a good "E" post. . .
