5 Lightroom Tips to better photos
The magic of Lightroom: 5 Simple Lightroom Tips to Better photos
Text and photos by Heather Cline
 
Tule Elk |
Lightroom is an amazing photo editing tool. It changed how I edited my photos and opened up all kinds of possibilities. I learn new things about this tool every day and could easily write a new article about it's endless features every day. Today, lets start with 5 simple tips for better editing.
Tip 1: Auto Tone
Auto tone is a way to let Lightroom take a first pas at editing your photo. It evaluates the image based on the histogram and makes adjustment settings for you. This is just a starting point but can be very helpful if you are short on time or just want the application to do a little bit of the work for you.
To use auto tone, while in Develop Mode, go to the right navigation and just above the exposure slider, you will see "Tone" with the word "Auto" to the right. Just click on auto and let Lightroom do it's magic.
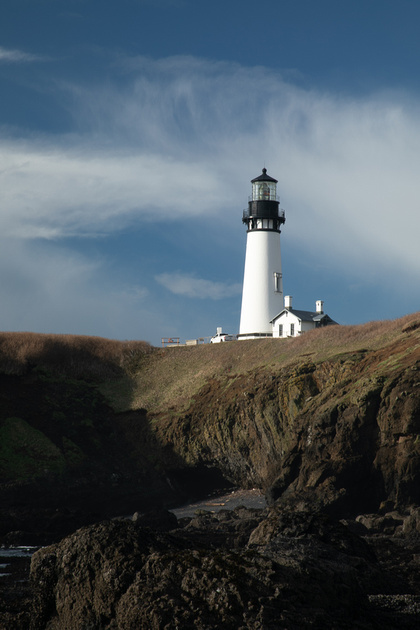
Yaquina Head Lighthouse, RAW Image |
 Yaquina Head Lighthouse, with Auto Tone Adjustment
 |
Tip 2: Visualize Clipping
This one is very easy to use and very helpful as you are editing. This one allows you to see what part of your photo is blown out. Simply press J on your keyboard to enable this feature. If you have blown out highlights, you can bring these back down using the highlights and exposure sliders.

Cala Lily with Visualize Clipping On |
 Cala Lily with Visualize Clipping Off
 |
Tip 3: Lens corrections
This is one of the first things I do in my Lightroom workflow. Lens Corrections automatically fixes lens issues like distortion, chromatic aberration, vignetting and perspective correction based on the camera and lens you use. Since Lightroom already knows which camera and lens produced the image, all you have to do is go to Lens Corrections on the right navigation and check the Remove chromatic aberration and Enable Profile Corrections boxes. This will produce subtle changes, but typically lightens and crops the image slightly.
|
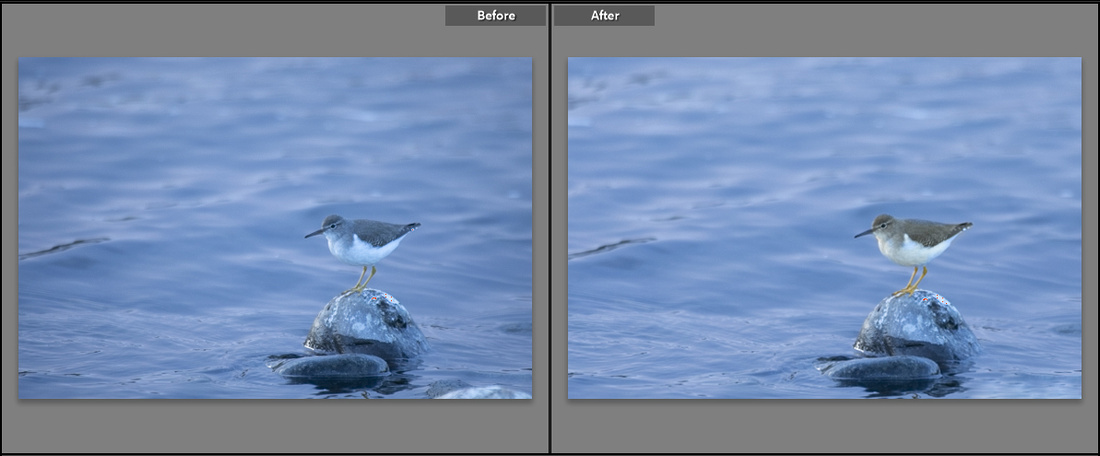
Tip 4: Before and After
As you are editing in Lightroom, you may start to wonder if the image is going in the direction you wanted. You can quickly look back at the original image by clicking the "\" on the keyboard. Just click it again to revert to the edited image.
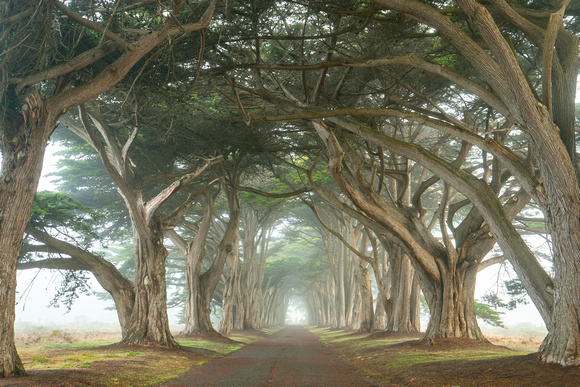
Cypress Tree Tunnel after edits applied |
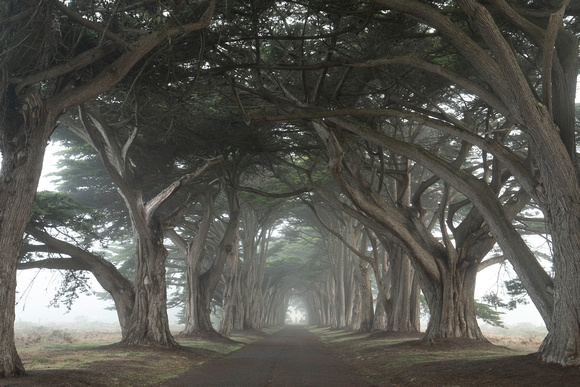 Cypress Tree Tunnel before edits applied
 |
Tip 5: Visualize Spots
Dust spots are the bane of my existence but no matter how hard I try to keep my camera and lenses dust free, I am taking photos outside and it's bound to happen. This requires that each image be checked for spots before publishing or showing to clients. In Lightroom, when you enable the healing/cloning brush, the ability to visualize spots becomes available. Just look at the bottom right of the image and you will see "visualize spots" feature. Check the box to see all the dust mites reflected as white dots and simply use the heling brush to remove them.
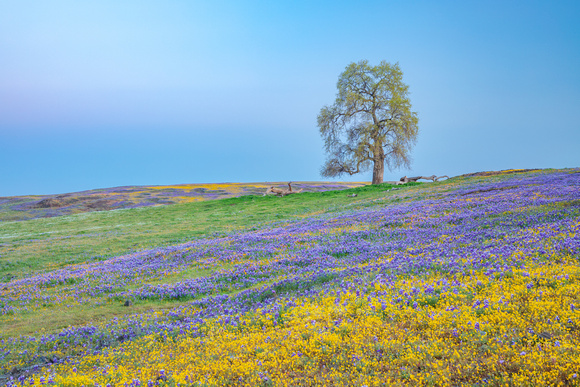
Oak and wildflowers |
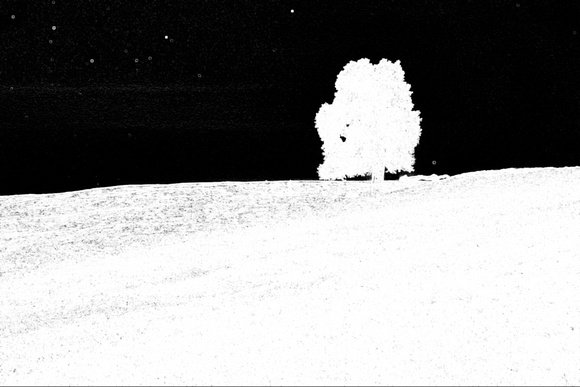 Oak and wildflowers with Visualize Spots enabled
 |
There you have it! Five quick and simple tips for using Lightroom to improve your images.
