8 Tips for better wide angle photos
Go Wide: 8 Tips for Better Wide Angle Photos
Text and photos by Heather Cline
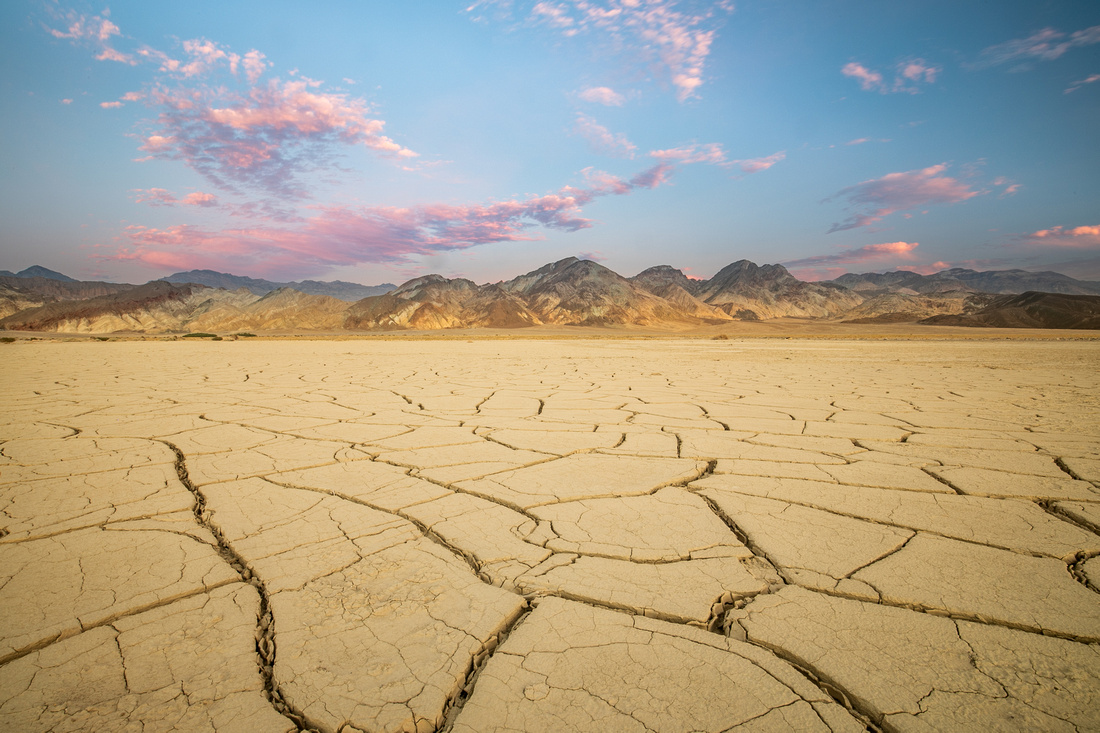 
Cracked Earth, Death Valley National Park |
Wide angle lenses are great tools to have in your photo arsenal because they enhance distortion and perspective, creating a greater sense of depth. These lenses display a wider field of view than our vision. Focal lengths between 35mm and 16mm are considered wide angle, and focal lengths below 16mm are considered ultra wide angles.
When used to their advantage, they can make the viewer feel as though they are a part of the scene. In terms of distortion, objects that are closer to the camera will appear larger than those that are farther away, even if they are the same size. Perspective gives the feeling that straight lines converge faster than the eye would typically perceive. Some common genres for wide angles lenses include landscapes, cityscapes, architecture/real estate, street photography, travel photography, photo journalism, and night sky photography.
Here are some simple tips you can use to take better wide angle photos.
Border Check
Because wide angle lenses allow you to capture more information within the frame, it is also easier to overlook details around the edges, such as tripod legs, camera bags, or other distracting elements. A quick look at the image preview can help you remove these distractions before you take the photo. If you are unable to move the distraction, you can try changing your view point, or can you remove them in post process.
I was precariously perched at the edge of this waterfall with my tripod legs threaded between fencing to hold it out far enough to capture this view of the falls. I had to re-adjust several times to get my tripod leg out of the photo.
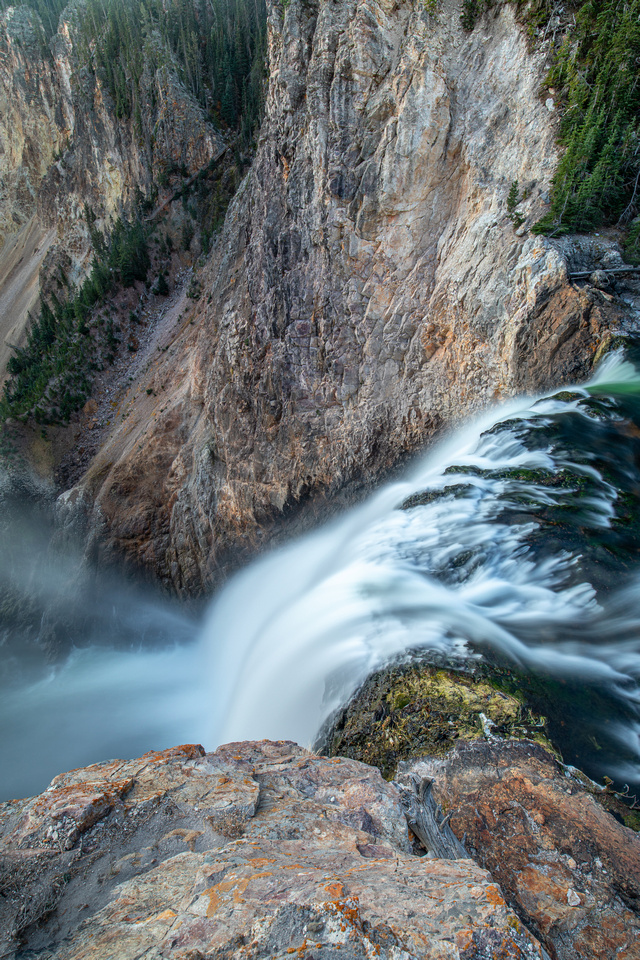 
Yellowstone Falls, Yellowstone National Park |
Check for Vignettes
If you are shooting with a filter on your wide angle lens, you may find that your photos has unwanted dark areas around the corners, or vignetting. You can purchase filter specifically for wide angle lenses, but if you don't have one of these, check the corners of your frame. You can zoom in slightly to eliminate these, and you might also be able to fix in post process.
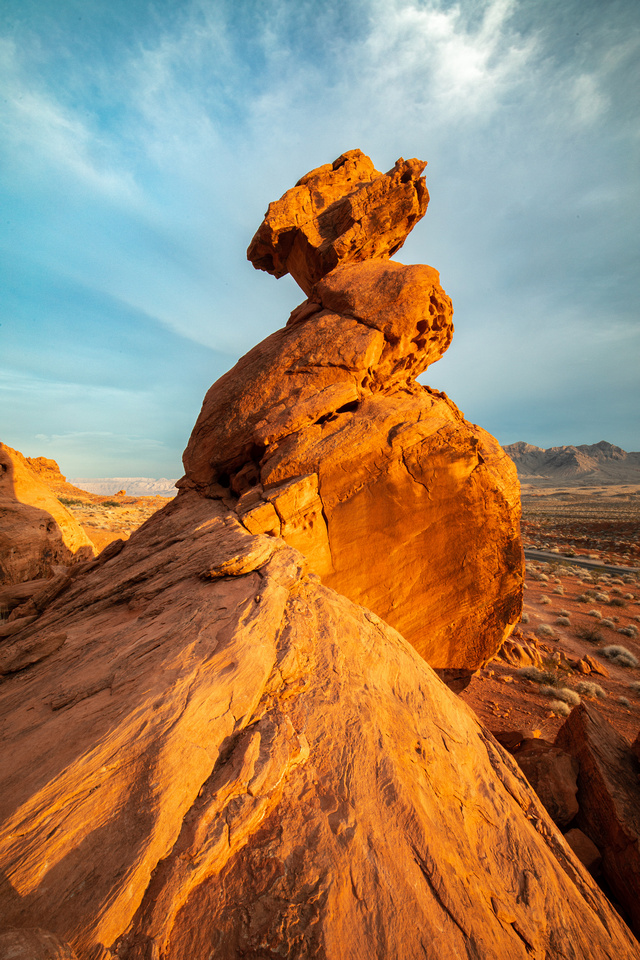 
Balanced Rock, Valley Of Fire State Park |
Get Low
Getting down low gives you a different perspective, creating additional compositional opportunities. When you employ a lower perspective, you can take advantage of leading lines and foreground elements that stand out more than they did if shooting from a higher angle.
This photo of Grand Prismatic Spring required me to get my camera (and face) right down on the boardwalk that sits just above the ground.
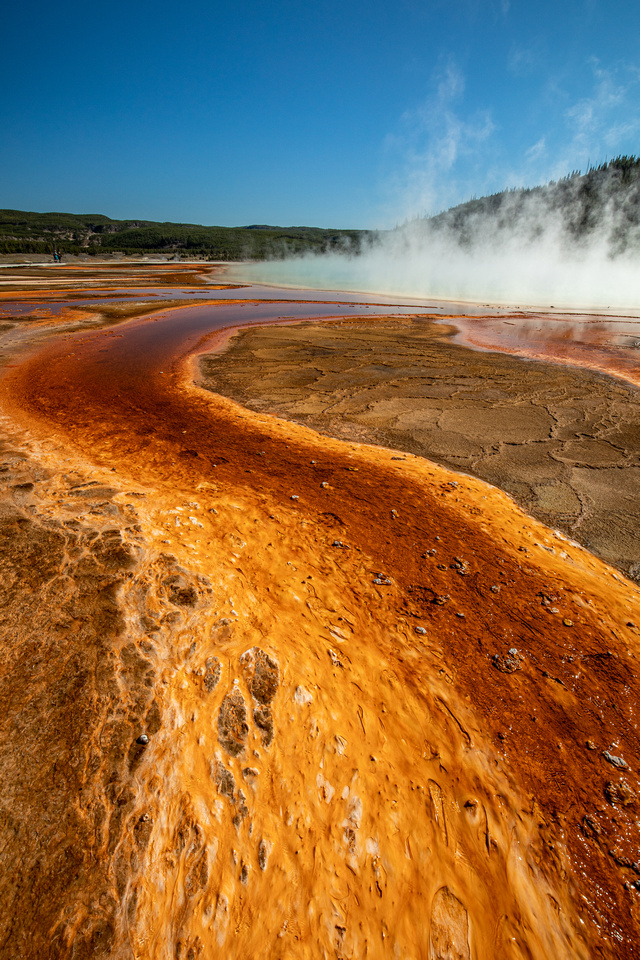 
Grand Prismatic Spring, Yellowstone National Par |
Fill the Frame
Filling the frame ensures there isn't a lot of empty space within the image. Using the elements to create a frame for the subject gives the viewer a chance to move around the image as opposed to landing in an empty zone. The frame is filled, preventing the eye from exiting due to lack of interest. In contrast, too much empty space takes attention away from the surrounding scenery and doesn't contribute to the composition. So, when possible, try to fill the spaces within a frame.
The Narrows in Zion National Park offers lots of fun compositions. This photo, taken right in the middle of the river allowed me to capture the water flow on both bottom edges to help fill the frame from top to bottom.
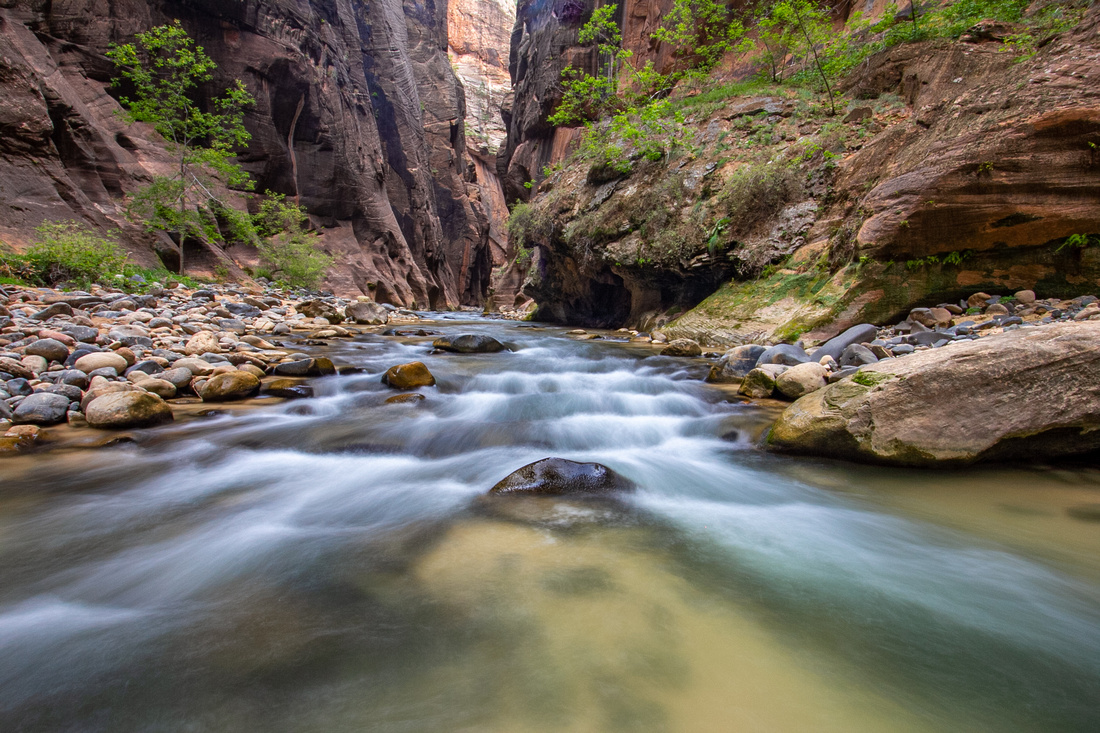 
The Narrows, Zion National Park |
Get Close, Really Close
Getting really close, potentially within a few inches, of the subject will help it stand out by accentuating depth. If you include a subject very close, another about halfway through, and yet another in the background, this will create layers and depth that improve the level of interest.
I was less than 6 inches away from these snow plants in Lassen National Park. I wanted to highlight their color and texture as a unique feature of the forest.
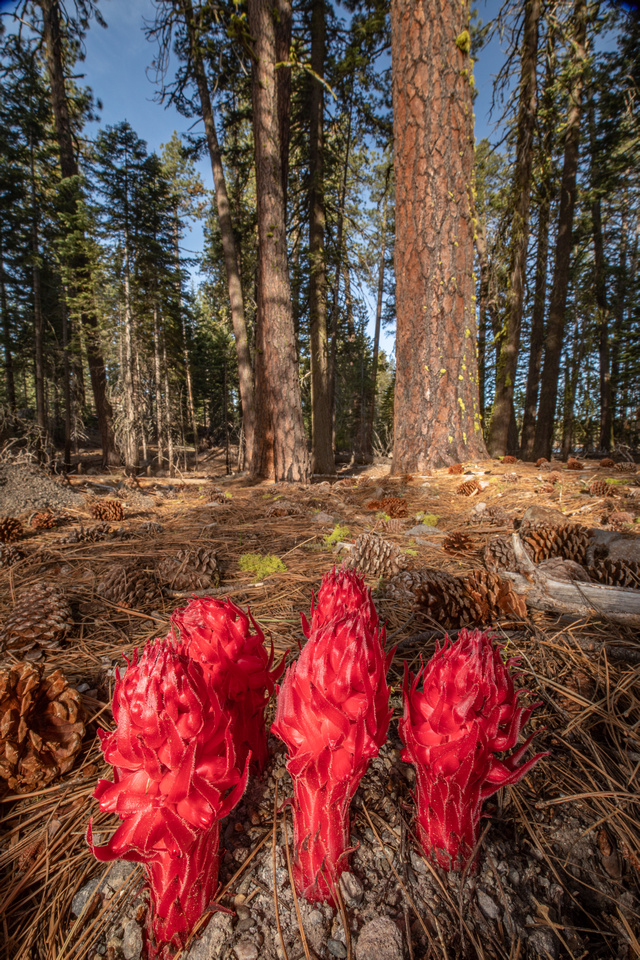 
Snow Plants, Lassen Volcanic National Park |
Shoot the Subject Off Center
Setting the subject off center can help add interest to the photo.
Pigeon Point Lighthouse provides lots of viewpoints for a nice sunset, with many of them placing the lighthouse off center for more interesting compositions. Standing in this spot allowed me to capture the setting sun right next to it as well.
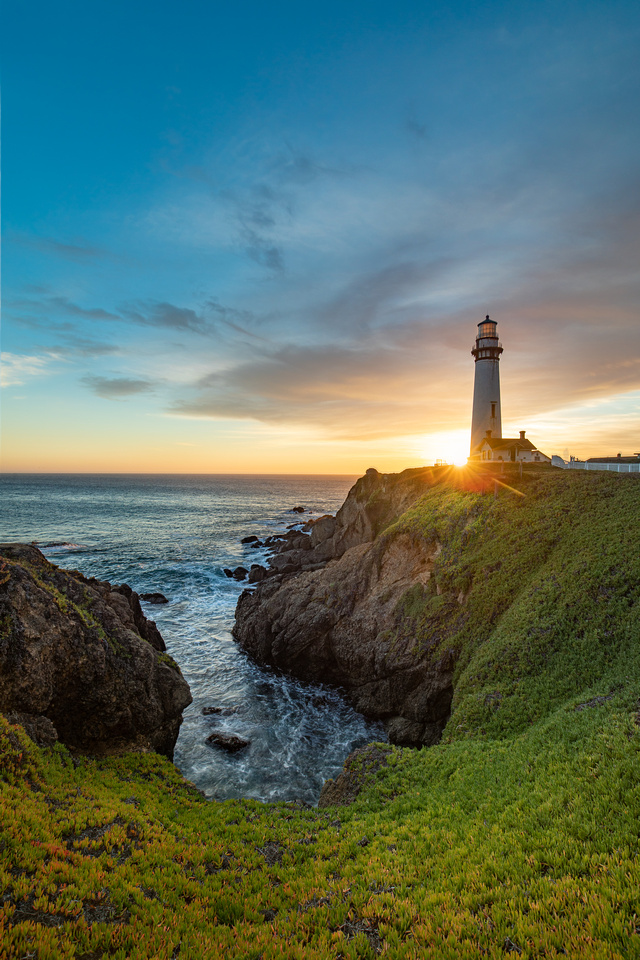 
Pigeon Point Lighthouse, Pescadaro |
Weed out the Unnecessary
Wide angle lenses allow you to add so much that a little editing is required to make sure you don't end up with a cluttered image that lacks focus. One way to accomplish this is to get close to one object and make it a clearly defined subject. Pick one object and make that the focus, allowing the background elements to help tell the story.
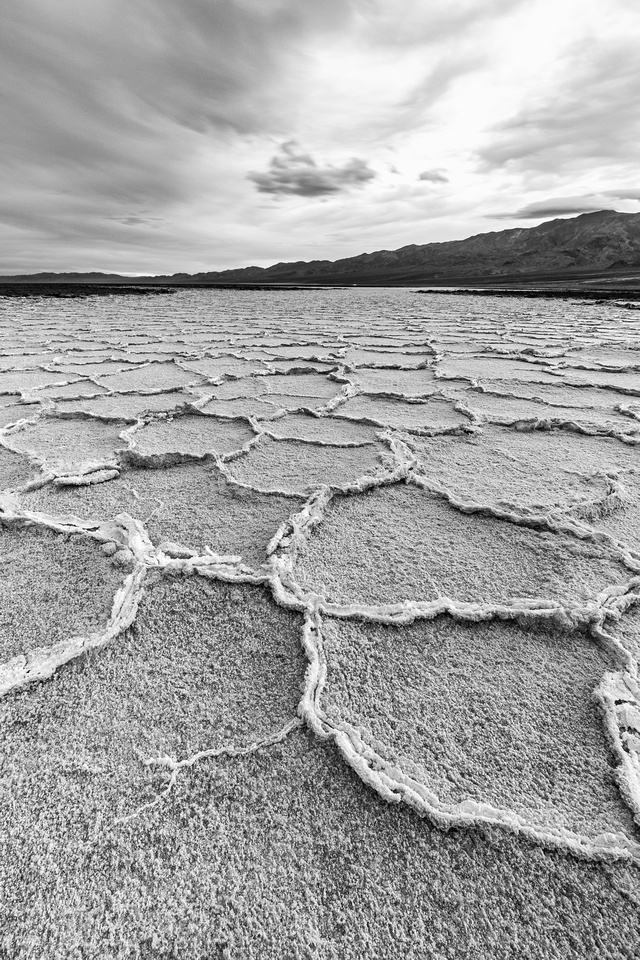 
Salt Pans, Death Valley National Park |
Simplify
Shooting wide angle doesn't mean you can't go simple. Sometimes, the simple images with a strong graphic element are the strongest. These types of images can be difficult to spot, at first, but if you keep looking for different perspectives, you can simplify the image.
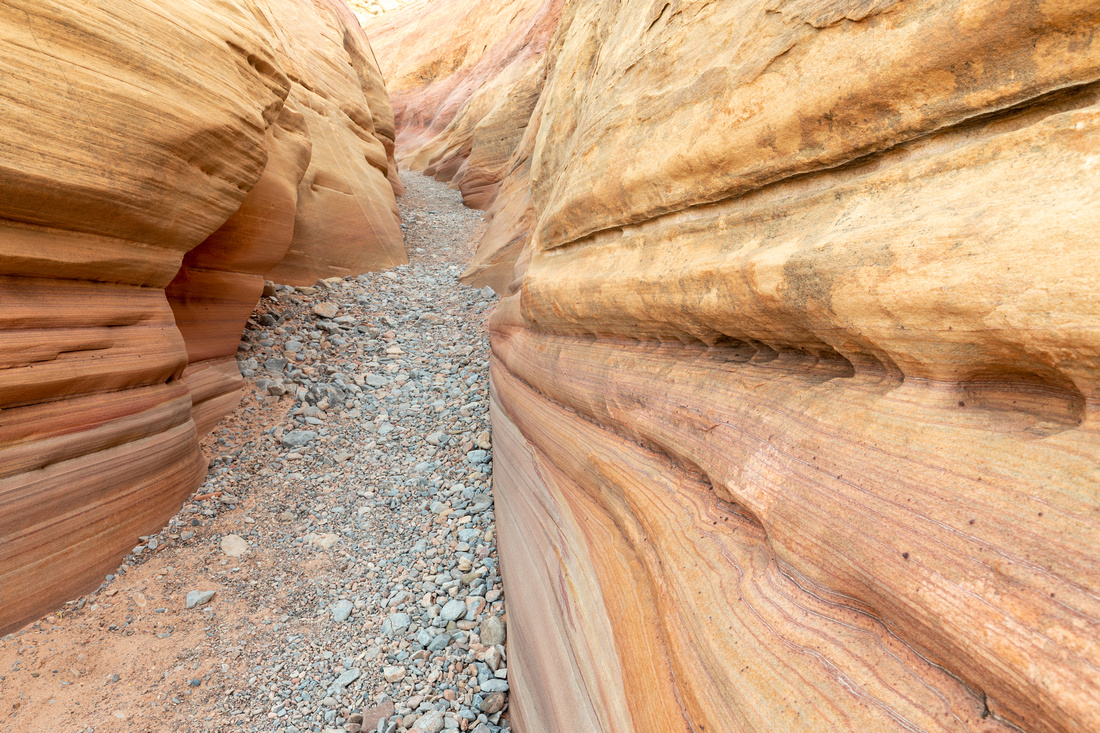 
Pastel Canyon, Valley Of Fire State Park |
I hope this article provided you with a good overview of what wide angle is, what applications it can be very successful, and tips for getting the most out of your wide angle lenses.