Shooting in bad weather, part 3
A couple years ago, I was in Washington DC for a conference and thought it would be great to get some sunset photos at the National Mall. It was June, 90 degrees, with 80% humidity. I thought I was dressed perfect for such conditions, and I was, until it rained. It didn't just rain, it dumped for over 30 minutes. I had no rain coat, no umbrella, no shelter. I was over a mile away from my hotel, on foot, and utterly unprepared. In case your wondering why I haven't included any photos from that trip in these posts, it's because I didn't get any. The morale of the story: be prepared for the weather.
Welcome to part 3 of the photographing in bad weather series. I've covered why bad weather is great for photography, and what to go for depending on the weather presented. Now let's go over over how to handle shooting in challenging conditions.
Note: Hover over any photo for title and details. Click on any photo to open the gallery.
# 1 Protect your gear
|
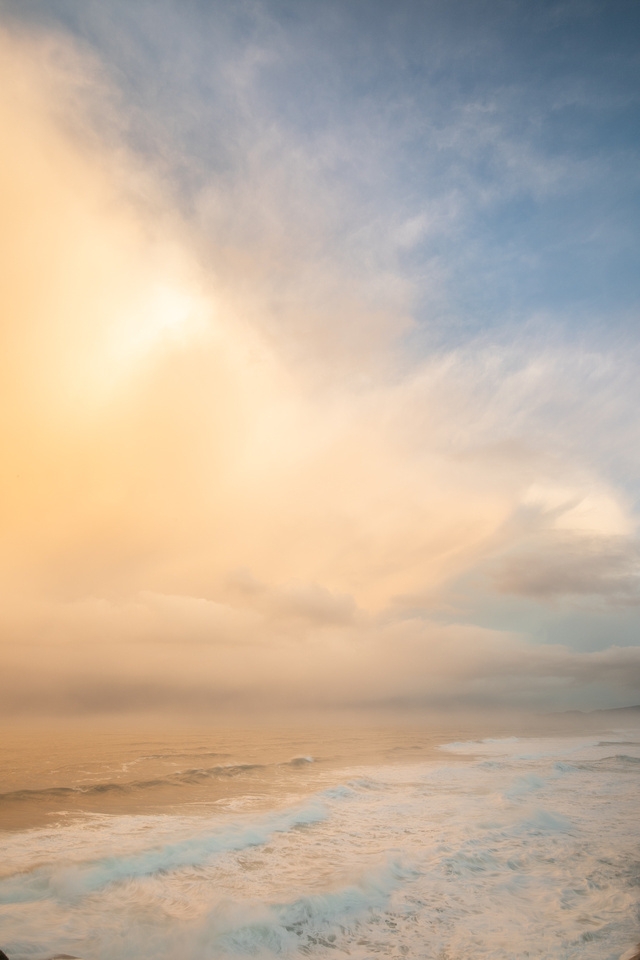 Sunrise storm, Cape KiwandaI captured this storm approaching from the ocean as the sun was rising. It had rained and hailed all night and I lucked out with a small break in the weather at sunrise. I barely made it out of there before it started dumping rain. It's moments like this that encourage me to keep photographing when the weather is unsettled. Sunrise storm, Cape KiwandaI captured this storm approaching from the ocean as the sun was rising. It had rained and hailed all night and I lucked out with a small break in the weather at sunrise. I barely made it out of there before it started dumping rain. It's moments like this that encourage me to keep photographing when the weather is unsettled.
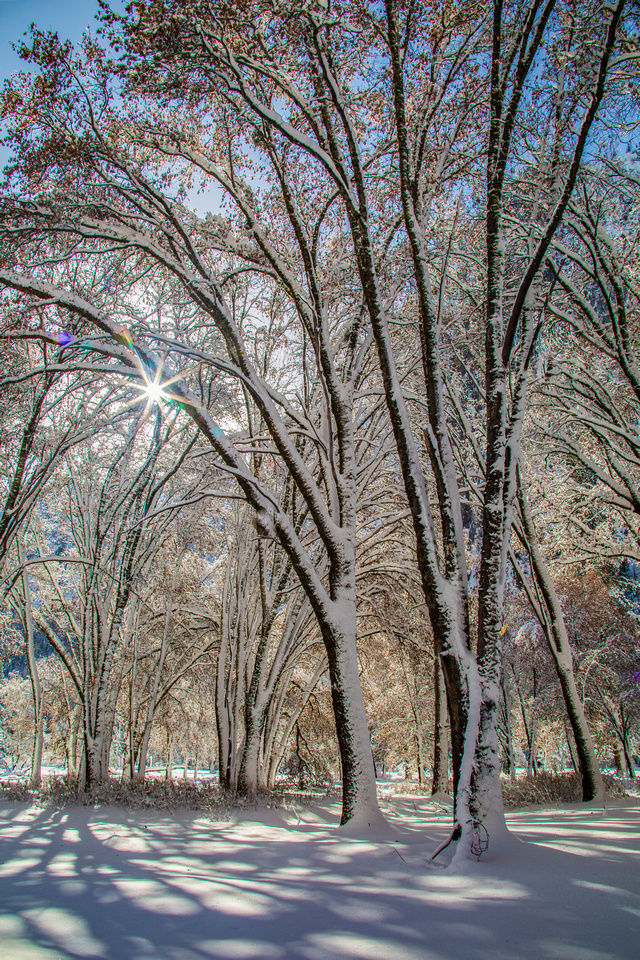 Cottonwoods in snow, Yosemite National ParkI got to practice snowshoeing to get this shot. There are several meadows in the valley that you can strap on your snow shoes and start looking for new and different compositions. Cottonwoods in snow, Yosemite National ParkI got to practice snowshoeing to get this shot. There are several meadows in the valley that you can strap on your snow shoes and start looking for new and different compositions.
|
|
|
|
|
|
|
|
#2 Protect yourself
Rain gear: A good quality rain coat with extra pockets for lens cloths, batteries, etc. can help you power through a cold and wet photo shoot. I tend to buy them a bit larger than I need so I can wear extra layers underneath. Having a bit of extra roominess also allows me to keep my camera nice and dry, inside my coat as I'm moving around.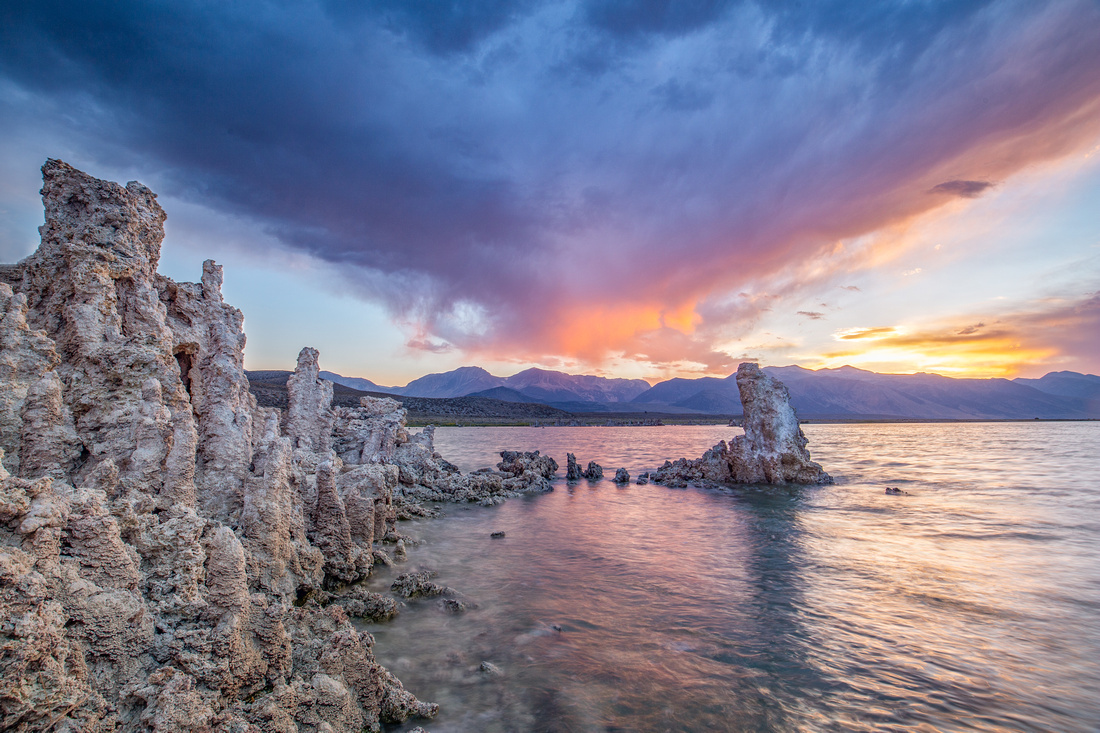 Summer storm, Mono LakeThe Sierra's are pretty reliable for summer storms, making for dramatic sunsets. This day, it had rained on and off, providing lots of opportunities to capture big swells of rain falling over the mountains. Sunset started to clear just enough to let some of that magical light through. Summer storm, Mono LakeThe Sierra's are pretty reliable for summer storms, making for dramatic sunsets. This day, it had rained on and off, providing lots of opportunities to capture big swells of rain falling over the mountains. Sunset started to clear just enough to let some of that magical light through.
|
|
|
Layers: I have a habit of dressing in layers when it is cold. I'm a big ol baby about the cold and this usually works for me. The rules of layering are:
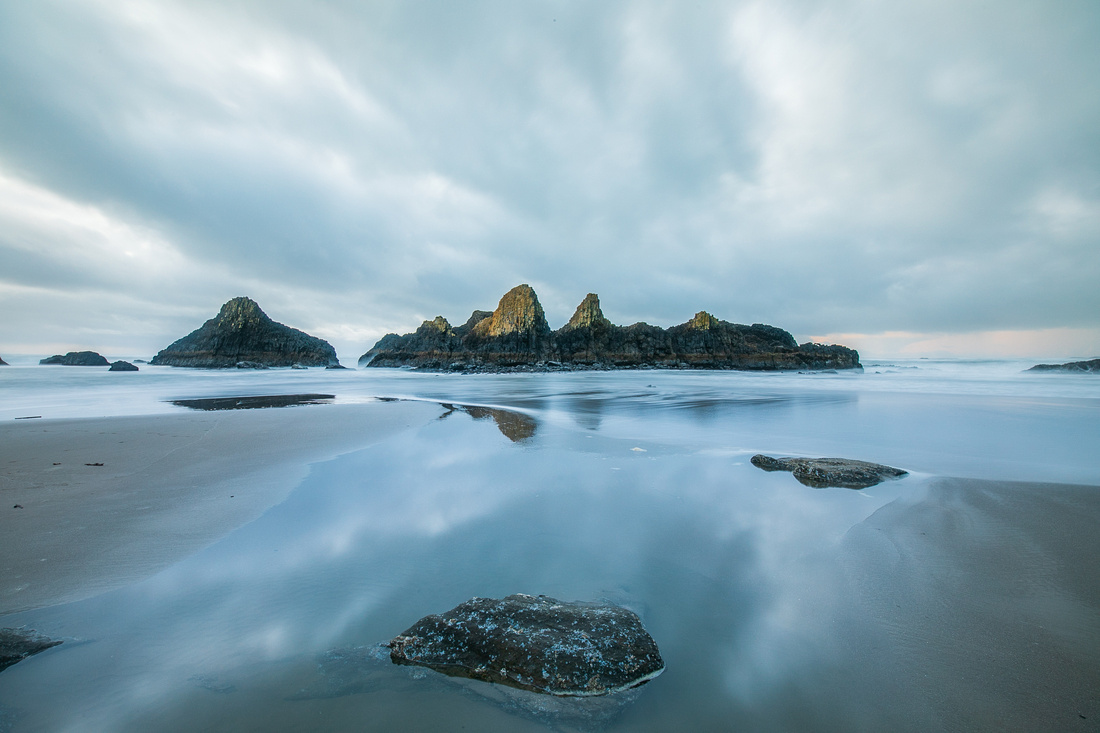 Seal Rock State Beach, OregonThis is one of my new favorite beaches in Oregon. It had great tidepools, wildlife, and interesting rocks to photograph. This evening was mostly overcast as a winter storm was rolling in, but it made for some nice cool toned photos. Seal Rock State Beach, OregonThis is one of my new favorite beaches in Oregon. It had great tidepools, wildlife, and interesting rocks to photograph. This evening was mostly overcast as a winter storm was rolling in, but it made for some nice cool toned photos.
|
|
Hand warmers: There is nothing better than hand warmers on a cold day or night, especially if you plan to be out for a while. They are cheap, small, lightweight, and last for hours. I usually put one inside each of my gloves and another inside my hat, over each ear. If you have ever had cold wind blowing into your ears, you will love having these. 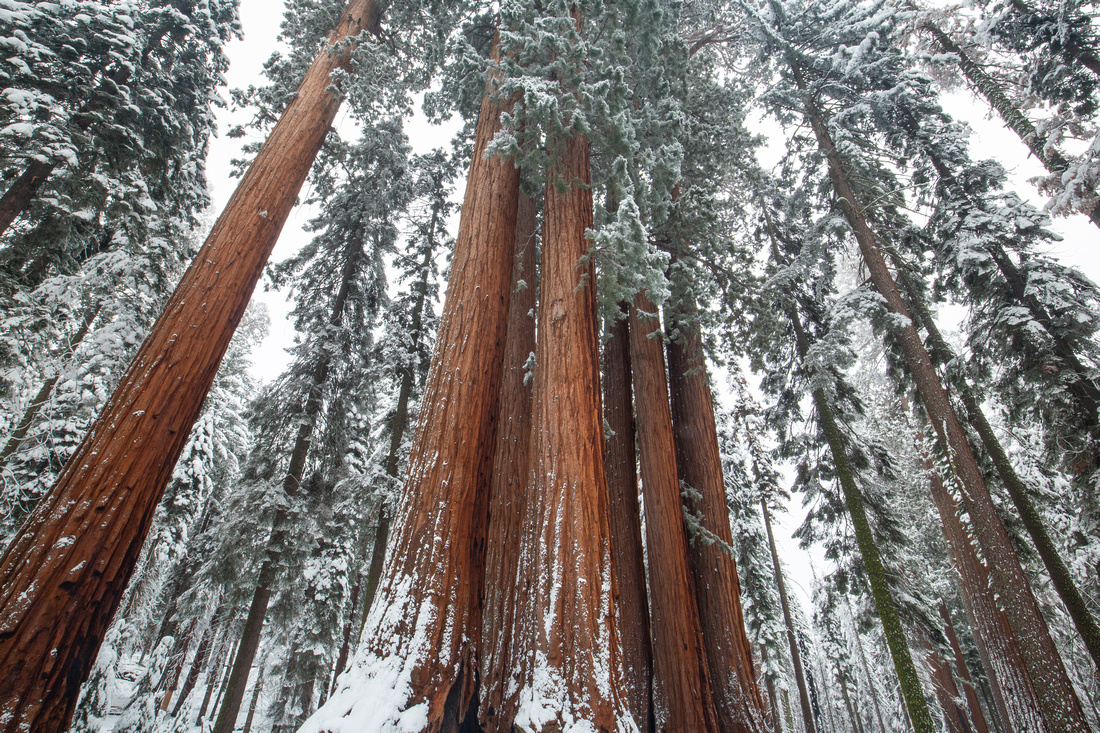 Giant Forest, Sequoia National ParkThis image isn't nearly as interesting on a comfortably sunny day. Giant Forest, Sequoia National ParkThis image isn't nearly as interesting on a comfortably sunny day.
|
|
| Gloves: There are handy snow gloves with flap back finger caps that allow you to keep the rest of your hands warm while working your camera's controls. These can get pretty pricey. A more frugal option is to buy a pair of inexpensive thin gloves, and cut the tip of the index and thumb off, then use these as a base layer under a thicker glove. With a hobby as expensive as photography, you've got to take advantage of every hack you can! | |
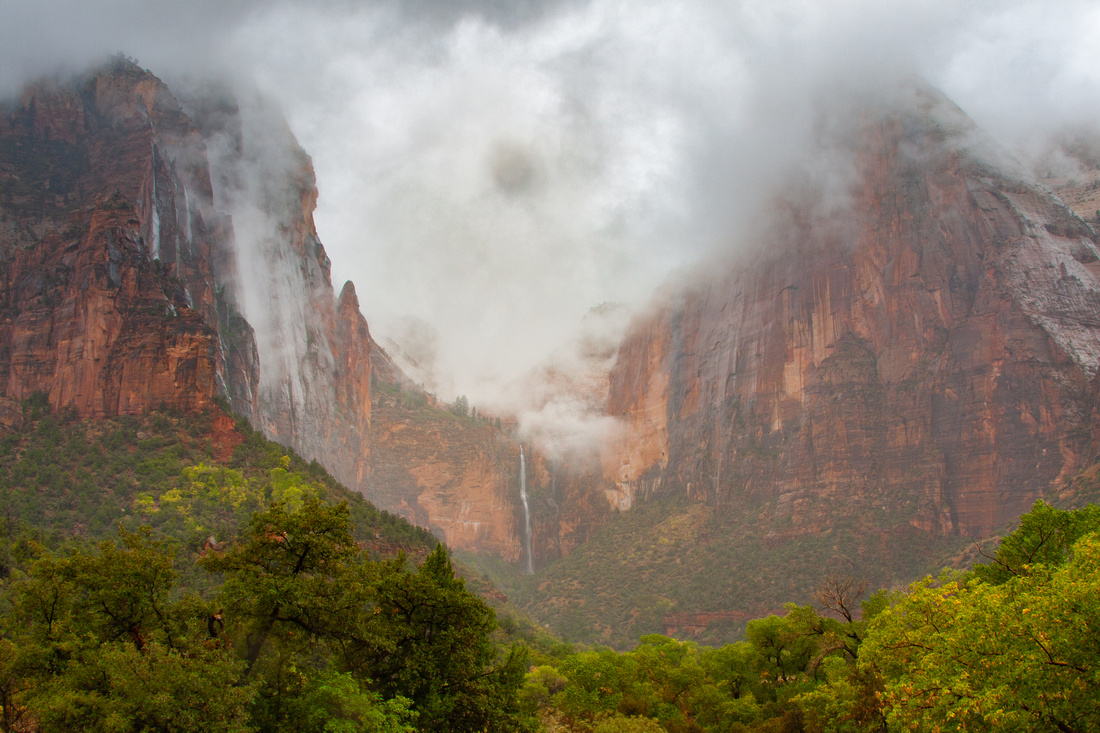 Court of the Patriarchs, Zion National ParkAn autumn rainy day in Zion made for some of the most unique photos I have ever captured there. Court of the Patriarchs, Zion National ParkAn autumn rainy day in Zion made for some of the most unique photos I have ever captured there.
|
# 3 Work with the weather, not against it
|
As I mentioned in part 2 of this series, there is a subject for every type of weather condition. Being adaptable to the conditions can mean the difference between having an enjoyable experience that you will repeat in the future and in getting some quality photographs.
|
|
#4 Camera Settings
|
Metering for snow: Your camera's meter will automatically expose the snow to be middle gray. To keep the snow white, set your exposure compensation to +1 or +2. |
|
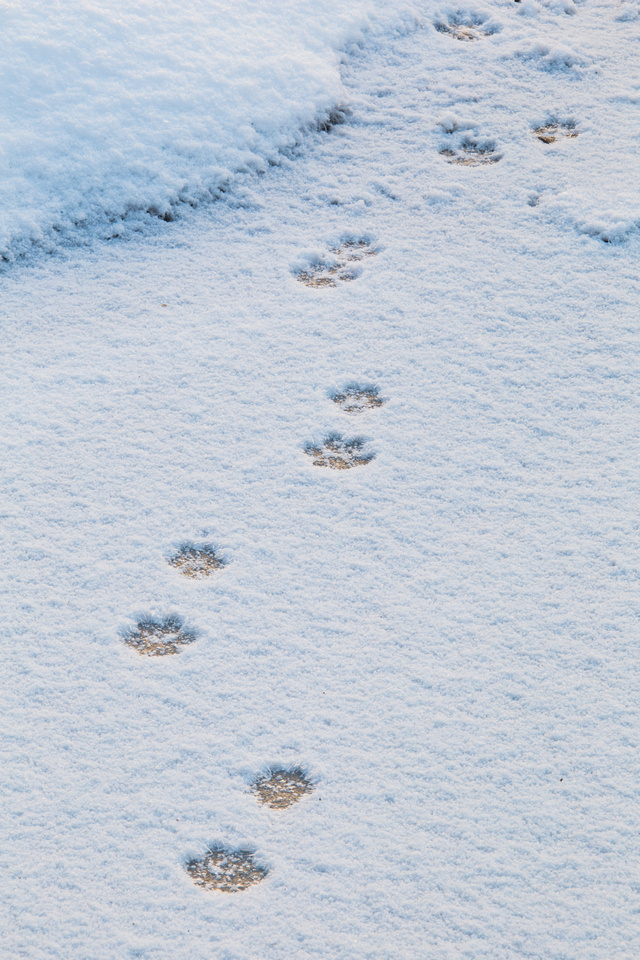 Animal tracks, Yosemite National ParkI found these animal tracks on a frozen section of Merced River while looking for some different winter compositions. Animal tracks, Yosemite National ParkI found these animal tracks on a frozen section of Merced River while looking for some different winter compositions.
|
|
|
White Balance: Snow tends to read on the blue side of the color spectrum. You can control this with your white balance settings. Try setting it to the flash setting which is intended to compensate for the blue light emitted from the flash. If I am shooting a landscape, I will often try several different white balance settings to see if there is a particular effect I like. |
|
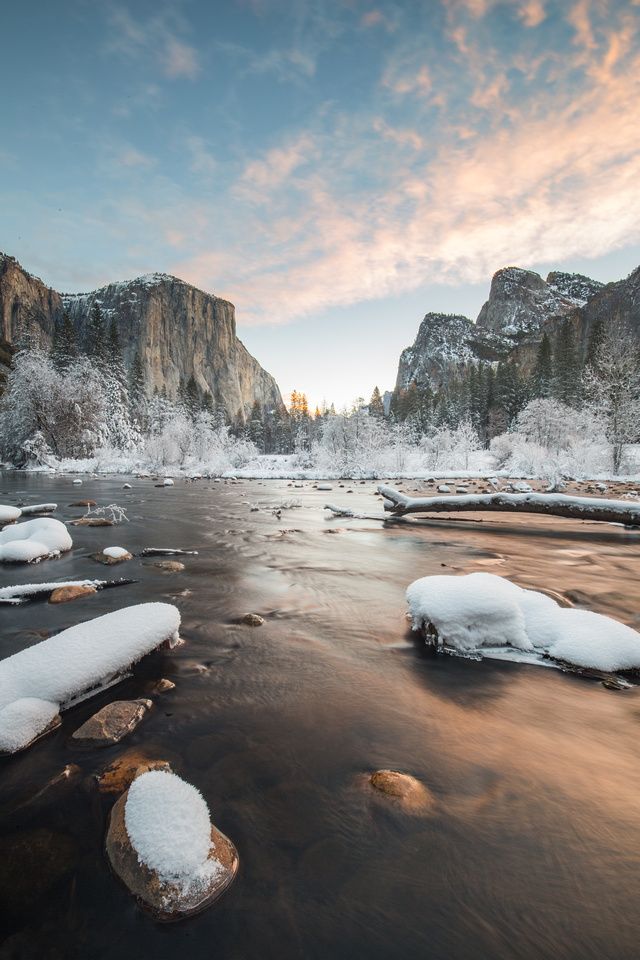 Yosemite Valley View Valley View looks different in every season. Landscape orientation is the more traditional composition option, but the snow covered rocks and logs in the foreground make this a good portrait orientation during the winter too. Yosemite Valley View Valley View looks different in every season. Landscape orientation is the more traditional composition option, but the snow covered rocks and logs in the foreground make this a good portrait orientation during the winter too.
|
|
|
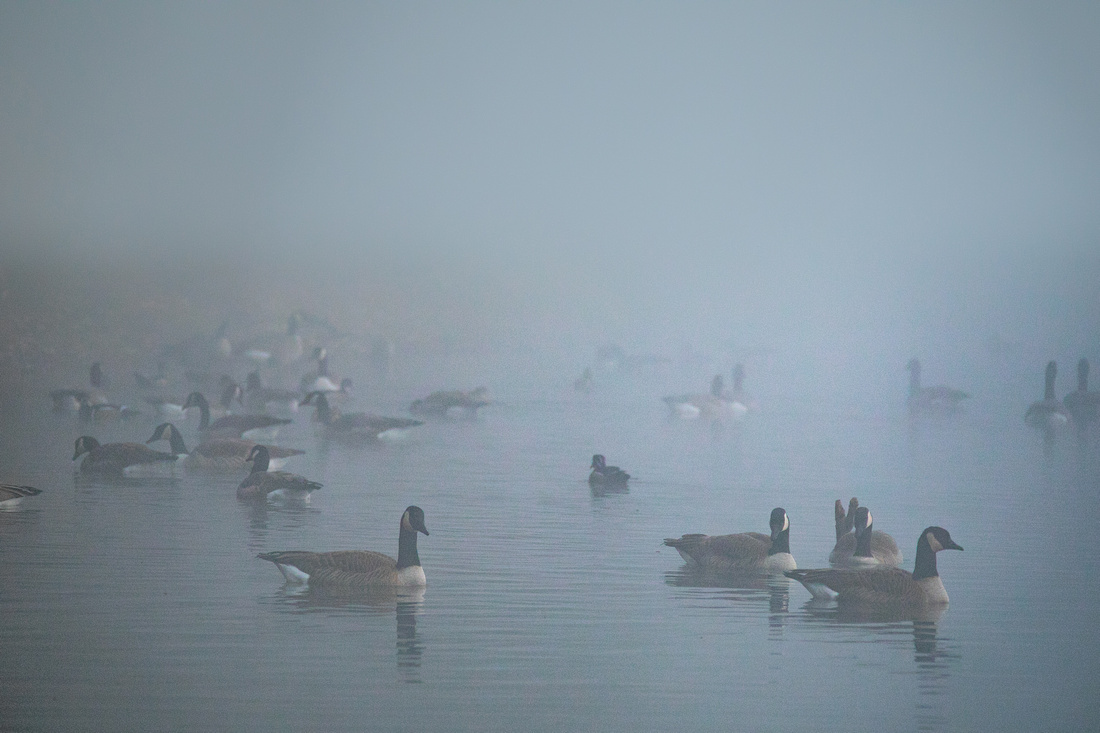
Low light situations: Rain, overcast, and fog can all create low light conditions that can result in underexposed images. Good ways to combat this are by using a tripod so you can lengthen your shutter speed (allowing more light in), by turning up your ISO (to give you greater sensitivity to light), or by using a wide aperture to let more light into your lens. Noise resulting from high ISO's has been much improved in recent years so you can get away with shooting at 1000 ISO and up without major impacts to quality. So - if you don't have, or don't want to drag around, your tripod, this is a good option. |
|
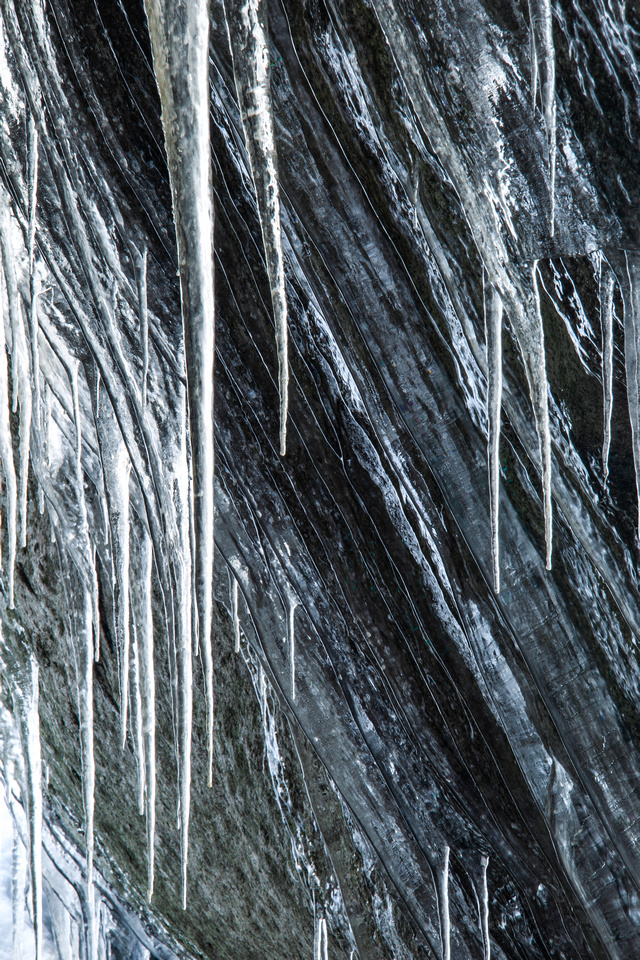 Icicles, Yosemite National ParkYosemite is great park to visit in winter. The landscape is so different than in other seasons and the valley is fairly walkable, even with snow, making it a great place to explore and look for photos that are a bit more unique than your average Yosemite landscape. Icicles, Yosemite National ParkYosemite is great park to visit in winter. The landscape is so different than in other seasons and the valley is fairly walkable, even with snow, making it a great place to explore and look for photos that are a bit more unique than your average Yosemite landscape.
|
|
|
Long exposures: Capturing motion blur or compensating for low light conditions may require longer exposures. You will want a tripod for these, but long exposures can result in some really cool effects you just can't get on a sunny day. |
|
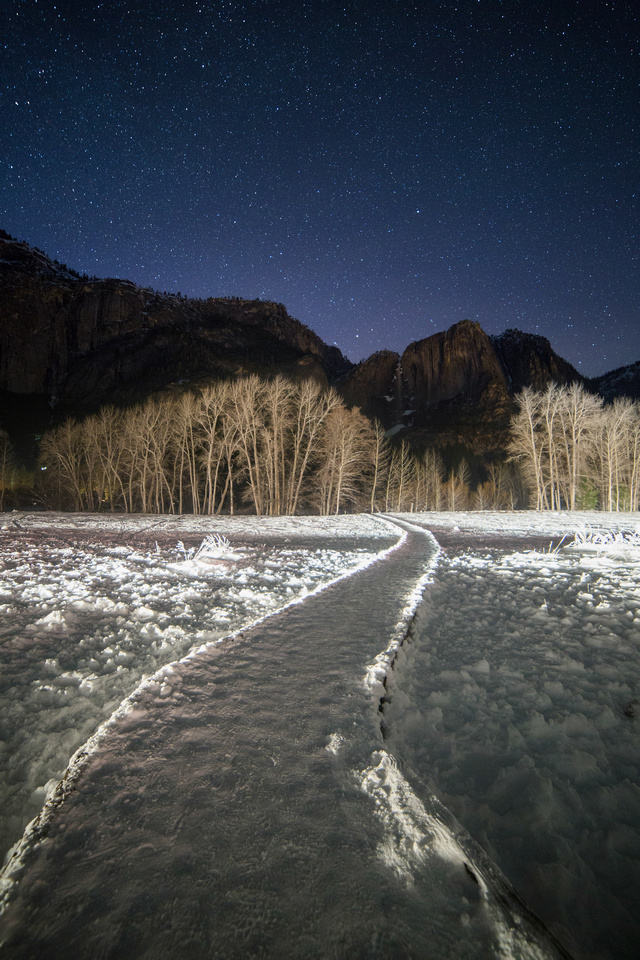 Yosemite Falls, winter nightI wanted to try for some night photos of Yosemite Falls with the snow in the foreground. What I didn't count on was the headlights of passing cars to illuminate the meadow and trees. Yosemite Falls, winter nightI wanted to try for some night photos of Yosemite Falls with the snow in the foreground. What I didn't count on was the headlights of passing cars to illuminate the meadow and trees.
|
That is it! I hope you enjoyed this three part series on photography in challenging weather conditions, and that it inspired you to get out and capture some of your own winter magic.

Comments
Truman