Infrared Photography
If you haven't come across infrared photography, it is a unique and interesting style of photography that is really fun to try out, especially if you are interested in nature photography.
 Manzanita, Lake Tahoe, California Manzanita, Lake Tahoe, California
|
When I started learning photography, it was still the pre-digital era so I learned using film, primarily black and white film. One of our class assignments was to create an image using black and white infrared film so I had an opportunity to shoot using this type of film and see first hand what traditional infrared photos looked like. You can still purchase infrared film in black and white or color.
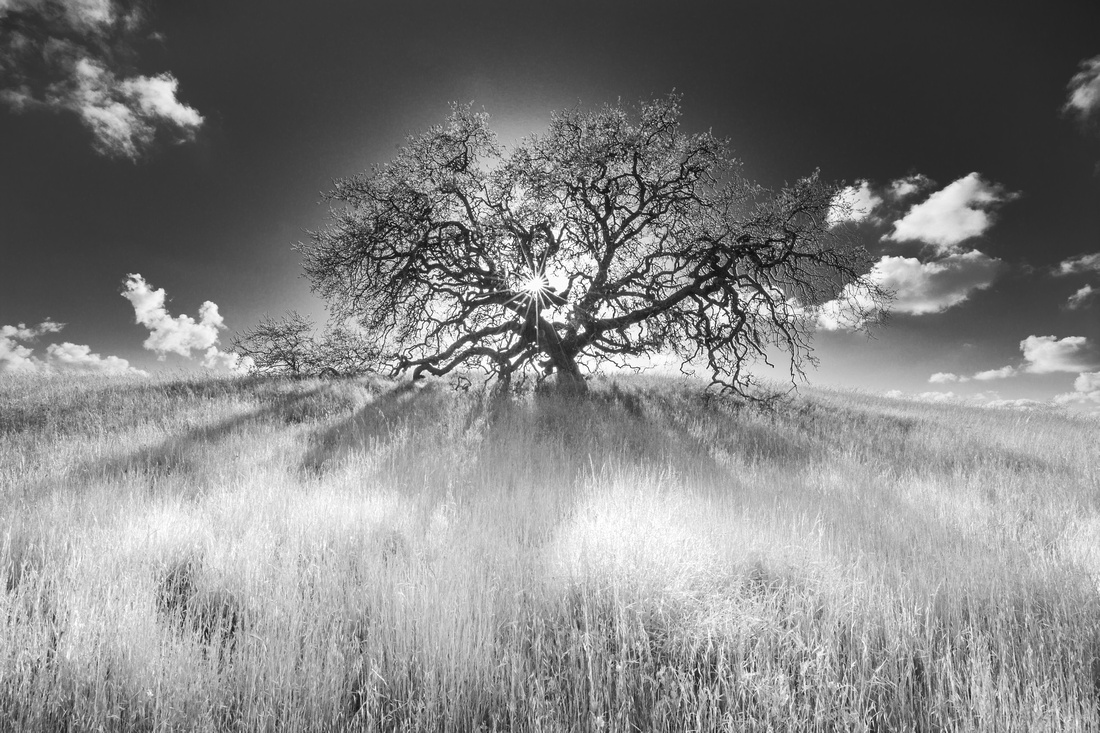
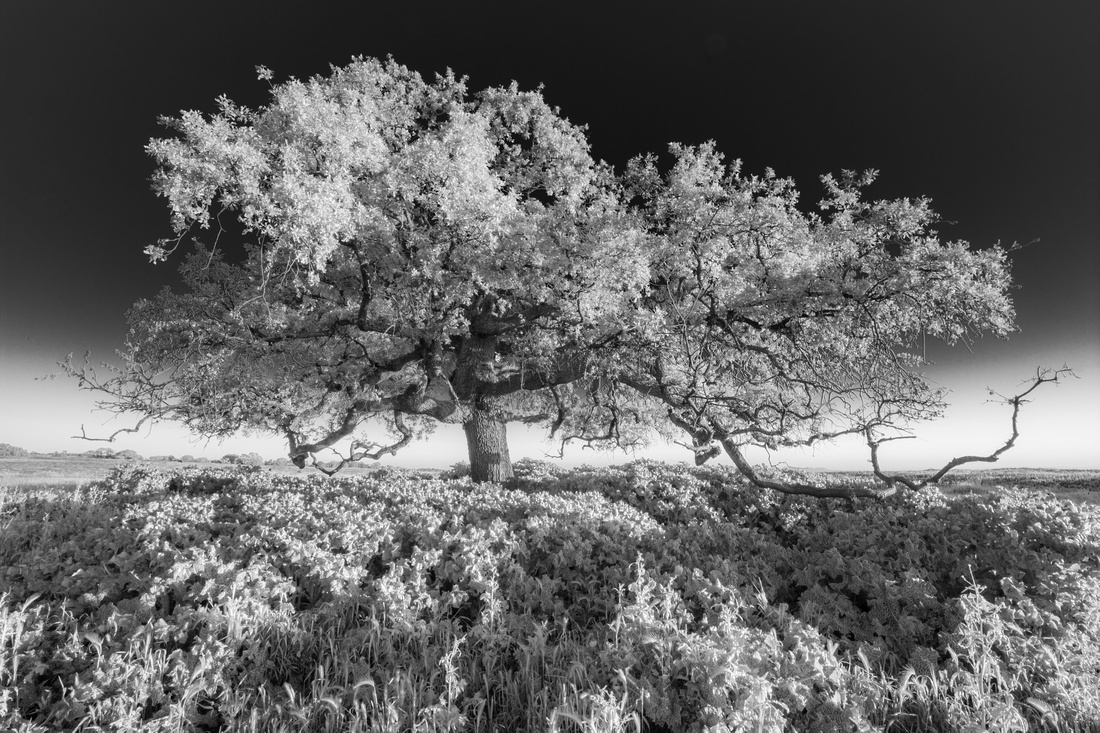 Oak Tree, Table Mountain, Oroville, California Oak Tree, Table Mountain, Oroville, California
|
If you don't have a film camera, you can have a digital camera converted which costs around 350-450 dollars. You can also buy an infrared filter that blocks visible light for under 100 dollars. It is not uncommon to lose 16 stops of light when using this filter so a tripod is necessary. Another option is to recreate this effect using post processing software.
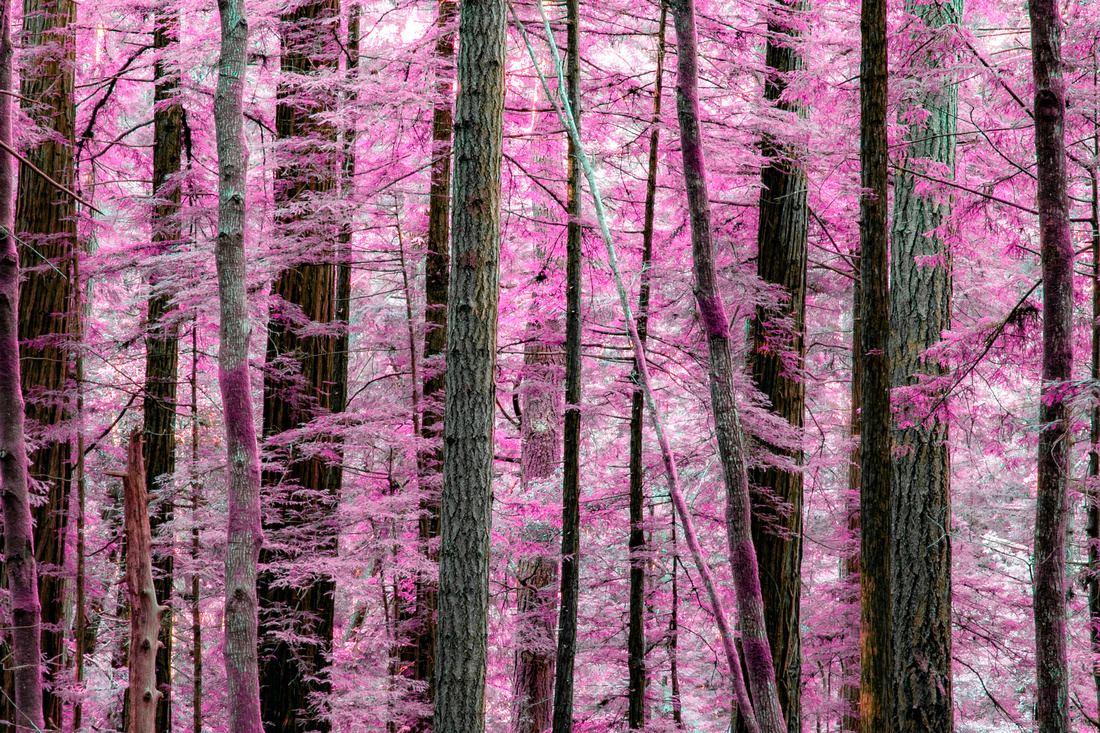 Butano State Park, California Butano State Park, California
|
This post is intended to provide a brief explanation of infrared light, how it is used to create unusual effects in photography, and how to create the effect using Lightroom or Photoshop.
If you would like more information on any photo, just hover over it or click on any photo to view the full gallery.
What is Infrared light
Infrared light is electromagnetic radiation. Humans are capable of seeing a small portion of the light spectrum, known as visible light which covers a wavelength of ~400 nanometers to ~700 nanometers. Infrared light has a wavelength range of just over 700 nanometers.
 Cypress Trees, Point Reyes National Seashore, California Cypress Trees, Point Reyes National Seashore, California
|
Infrared Photography
Infrared photography enables views that the human eye cannot see. It also produces colors that are not what we expect. Human skin and vegetation reflect a lot of infrared light so these appear very bright in black and white infrared photos. Whereas, a blue sky will appear black or near black. In color photography, anything that reflects a lot of infrared light will appear red. The result is pretty cool, but the subject does influence overall success.
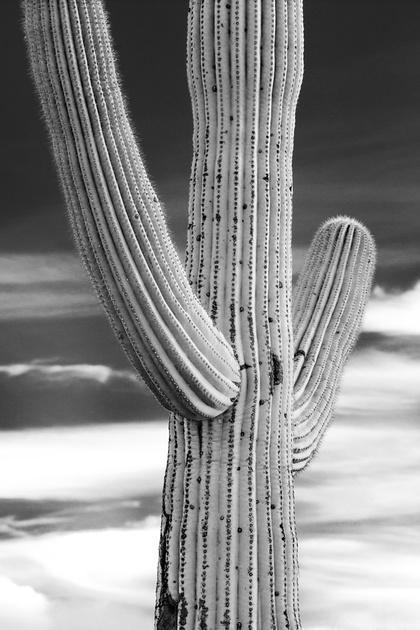 Saguaro, Saguaro National Park, Arizona Saguaro, Saguaro National Park, Arizona
|
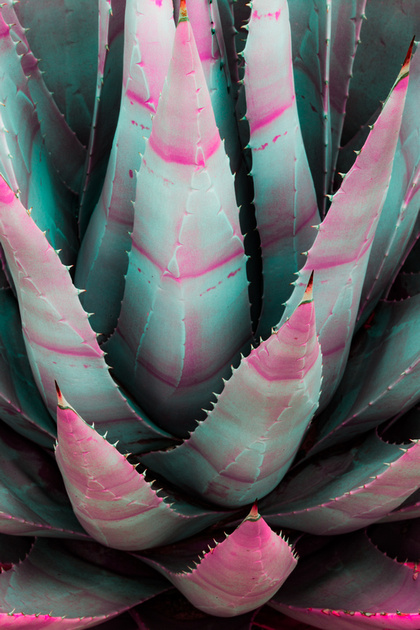 Agave, Anza Borrego State Park, California Agave, Anza Borrego State Park, California
|
Creating Color Infrared effect using Photoshop
- Open image in Photoshop
- Create duplicate layer by going to Image > Duplicate Layer. You can name this layer "infrared" if you like.
- Invert the colors of the infrared layer by going to the Adjustment Panel and choosing the Invert option
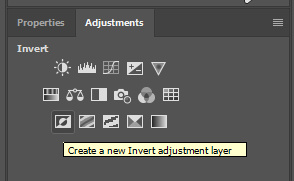
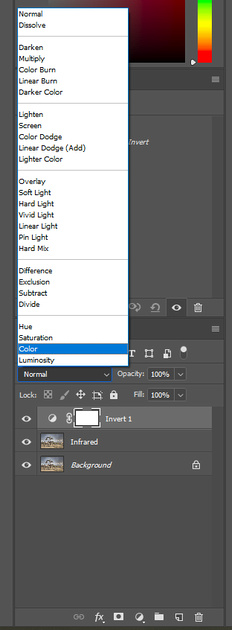
- With the Invert layer selected, change the blending mode to color
- Create a channel mixer by going to the Adjustment Panel and choosing the Channel Mixer option

- While in the Channel Mixer layer, select Red as the output channel, then move the Red slider to 0 and the Blue slider to 100.
- While in the Channel Mixer layer, select Blue as the output channel, then move the Red slider to 100 and the Blue slider to 0.
- This will create the color effect of Infrared color film. You can apply a gaussian blur to any foliage in the image to give that glowing IR effect if desired.
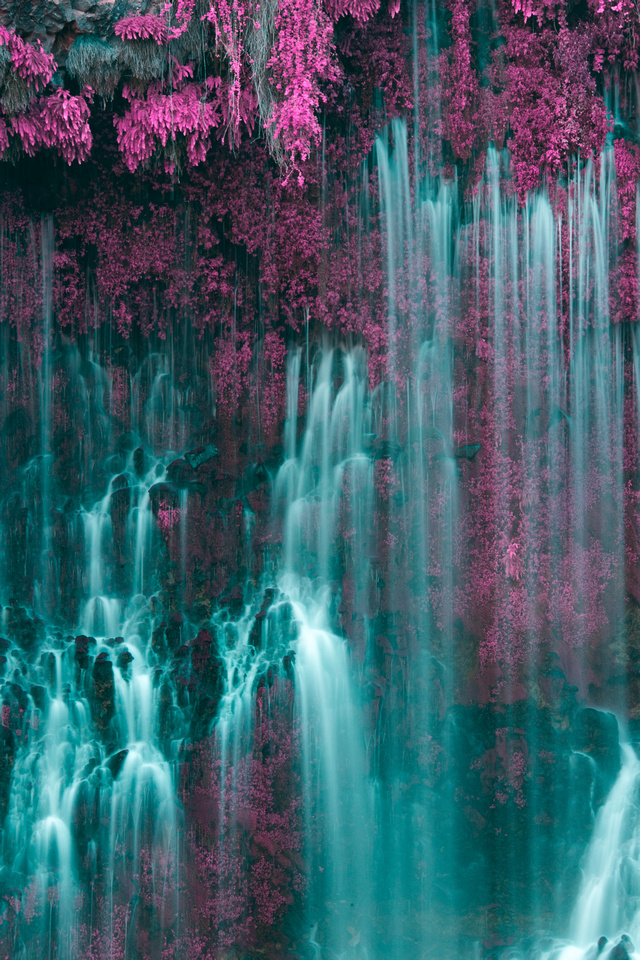 Burney McArthur Falls, Burney Falls State Park, California
Creating Black and White Infrared effect using Lightroom or Photoshop
- Open image in Develop Mode
- Under the Basic Menu, select Black and White as the Treatment
- Under the HSL/Color Menu: slide the Yellow and Green sliders to +100
- Under the HSL/Color Menu: slide the Blue slider to -100

- You can use the selection wand to decrease clarity, giving a glowing IR effect to any foliage in the image is desired.
- You can follow these same steps in Photoshop, but if you tend to work out of Lightroom, it is much faster here.
 Oak Tree, Crane Creek Regional Park, California Oak Tree, Crane Creek Regional Park, California
|
That's it! I hope this post has inspired you to try out Infrared Photography, or at least fake it in your post processing tool. To see all Infrared photos in this gallery. check out my Infrared Gallery here.
