Focusing Methods and when to use them
Text and photos by Heather Cline
There are three critical components that a successful photo must include: Proper exposure, Good composition, and Sharp focus. While modern cameras and lenses can't so everything for you - they do offer many options to help you improve focus. This post is intended to walk you through some of the options and when you might want to use each type.
1. Manual
Given the improved capabilities camera offer in the auto-focus area, I wouldn't be surprised to hear that some photographers have never used this setting, but it has it's place.
- In low light situations, such as dawn or dusk, when auto focus just can't zero in on the subject to focus on, you may need to revert to manual focus.
- Another related scenario is night time or astrophotography. For tack sharp stars, manual focus is the way to go.
- Finally, if you are doing a focus stacked image, you may want to manually focus on each element that you want in focus for each "slice" of the stack.
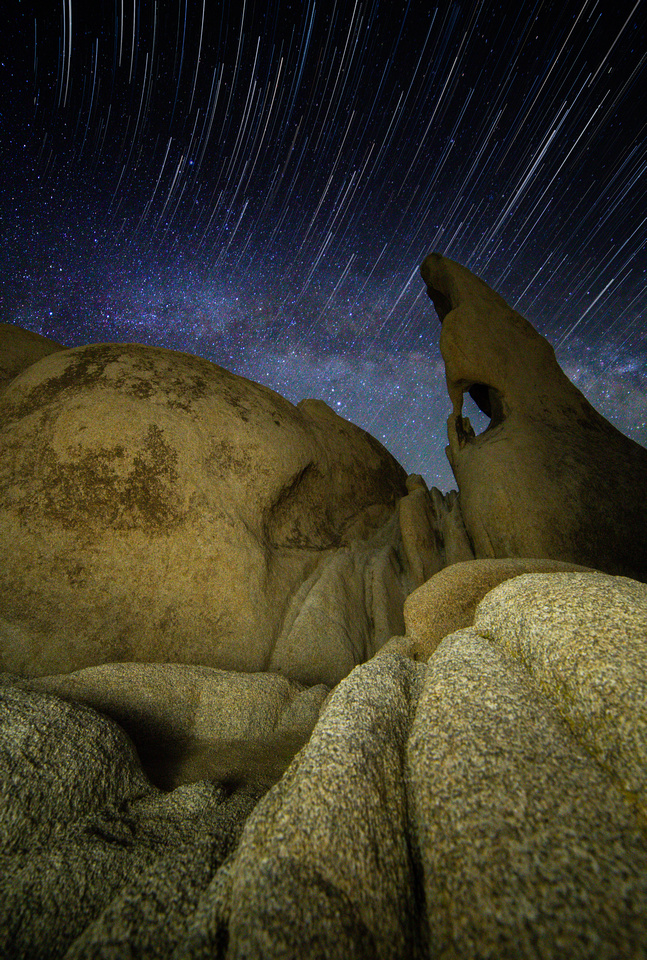 
Wizards Eye Milky Way and Star Trails - ISO 3200, F1.4, 30 seconds, manual focus |
2. Auto focus
The auto focus setting is reliable for locking on focus to ensure your image is tack sharp. It also tends to be faster than us humans at refocusing at a moments notice. So, it's no wonder this setting is used for action like sports and wildlife.
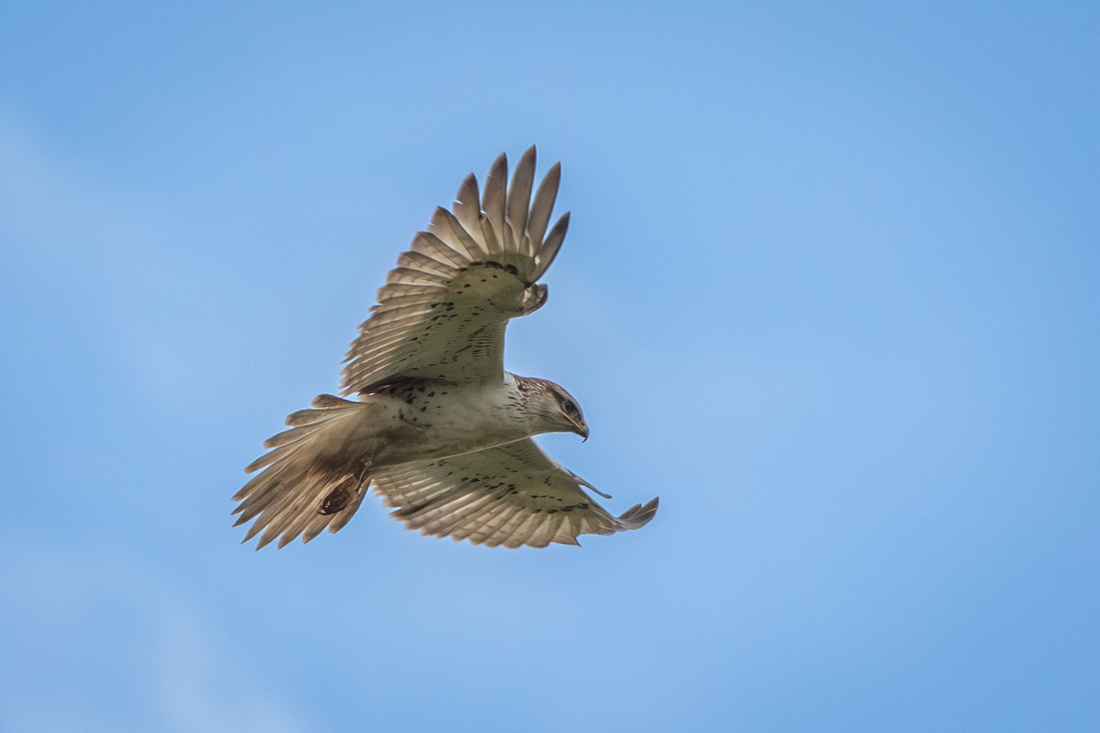
Northern Harrier - ISO 1000, F11, 1/1250 second, Auto Focus |
3. Live View
Most cameras are equipped with Live View these days. One of the most useful benefits of this feature is the ability to see the subject on the LCD screen as opposed to the viewfinder, and be able to zoom in up to 10x. This is extremely helpful for ensuring focus in macro photography. You can combine Live View with auto focus to get your base focus set then tweak it by using manual focus so you can get it just where you want it.
I use this method for my wildflower photography and it is outstanding. One note: Live View will burn batteries more quickly so remember to bring back-ups if you are out in the field!
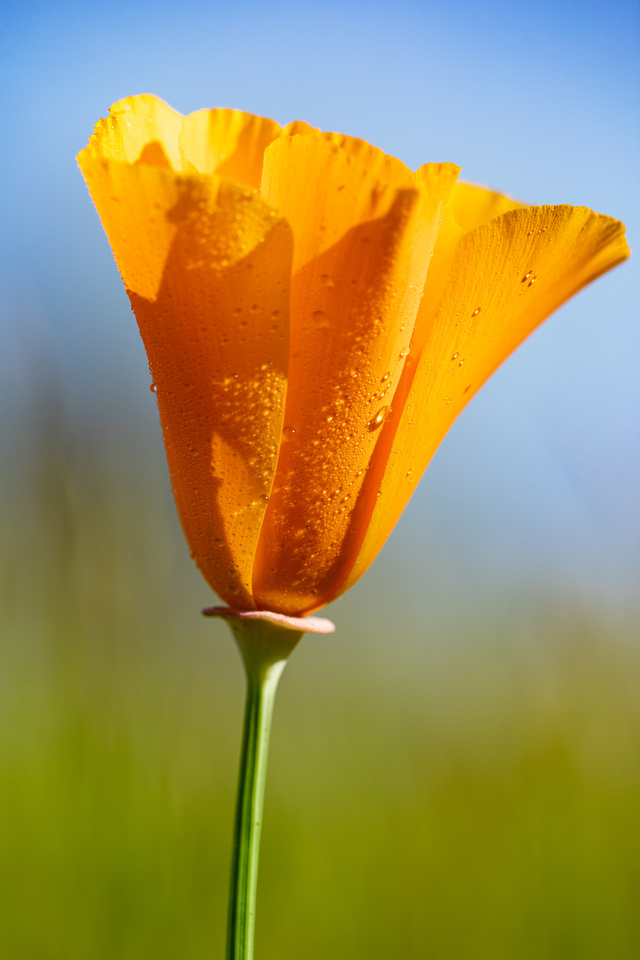
California Poppy - ISO 100, F5.6, 1/250 second, Live View and manual focus |
4. One Shot
There are three bundled settings on most cameras related to focusing that you want to dial in before you need to use them: One Shot, AI Focus, and AI Servo. Choose One Shot when both you and your subject are stationary - like a landscape.
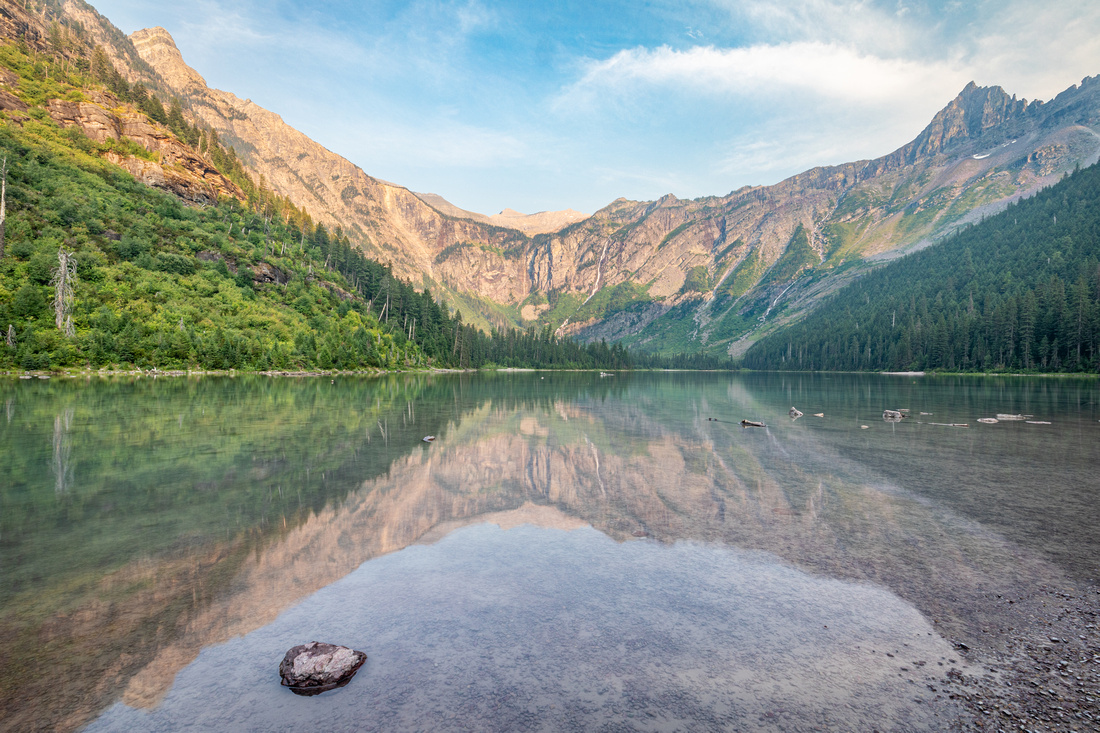
Avalanche Lake, Glacier National Park - ISO 100, F18, 0.5 second, One Shot Auto Focus |
5. AI Servo
AI Servo is for moving subjects when the focusing distance keeps changing. A good example is when you are photographing a subject that is moving towards you. If you are wildlife photographer, you probably use this setting a lot.
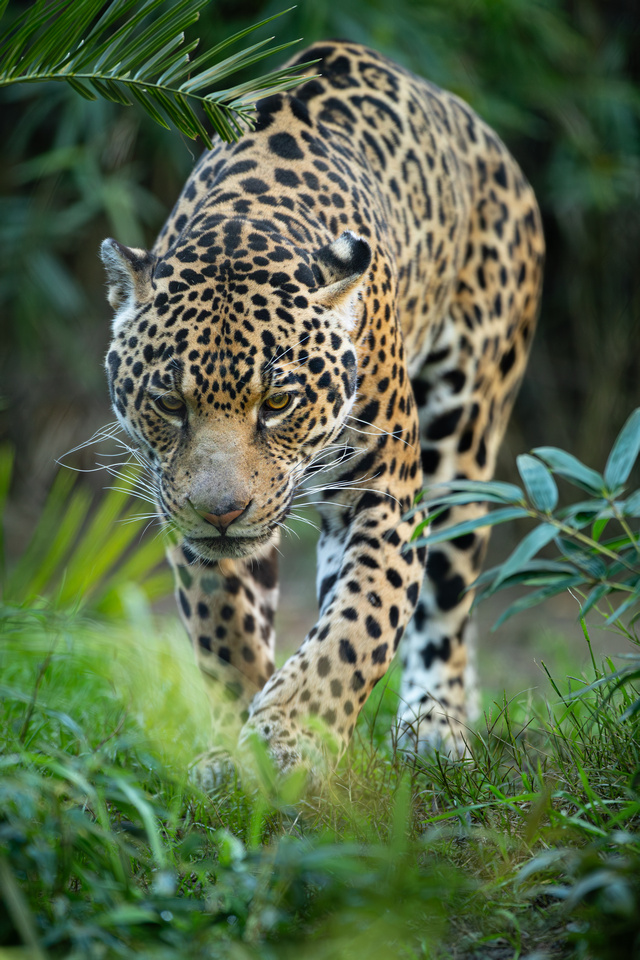
Jaguar - ISO 800, F4, 1/250 second, AI Servo Auto Focus |
6. AI Focus
AI Focus provides a bit of a combination of both One Shot and AI Servo. This setting automatically switches the auto focus mode from One Shot to AI Servo if the still subject starts moving.
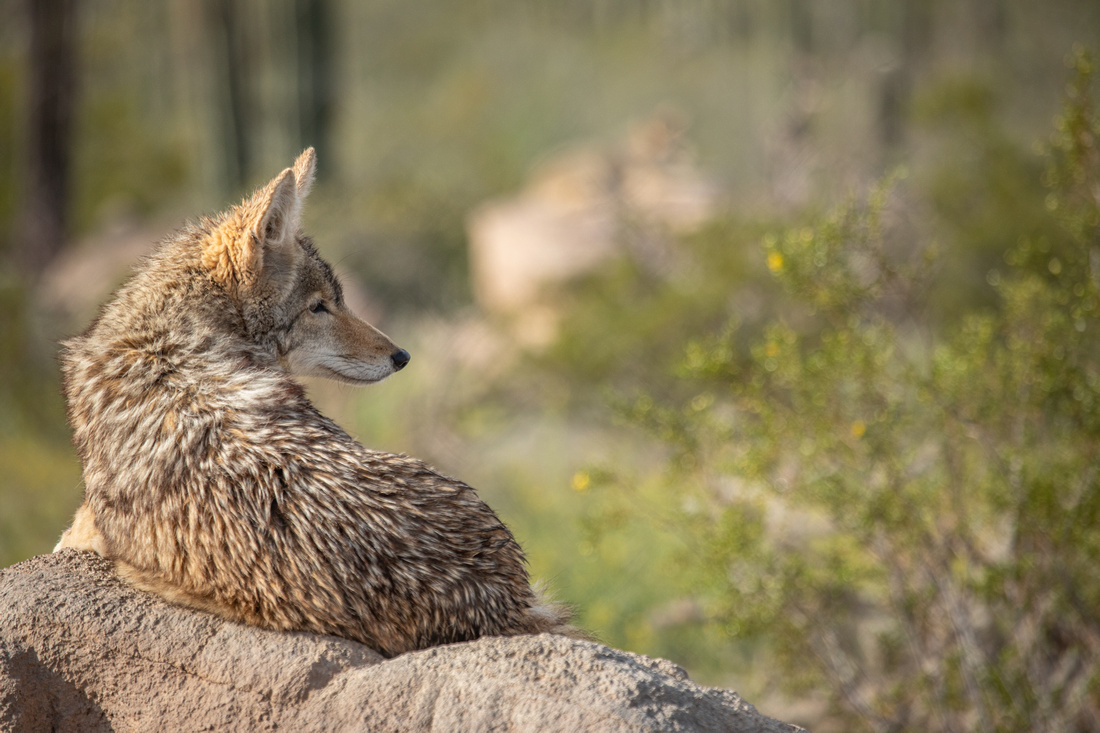
Coyote - ISO 400, F5.6, 1/250 second, AI Focus Auto Focus |
I hope you enjoyed these simple tips for getting the most out of your camera's focus features. Now if you aren't sure how to set these for your camera model, get out that camera manual.
