Road Trip!
Road Trip: Photography On A Budget
Text and photos by Heather Cline
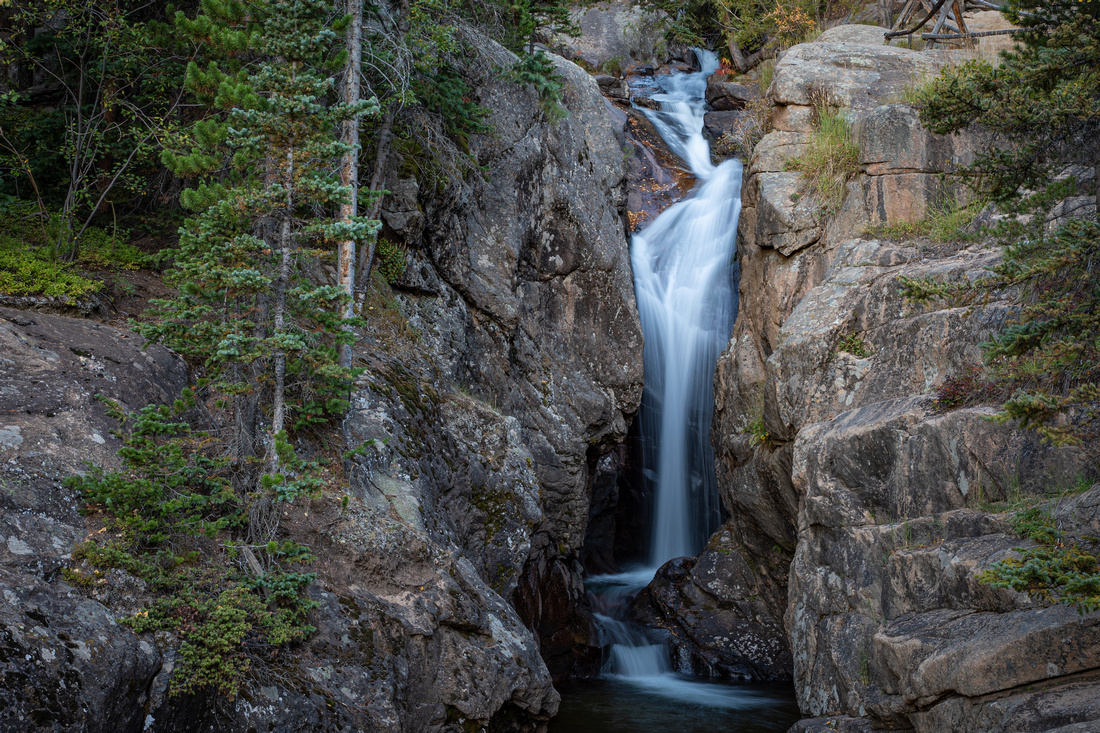 
Chasm Falls |
If you have been reading my blog for a while, you know a few things about me. I love national parks, wildlife, photography, and I might be a little frugal. I've had a goal of visiting all the 64 national parks in the United States for almost 20 years now. As a west-coaster, it's been easy to visit all those parks near California but as I need to push further east, it has become more challenging to visit new parks without breaking the bank. Travel is expensive!
I recently decided to knock all four of Colorado's national parks on one weeklong trip that spanned over 3,000 miles, and I did so for just over $100 a day. Here is an overview of my trip and budget.
Leg 1: Home to Mesa Verde National Park
The first leg of the trip from California to Mesa Verde National Park was just over 1,000 miles and 15 hours long. To help break up this long drive, I left California on a Friday after work and drove to Ely, Nevada. This required 2 stops for gas, and I used the second gas stop as my overnight location. Love's Travel Stops make for great (and free) sleeping locations if you just need to sleep. I recommend ear plugs if you are a light sleeper!
I finished the drive the next morning, making it into Mesa Verde by 2:00 PM. Note, if you are travelling from California, you lose an hour as you cross into Utah.
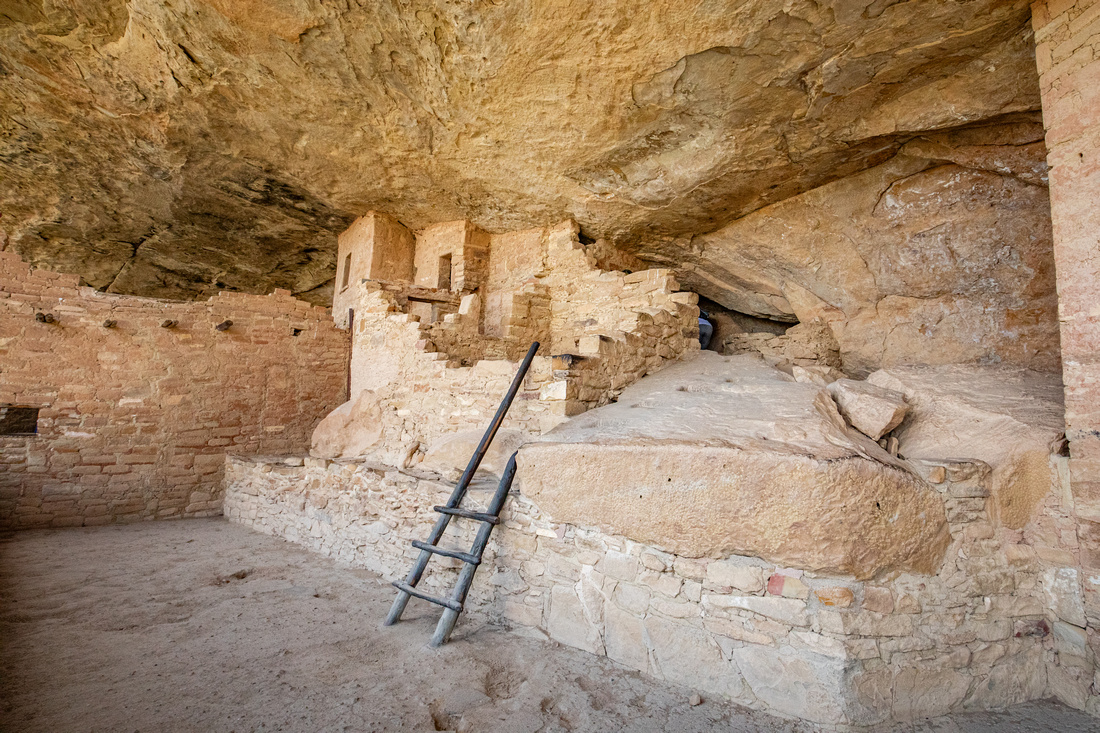

Balcony House cliff dwelling, Mesa Verde National Park
I spent 2 days in Mesa Verde, focusing on viewing and touring several cliff dwellings the park is known for. The guided tours to hike into the dwellings is an extra cost ($41 for 3 tours) but is totally worth it. You get to climb up and down ladders and through small tunnels to access the sites and the park rangers provide a ton of information on the history of the sites and area. The cliff dwellings were built over 800 years ago and are in remarkable condition given their age. It is amazing to think that people used only hand tools to chisel thousands of bricks to build these dwellings - and did so on the side of cliffs. There are over 600 of these dwellings in the Mesa Verde area.
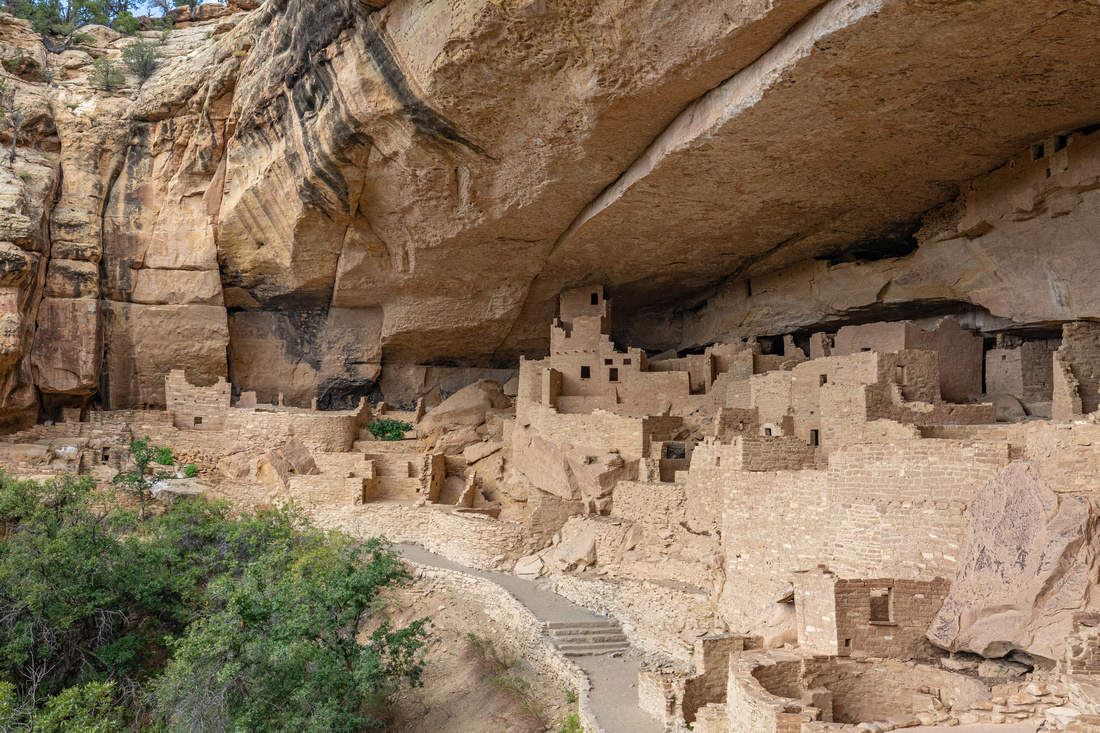

Cliff Palace cliff dwelling, Mesa Verde National Park
The campground had good, flat sites, showers, and even a general store and restaurant very close by. I bring all my own food to save on costs, but it was nice to know there was a backup plan if needed.
While this park is not known for wildlife, I couldn't help but look for animals at dawn and dusk. Mule deer were abundant here and generous models.
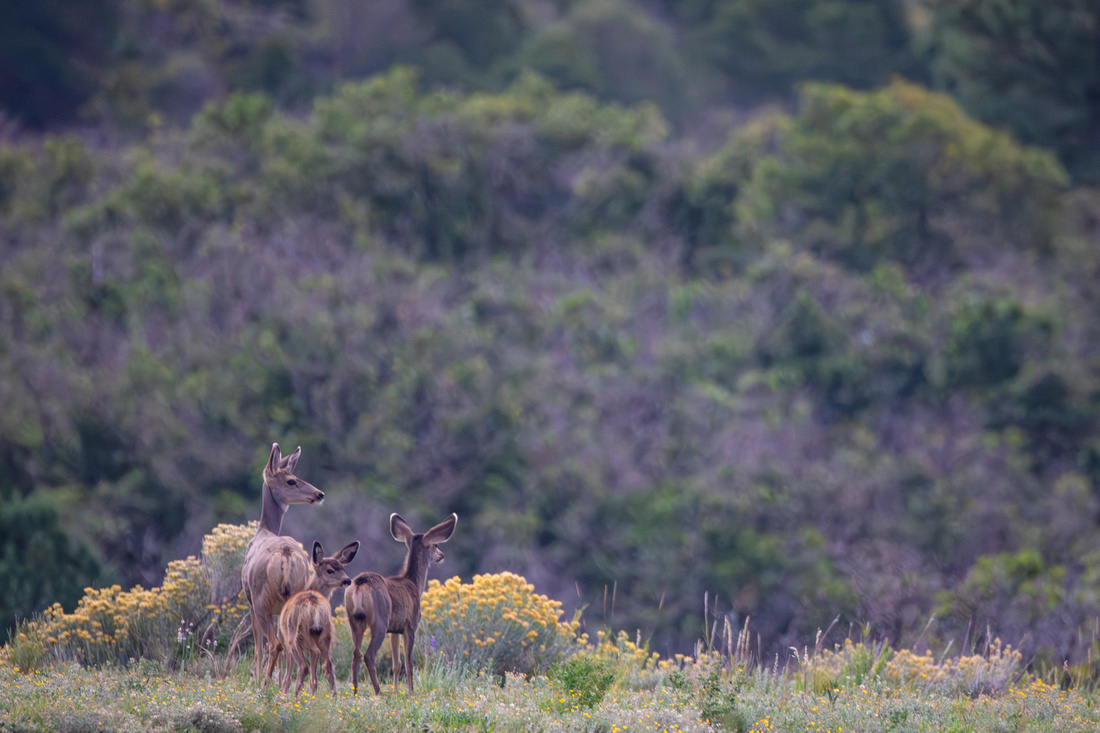

Mule Deer doe and twin fawns
Cost breakdown for Leg 1 of the trip:
| Type | Cost |
| Gas | $210 |
| Lodging | $80 |
| Food | $0 |
| Park Entry | $80* |
| Tours | $41 |
| Total | $411 |
*Each year, I purchase a National Park Interagency Pass for $80. This covers entry into national parks, monuments, recreation areas, etc. If I hadn't purchased this for this trip, I would have paid $120 to access these 4 parks, so it paid for itself in one trip.
Leg 2: Mesa Verde to Great Sand Dunes National Park
After two days at Mesa Verde, I drove 220 miles to Great Sand Dunes National Park. I spent one night there, and the total mileage was limited so I only made one fuel stop.
Great Sand Dunes has one pretty major attraction and it's the dunes. I've visited sand dunes in southern California at Death Valley and Mojave Desert, but these dunes were massive in comparison. It was raining when I arrived, but it cleared up a bit at sunset and I was able to take a few photos. If you visit during the early summer months, Medano creek flows across the flat part of the dunes, making a large shallow river that you can actually go tubing in.
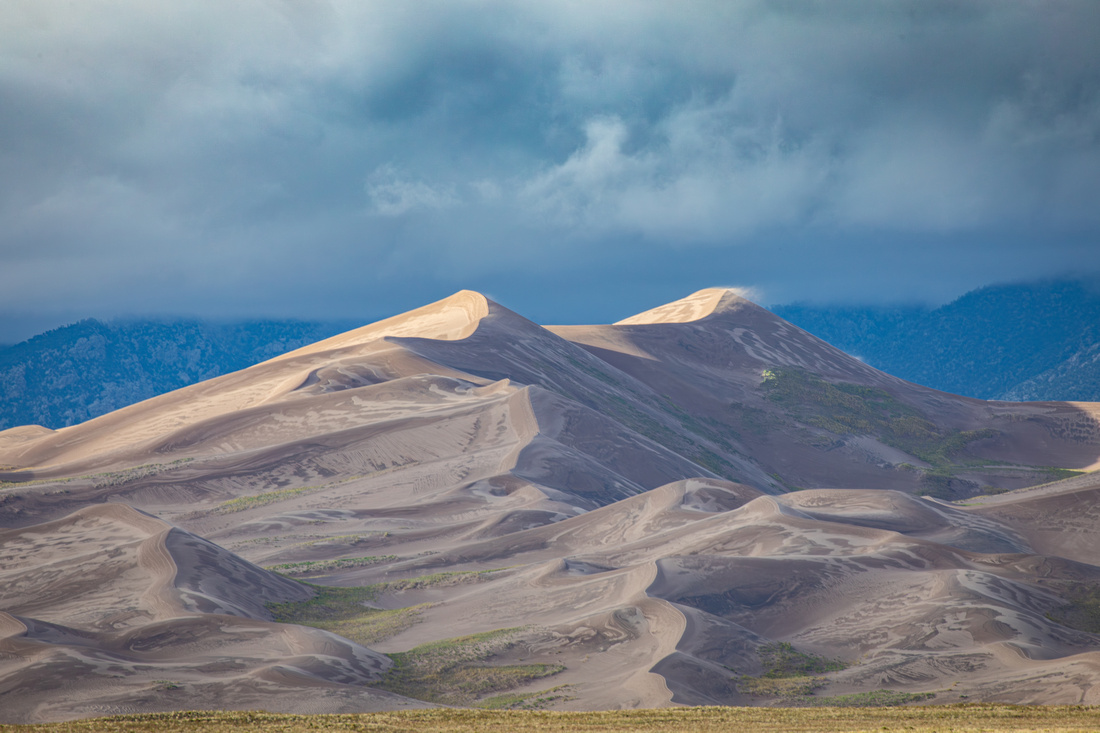

Great Sand Dunes National Park
The campground was narrow but had flat sites and good wind protection. There are no showers at this campground, but they do have flush toilets.
There are a few wildlife refuges near this location that I checked out, but it was a bit too early for the sandhill crane migration, but there was a small herd of elk near the entrance of the park. Sadly, I completely lost one full memory card of photos on this trip, which contained 100% of my elk photos. :( I suppose that is a good excuse to come back one day.
Cost breakdown for Leg 2 of the trip:
| Type | Cost |
| Gas | $59 |
| Lodging | $20 |
| Food | $0 |
| Park Entry | $0 |
| Total | $79 |
Leg 3: Great Sand Dunes National Park to Rocky Mountain National Park
From Great Sand Dunes, I headed 273 miles north to Rocky Mountain National Park, where I spent the next 3 nights. It rained nearly the entire drive, and the forecast showed it would be clear. Colorado certainly has unpredictable weather patterns, but it made for more interesting views along the way. One thing I noticed during this part of the drive was the fall colors. Beautiful aspens covered the mountain sides, and I wish I had more time to stop for photos.


Colorado Fall Colors
Estes Park was my home base while visiting this park. It is a very touristy town located on the east side of Rocky Mountain National Park. There are many hotels, RV parks, and campgrounds in this area. Whenever possible, I boondock but not being familiar with the area and restrictions, I opted to book a campsite that was less than 10 minutes from the park entrance. The convenience was great and not having that fear of a 2:00 AM knock from local law enforcement helped me sleep better at night.
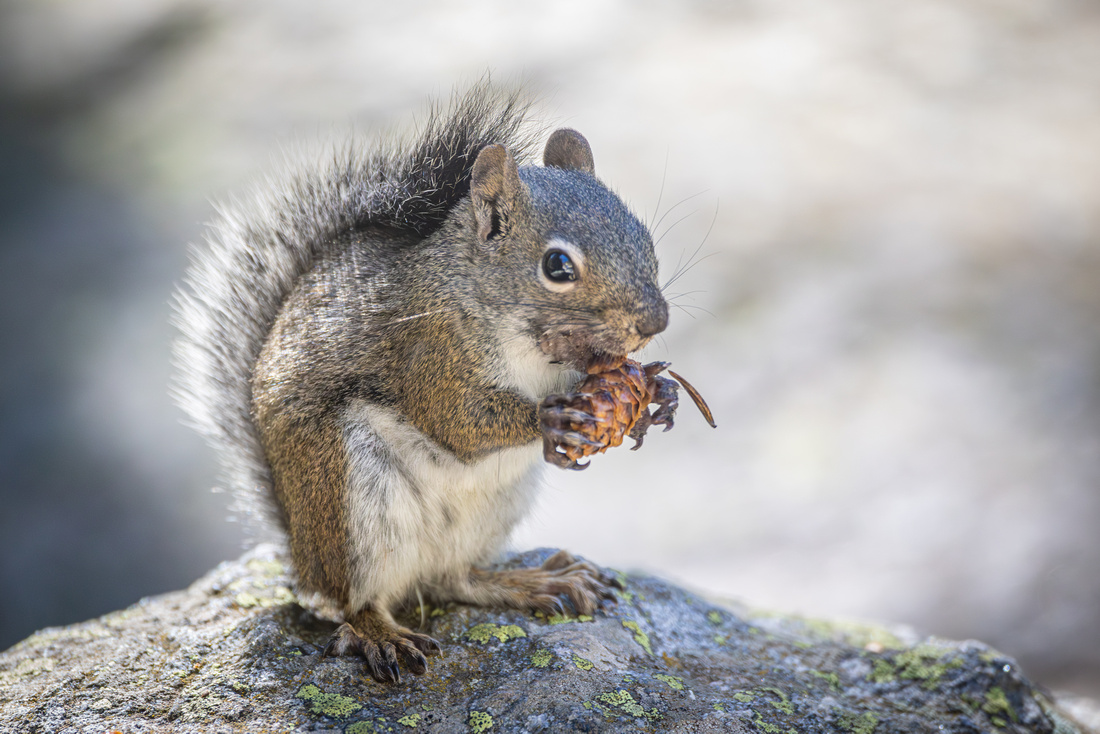

Chickaree Squirrel
This park is very busy in the fall due to the elk rut. It is so busy that you have to make a reservation (at $2 a piece) to enter if you are driving into the main part of the park after 9:00 AM or on Bear Lake Road after 5:00 AM. While I did drive the entire park, Bear Lake Road is arguably the most scenic part with tons of hikes, lakes, waterfalls, and wildlife. While I was here, I saw hundreds of elk, several mule deer, 4 moose, 1 bear, as well as lots of birds and squirrels. This was my favorite of the 4 parks I visited - not surprisingly due to the amount of wildlife - my favorite.
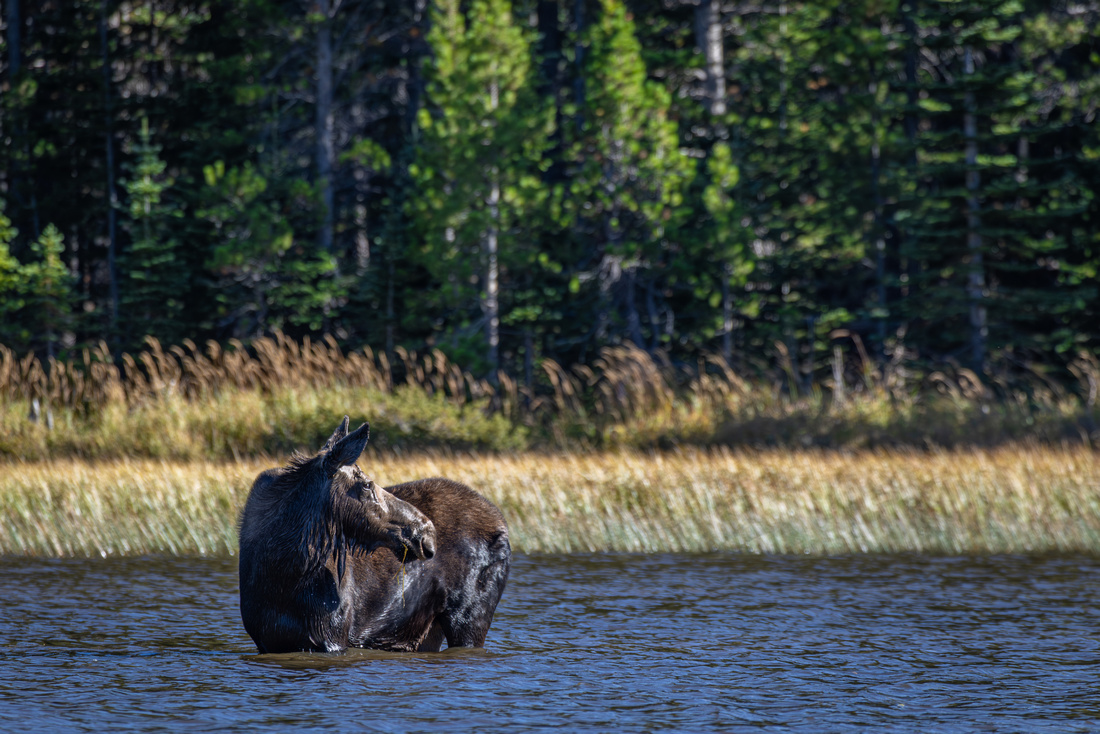

Moose in Bierdstadt Lake
I did not love the campground because it was essentially just a hilly dirt lot with no wind breaks - and boy was it windy! They also require that you set up a tent even if you aren't sleeping in it. I loathe silly rules, and I found I also loathe setting up a tent when it's raining and windy. Despite this annoyance, they did have showers which is a luxury in my usual travels.
Cost breakdown for Leg 3 of the trip:
| Type | Cost |
| Gas | $138 |
| Lodging | $162 |
| Food | $0 |
| Park Entry (reservations) | $6 |
| Total | $306 |
Leg 4: Rocky Mountain National Park to Black Canyon of the Gunnison National Park
The drive from Rocky Mountains to Black Canyon of the Gunnison involved a bit of a detour because I wanted to drive over Guanella Pass, making for a long driving day. I was hoping for a chance to see mountain goats or bighorn sheep but no such luck. I did see a moose and a few Pikas. If you are in this area and are able to drive Mount Evans, that has a pretty good guarantee of seeing mountain goats, but it was closed for construction during my visit, so I opted for Guanella Pass and it did not disappoint for fall colors. It's a very scenic area with several hikes - but I warn you - it is super crowded so pack your patience.
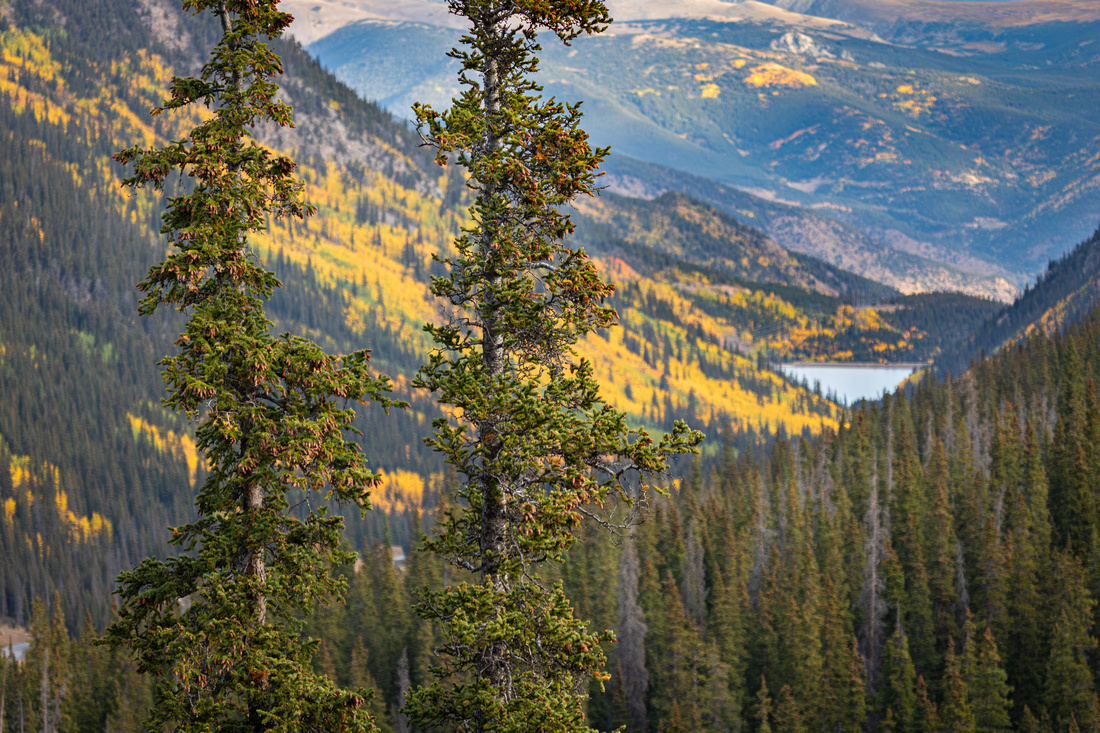

Guanella Pass
After the pass, most of the drive is pretty mundane but there were a couple sections with some nice fall colors and really beautiful rock spires very close to Black Canyon. If I had more time, I would have spent the night in that area to photograph them at sunset.
I encountered road construction several times along the way, putting me behind schedule and at risk of not making it to the visitor center before closing. It is critical to get to the visitor center at least once during a National Park visit so I can stamp my passport. If you are a national park dork like me, I'm sure you understand. By the way, as of this trip, I have visited 36 of the 64 national parks in the U.S.
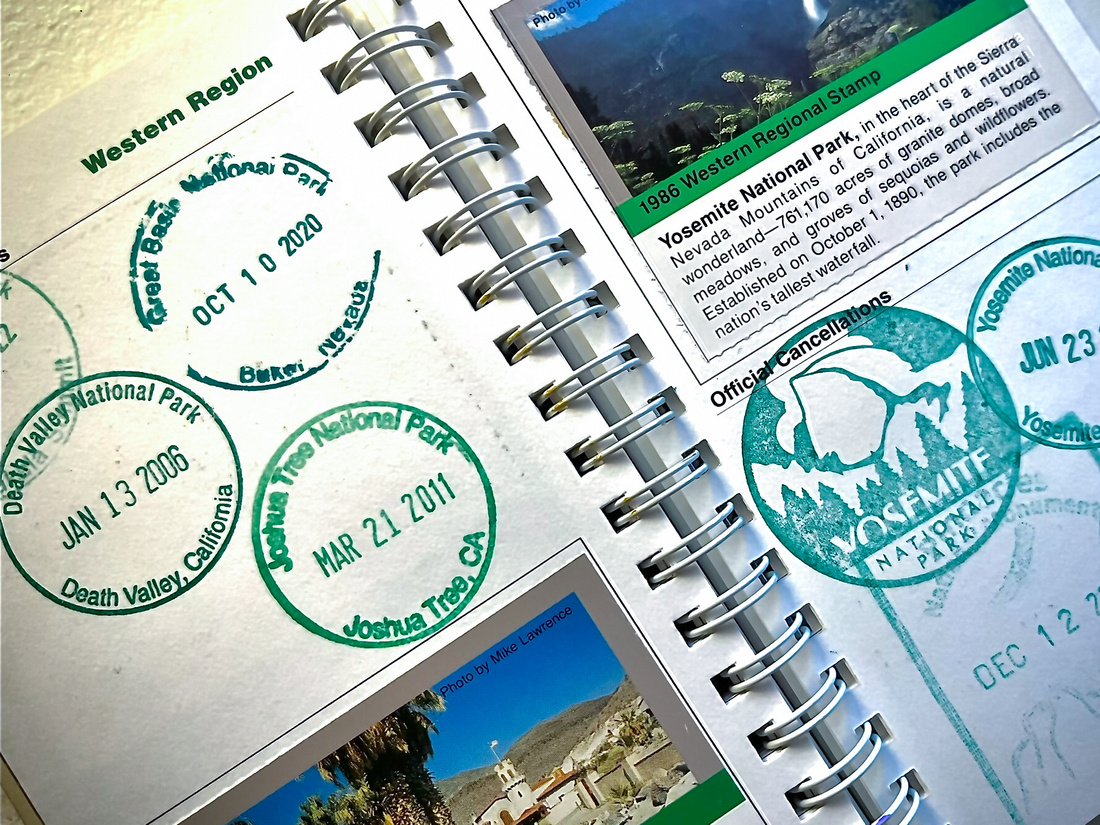

Fortunately, I made it in time. Phew!
I then stopped at several viewpoints to scout out sunset and sunrise options before getting my campsite for one night. The park wasn't too crowded so getting around was pretty easy. The campground, located near the visitor's center was great. There were ample sites that were level and offered some privacy. It was a primitive campground with vault toilets and no showers, but it was peaceful, making for a good night's sleep after a long day.


Dragon Point, Black Canyon of the Gunnison
Cost breakdown for Leg 4 of the trip:
| Type | Cost |
| Gas | $59 |
| Lodging | $20 |
| Food | $0 |
| Park Entry | $0 |
| Total | $79 |
Leg 5: Black Canyon of the Gunnison National Park to Home
After a lovely sunrise and getting to know a couple other photographers in the park, I started my long journey home of 973 miles, travelling through Colorado, Utah, Nevada, and California. Since this was going to take over 14 hours, I opted to break it into 2 days, doing most of the drive on the first day and finishing up on the second.
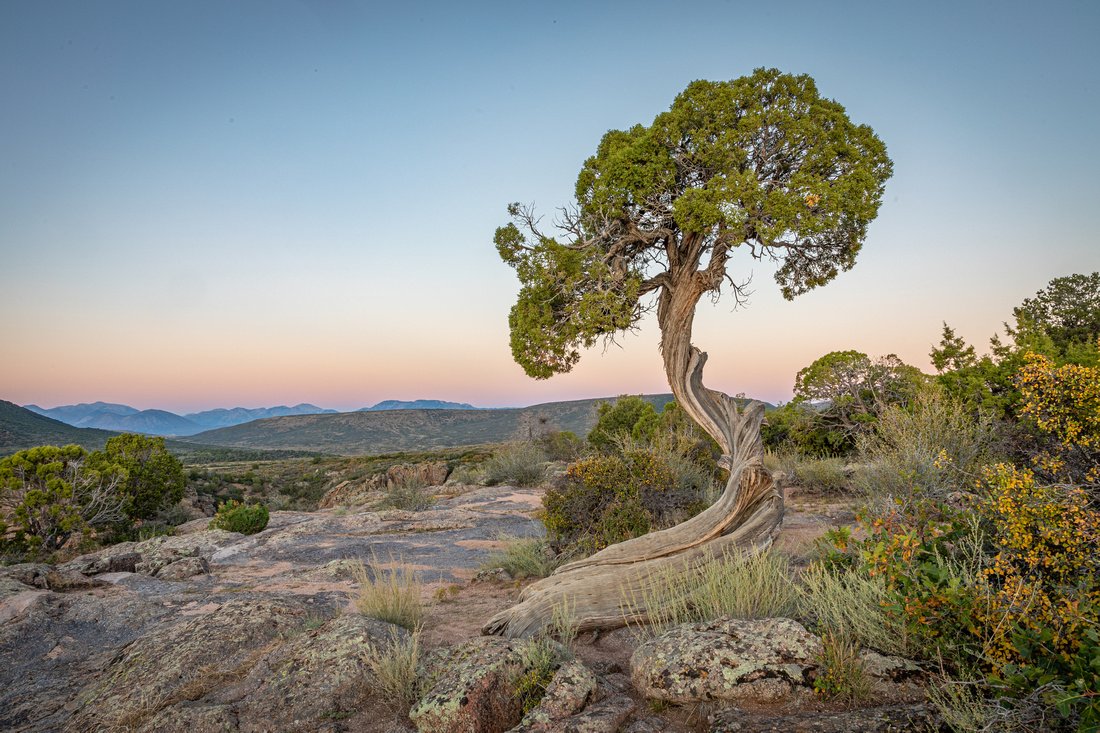

Juniper, Black Canyon of the Gunnison
There is a point on every trip that I know it's time to put away my camera and this was that time. The whole way home was pretty much all freeway driving. It's not my top choice but I needed to get back home to do chores and food prep for the week, so I remained focused.
There was a rest area conveniently located off of Highway 80 near Fallon NV and that was my resting place that evening, alongside several campers and trailers on their own road trips. It had bathrooms, was quiet, flat, and best of all - free. I slept well and was ready to hit the road early the next morning.
Cost breakdown for Leg 5 of the trip:
| Type | Cost |
| Gas | $162 |
| Lodging | $0 |
| Food | $0 |
| Park Entry | N/A |
| Total | $162 |
Extra details
I didn't say much about my camping rig or food along the way, so I wanted to add some of those details for anyone interested in doing something like this.
Food
- I bring all my meals on road trips. Why? It's cheaper, saves time, and is easier than finding food on the road.
- You might think I'm making cup-of-soup, cold sandwiches, or dehydrated meals for dinner, but no, no, no, no. I pre-make meals that I actually want to eat like burrito bowls, eggplant parmesan, veggie stir fry, and tofu cacciatore.
- Lunches are typically cold since I'm eating them 'on the go' but I can still bring some pretty good stuff like white bean & avocado sandwiches, southwest quinoa salad, and Asian noddle salad.
- Breakfast varies based on the trip and temperatures, but I bring everything from oatmeal to fruit, banana bread, or homemade granola bars.
- For snacks I mix it up. Sometimes I bring popcorn, veggie chips, fruit cups, and trail mix. These are all shelf stable, so I don't need to take up extra space in my refrigerator.
- I use 2 products that have made eating on the road a whole lot nicer:
- HOTLOGIC portable food cooker. They sell these for AC or 12-volt power. I plug the 12-volt version into my vehicle while I'm driving to my overnight location. By the time I arrive, I have a hot dinner. You can put plastic, paper, foil, or parchment in it safely. I've used the vacuum sealer bags to pre-package my meals, and they work great, but I'm planning to start using the re-usable mylar bags on my next trip to be more earth-friendly.
- Jetboil backpacking stove. I use this to boil water for my morning coffee. I'm pretty low maintenance but I'm not going to face the day without my morning joe! I've experimented with different methods and found some decent instant coffees so that is what I have been using for a couple years now. Starbucks brand is pretty good.
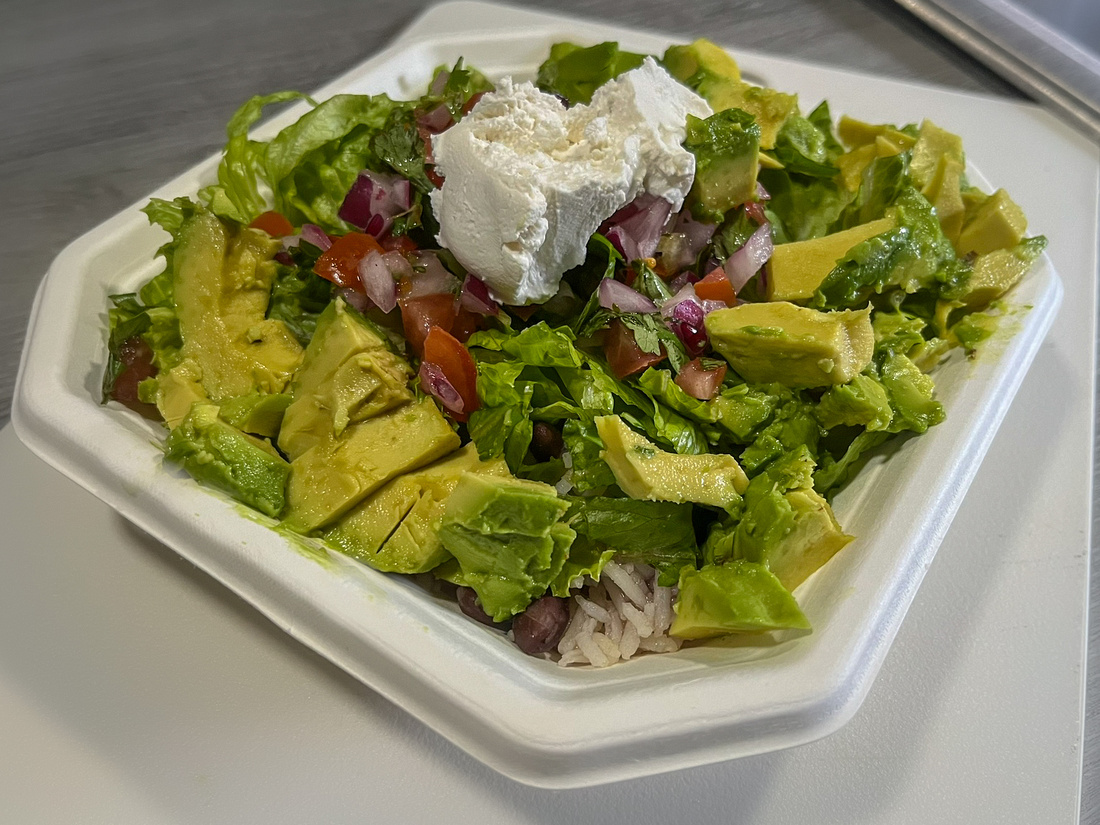

Burrito Bowl
My Camping Rig
- I have a full-size pickup truck with a standard 6 1/2 foot bed and camper shell. I spent months drawing up plans, then my dad helped me convert it into a mini camper. It has solar power, a bed, refrigerator, sink, fresh & gray water tanks, and tons of storage. It even has an emergency toilet! With these features, I can be if needed, 100% self-contained.
- Refrigerator: Dometic CFX3 25-Liter - I have packed 16 days of food in this fridge!
- Goal Zero Yeti 500X Portable Power Station with 100-watt solar panels that power my fridge and devices
- Hand pump faucet with a 15x15" sink and 2.5-gallon fresh water / 1.5-gallon gray water tanks
- Rechargeable disc lights
- Homemade window covers using Reflectix for temperature control
- Winter time warmth: Mr Heater Little Buddy propane heater
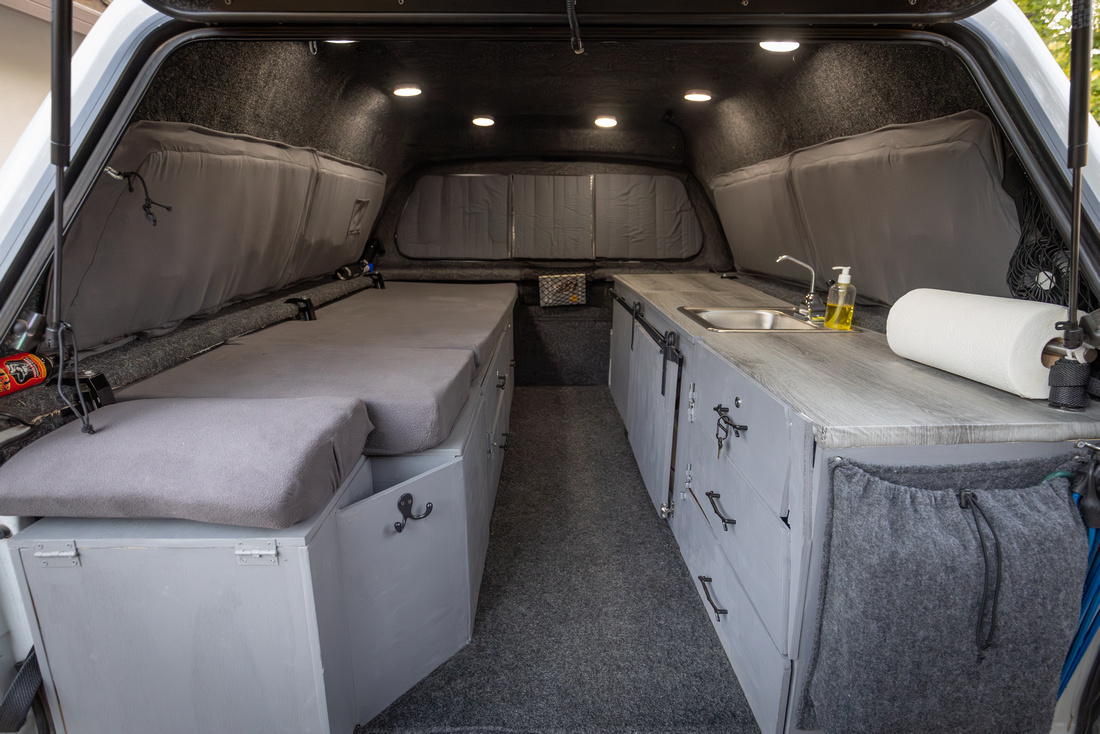

I've also started working from the road and when I do, I use the Solis Wifi Hotspot and we boost cell signal booster to ensure I can connect for meetings and online documents.
Finally, here's some quick stats from this trip:
- 3,000 miles
- 9 nights / 10 days
- 4 states
- 4 National Parks
- Total gas $628 (61% of total costs)
- Total lodging $282 (27% of total costs)
- Total Park entry and tours $127 (12% of total costs)
- Total food $0 (0% of total costs)
If you have any questions, please feel free to drop me a note. It's fun to compare ideas with other travelers.
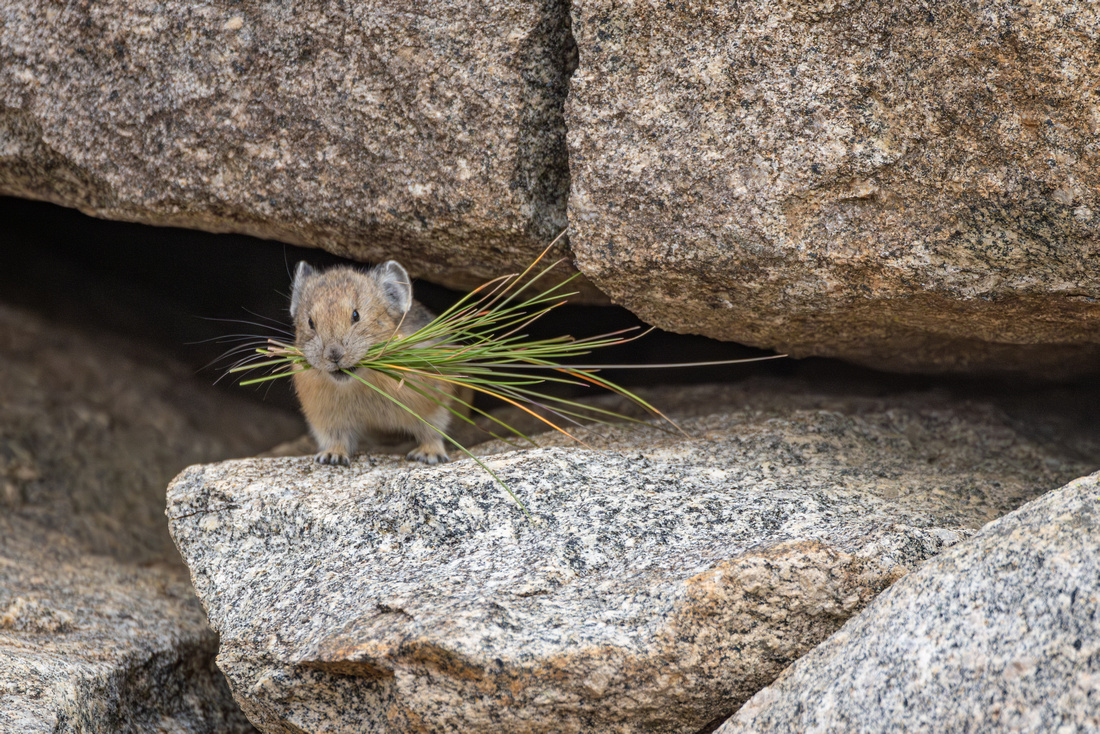
I'll conclude with a photo of one of my favorite critters that I observed on Guanella Pass, the Pika. This pika was gathering grasses to dry out in the sun, then store in its den during winter so it has a food source when options are limited.

Happy travels!!!