About the light: types of lighting in nature photography
One of the key ingredients to create an excellent photograph is light. There are many types of light, each resulting in a different effect and requiring different techniques to master. I’ve outlined 15 different types of light you may encounter in nature photography. It doesn’t really matter which of these types of you light you are working in - but how you use the light to create an excellent image.
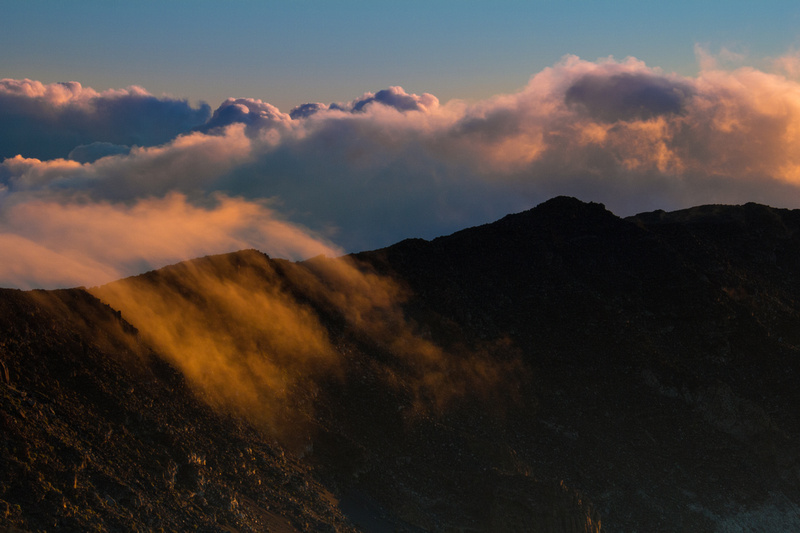
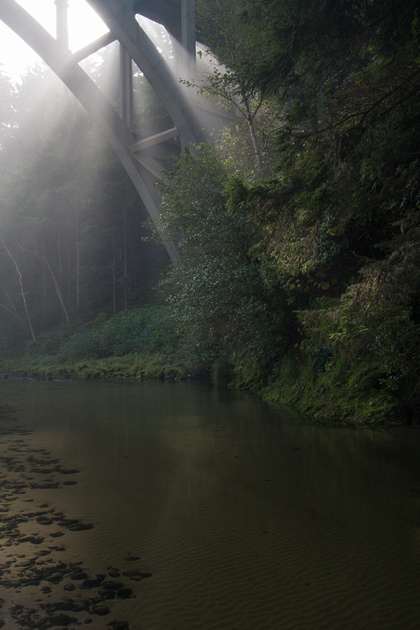
1. Ephemeral lightThis is light that breaks through clouds for a brief period of time. This means the light is changing rapidly so you need to be prepared when it lights the scene just right. I metered off the brightest part of the scene and went up 2 stops to ensure I retained detail in this part of the scene. I ended up having enough time to take another 1 stop lower but found this exposure was better. I added contrast and warmth in Lightroom.
|
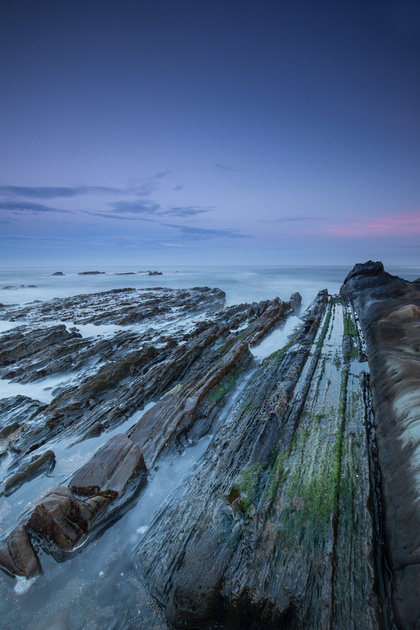
2. Blue hourThis is the period roughly 30 minutes before sunrise or after sunset when the light has a cooler, blue-ish cast to it. Because there is less light at this time, exposures will be long and a tripod is necessary, and a remote shutter release will help prevent camera shake.
|
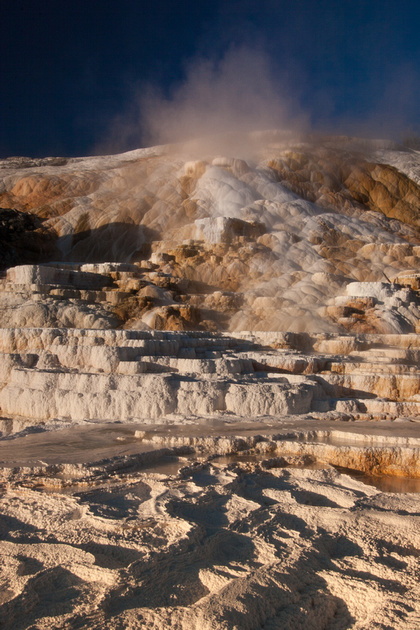
3. Sunrise lightThis light tends to have warm tones and possess all the other qualities of side light. This is another time when a tripod is a good to have as exposures tend to be longer at this time of day. If the subject is not moving wildlife, you can close down the aperture to increase depth of field and let the exposures go as long as needed. I often use a 3 stop hard graduated neutral density filter if the shot has bright sunrise sky and a darker foreground. This helps to get detail in the shadows without blowing out the highlights.
|
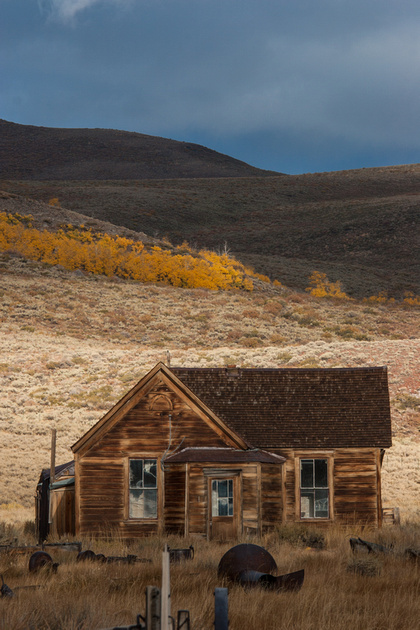
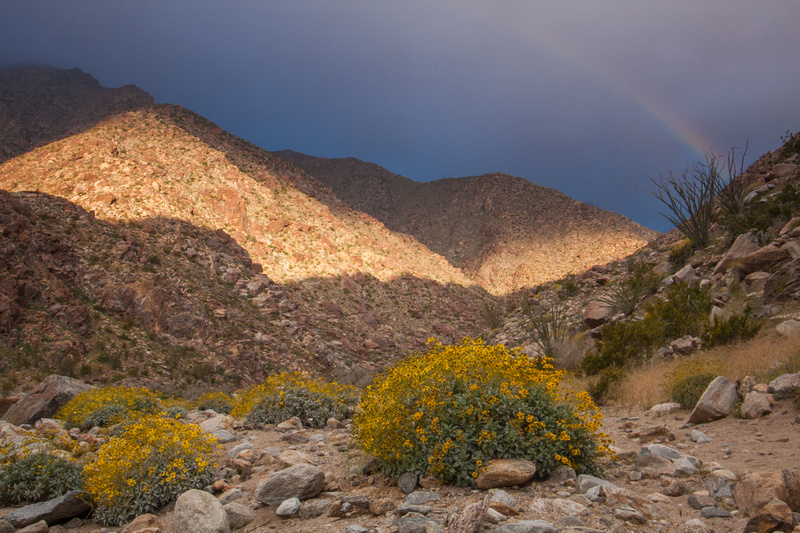
4. Checkered lightThis is common when there are a lot of clouds, perhaps before a storm, where the sun is able to strike some of the landscape directly, while other parts receive indirect light. This situation is much light ephermal light except that ephemeral light can light the entire scene while checkered light will give you two types of light across the scene. To capture a good exposure, meter the scene off the brightest portion and dial up the exposure 1.5 - 2 stops then adjust as needed to ensure the brightest area is not blown out and the shadows still contain detail. If the contrast is too high, determine which part of the scene is most important to you then protect that exposure. More often than not, I protect my highlights at the risk of losing some shadow detail.
|
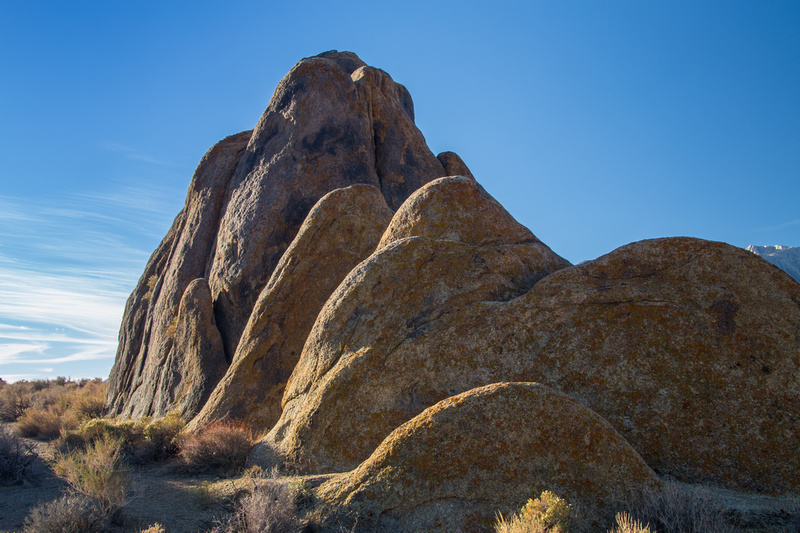
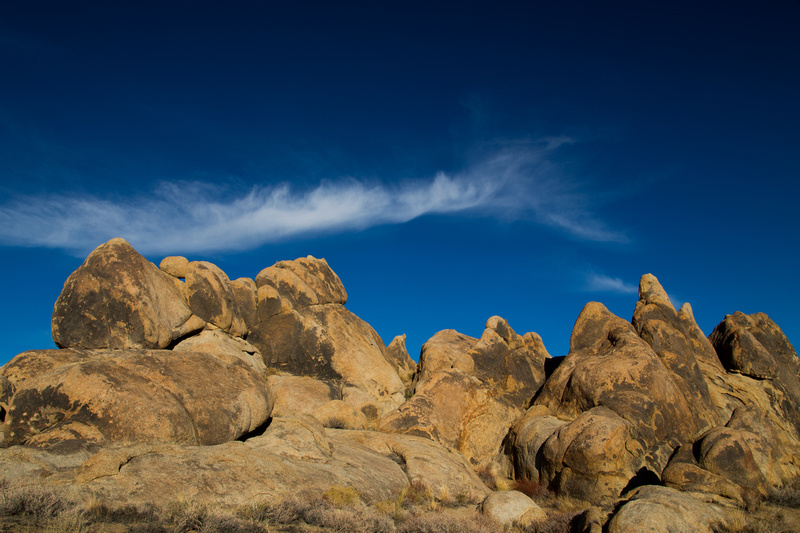
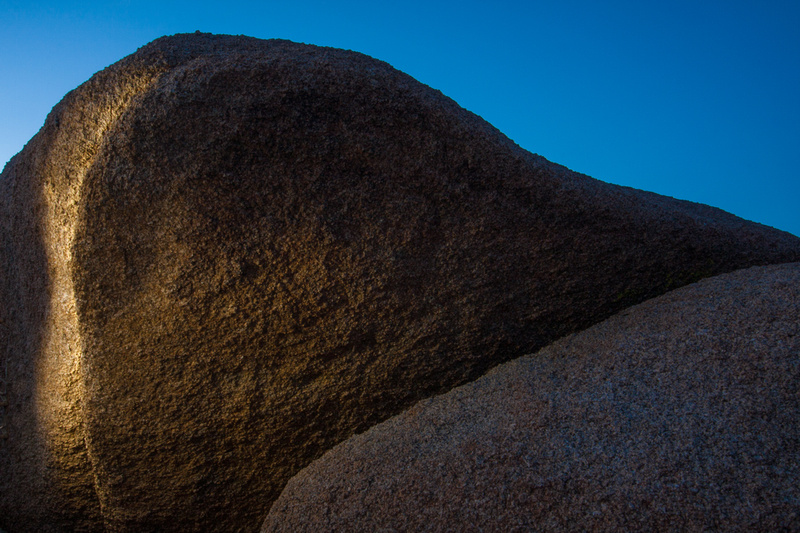
5. Side lightingThis type of light emphasizes texture, defines depth, and brings out patterns. This tends to create more dramatic images. Side lighting is best when the sun is low in the sky, at sunrise and sunset. This can be one of the least problematic light types to deal with and gives you the most benefit when using a polarizing filter.
|
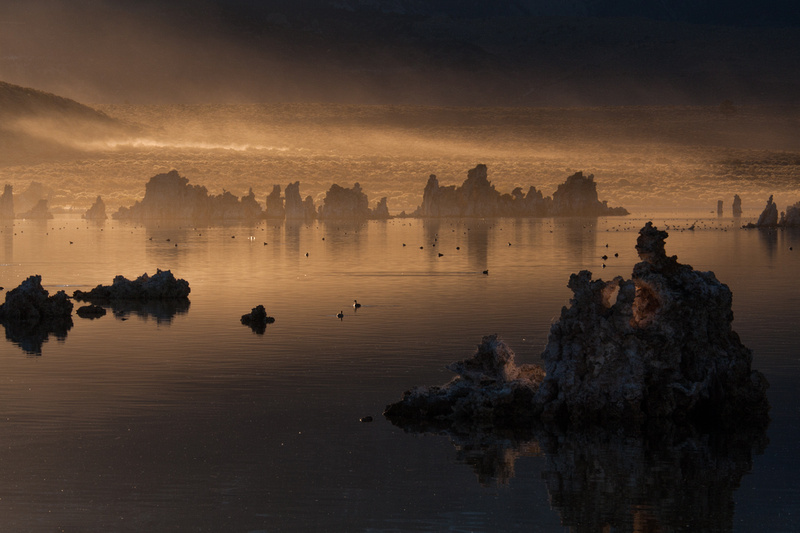
6. Back lightingThis lighting is when the sun is behind your subject. Also best when the sun is low in the sky, at sunrise and sunset. Lens flare can become an issue but you can use your lens hood to block flare. This is great for creating silhouettes and emphasizes shape. This situation typically allows you to sacrifice detail in shadows - but sometimes you can get lucky - as I did here when the surrounding tufas bounced light into the tufa in the foreground, improving shadow detail.
|
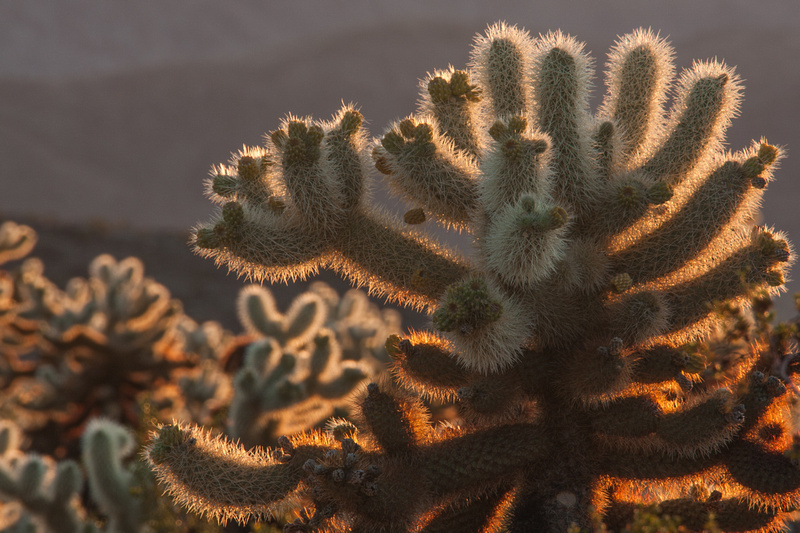
7. Rim lightingThis occurs when the light shines through the edges of your subject creating a glowing outline. Best when shot against a dark background so that the lighting on the subject stands out. Metering for this is much like backlighting. You can easily sacrifice shadow detail to achieve the best highlight exposure.
|
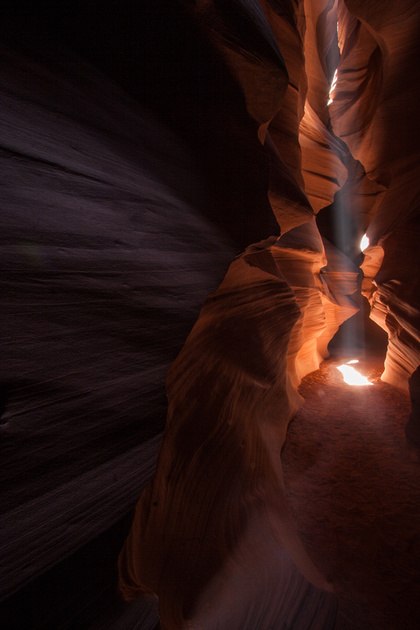
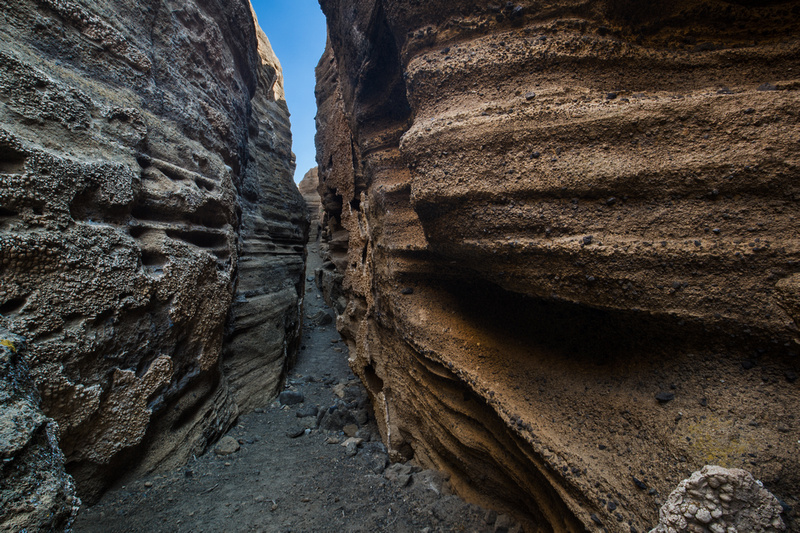
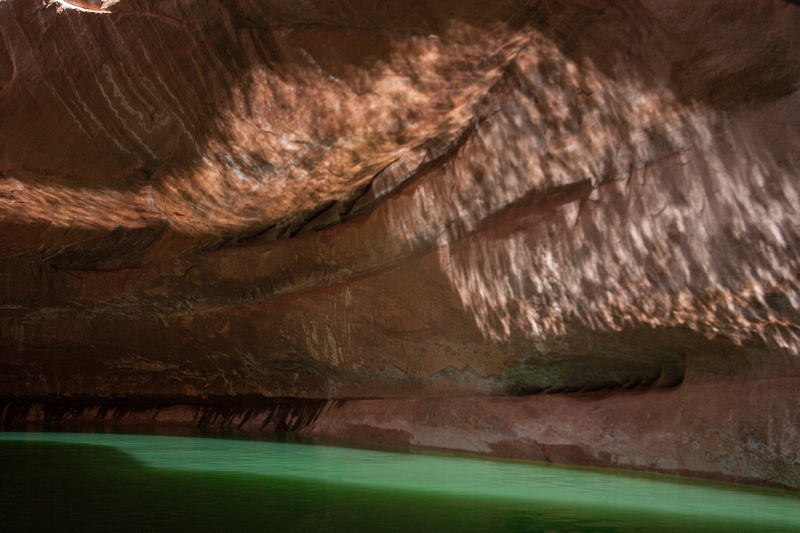
8. Ambient lightThe light that exists in the scene. It can be sunny, foggy, overcast, or at night. I think of the light that is cast into slot canyons as ambient light because I am typically shooting what is naturally there versus adding artificial lights. These two slot canyons had very different level of light filtering in.
|
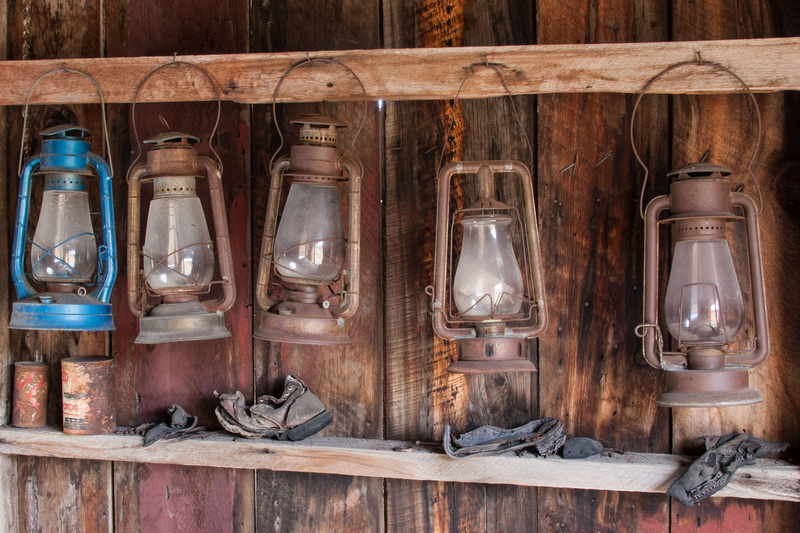
9. Soft or diffuse lightThis type of light tends to wrap around the subject resulting in diffuse shadows and soft edges. The light source is typically large relative to the subject. Good examples are a cloudy day, sunlight filtered through a scrim, indirect light, open shade, and sunset light. This is a low contrast light so if you meter off the area closest to middle gray, you are likely to achieve a good exposure.
|
10. Hard lightThe shadows created by hard light typically have harder edges with less transition between the light and shadow. Good examples are a sunny day and direct flash. This light has high contrast, which makes for challenging meter readings. You can use a graduated neutral density filter if the scene allows it, bracket and make an HDR post process, or sacrifice details in your shadows or highlights to preserve those in the alternate light range.
|
11. Front lightThis is known as being the least dramatic light because it results in few shadows but is also a flattering and reliable light in portraits. This type of lighting will not produce strong texture, form, or shape, but it tends to make for an easy metering situation. Just meter off middle gray and you are likely good to go.
|
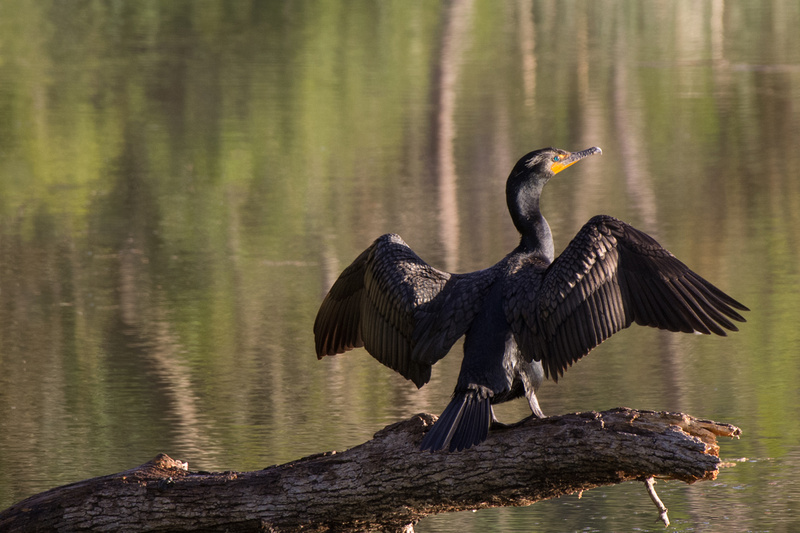
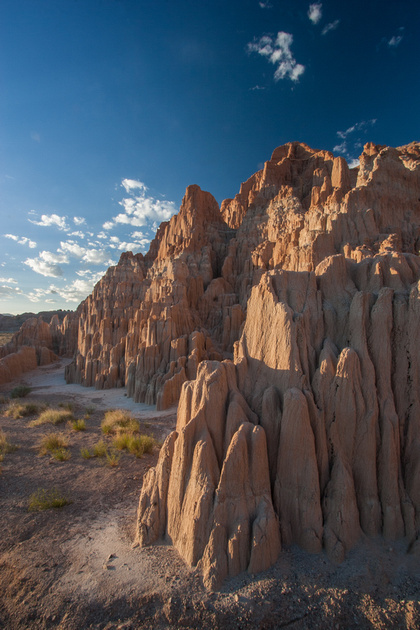
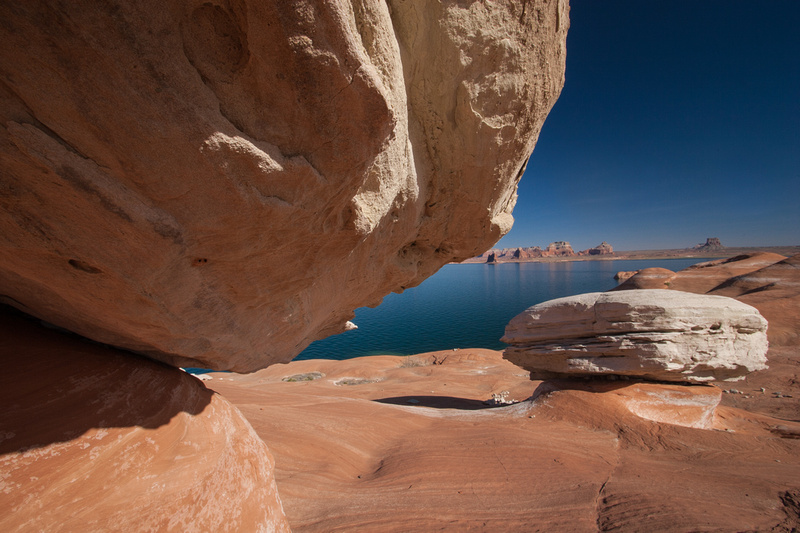
12. Reflected lightThis occurs when sunlight is reflected off an object before it hits the subject. Reflected light tends to be soft and have a color cast because the light will pick up the color of the object which is reflecting the light. If the light hitting the object is warm, during the magic hours, the resulting reflected light will be very saturated. I really like this type of light because the color quality it can provide. Plus, metering for this light is pretty straightforward, much like ambient light. |
13. Open shadeThis lighting is even. Exposures tend to be more accurate because it is less contrasty. Open shade allows you to capture detail in both extremes.
|
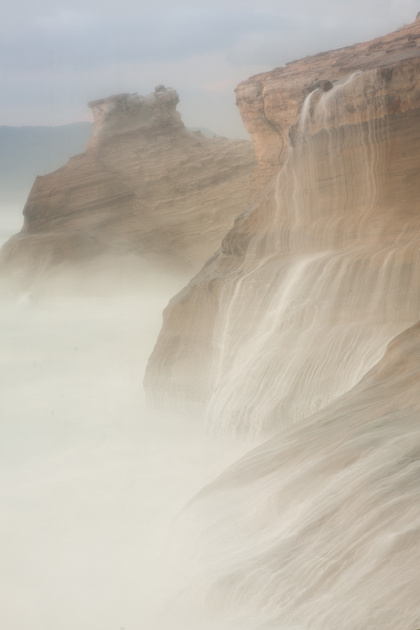
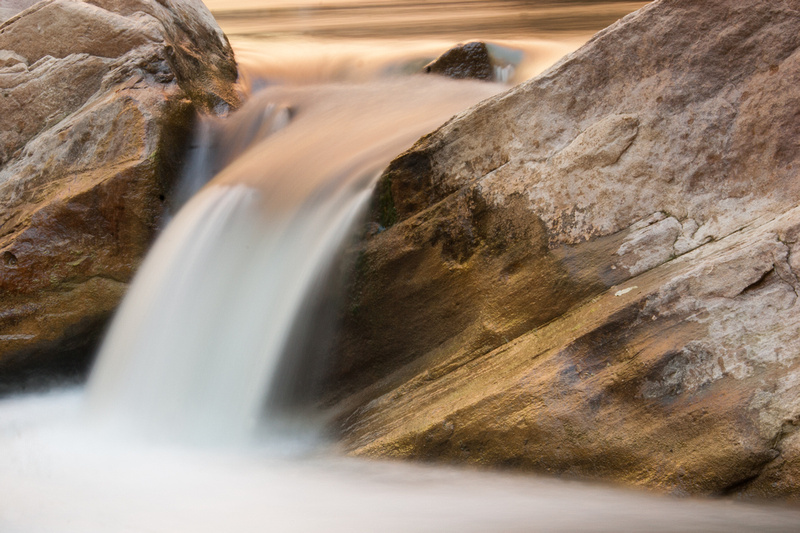
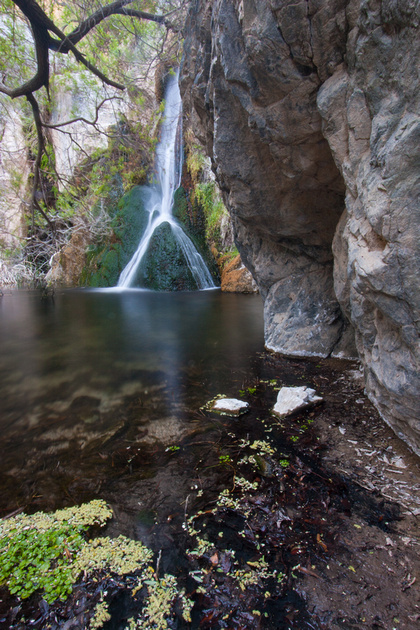
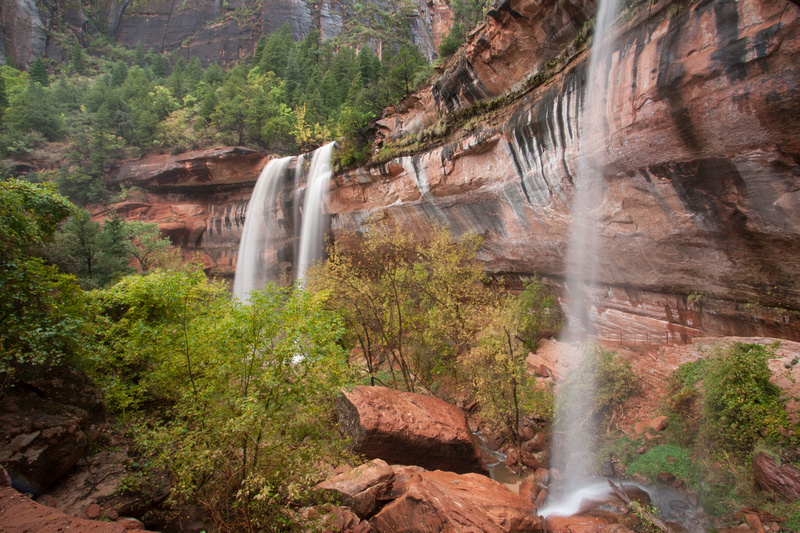
14. OvercastThis light is like having a large diffuser, acting much like open shade light while out in the open. The color temperature tends to be cooler so you may want to warm these up in Photoshop. Overcast is my choice for waterfalls since the overall range of light is lower so I can get good detail in shadows and highlights - all while getting longer exposures to result in a silky effect on the water.
|
15. Light paintingThis is when light is artificially added to the scene. This is a great technique to try before sunrise or after sunset when the light is limited. You will need a tripod and a remote timer is a good idea as well as exposures can be quite long.
|
| That's it! I hope you enjoyed this post and found it helpful when you venture out into whatever light is presented to you. |