How to: photographing waterfalls
When I am planning a photography trip, I am always on the lookout for waterfalls. I don't care if they are short, tall, free fall, or cascades - I don't discriminate! However, waterfalls can be a little challenging to photograph. Here's a quick guide to some waterfalls I have photographed, along with tips for getting the best shots.
- Hover over any photo for additional subject, location, and camera settings.
- Click on any photo to open a full size image in the gallery.
Settings and gear
- Settings: I typically shoot at slower shutter speeds (like 1 second) to get a more dramatic, misty effect. That usually requires using a small aperture (like f22) and low ISO (like 100).
- Filters: I generally always shoot with a polarizing filter because they help reduce reflections and glare as well as enhance colors. Polarizing filters are dark which results in a loss of 2 stops of light. Since I am going for longer shutter speeds, I'm totally fine with that. If it is really bright, I may also add a neutral density filter to drop another 2 stops of light so I can shoot at those long shutter speeds.
- Tripod: Since I shoot at lower shutter speeds, I always use a tripod.
- Water protection: Over spray and misty conditions are common when shooting waterfalls. You can buy fancy things to cover your camera in case of this but I have found that shower caps and small garbage bags work just beautifully and compact down small enough that I can keep them in my bag at all times. A small towel and microfiber cloths are a necessity for wiping down the camera and lens when it is uncovered for shooting.
Lighting
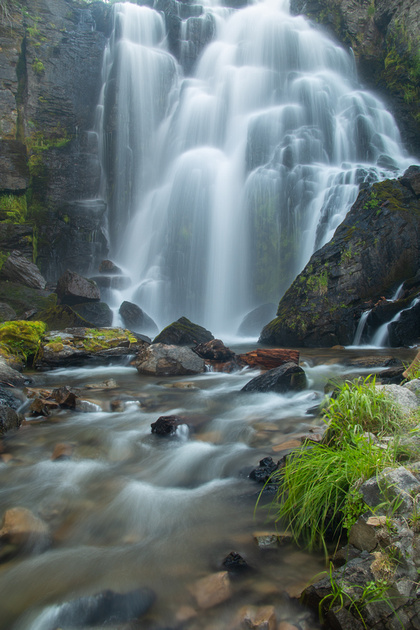
- Shade is ideal for waterfalls because it allows you to lengthen shutter speeds and eliminates those distracting "hot spots" that sunlight has a tendency to cause.
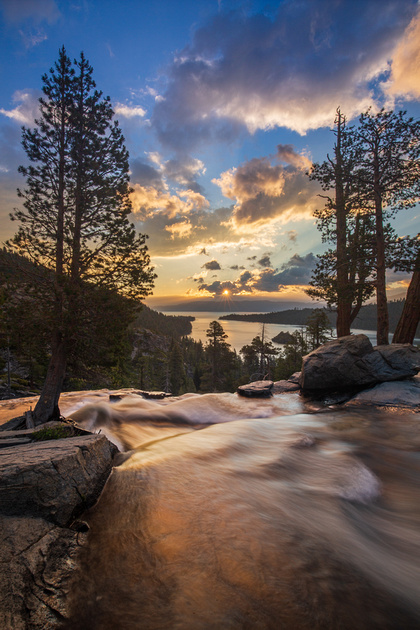
- Sun can be ideal if you want to create graphic patterns and play with shorter shutter speeds, as with the photo of Tamarack Falls below. If the location allows for good sunrise or sunset compositions, this can help to add some nice side lighting and color in the water, as with the shot of Upper Eagle Falls below.
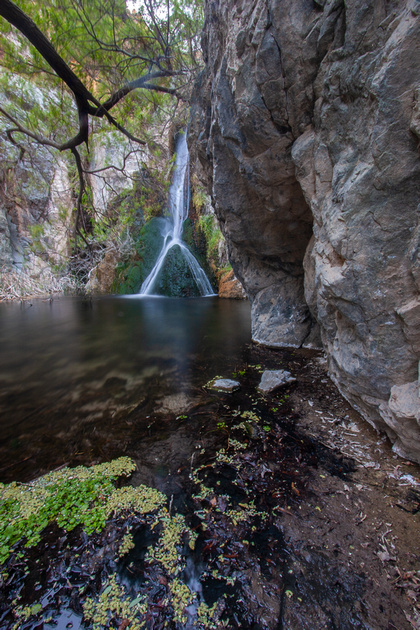
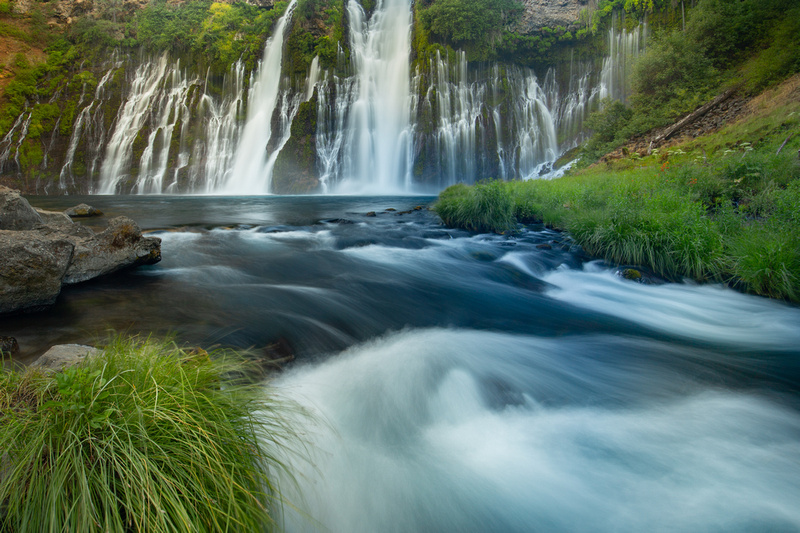
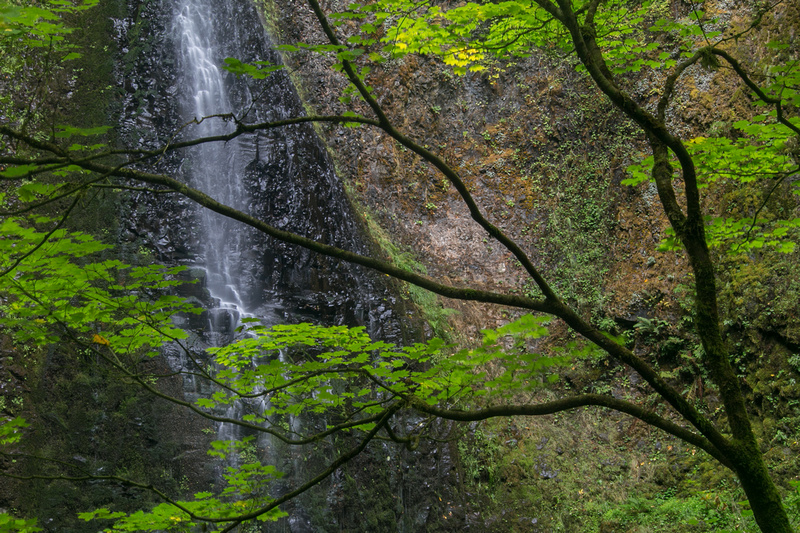
Include foreground elements
- Wide angle lenses [16 -35 mm range] are ideal for including foreground elements.
- If you are safely able to get to the base of the falls and include some foreground elements, this can help create a sense of place.
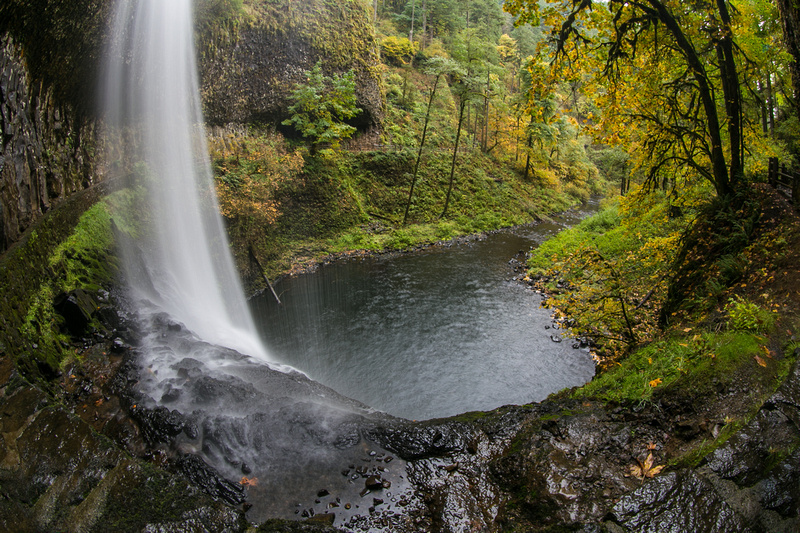
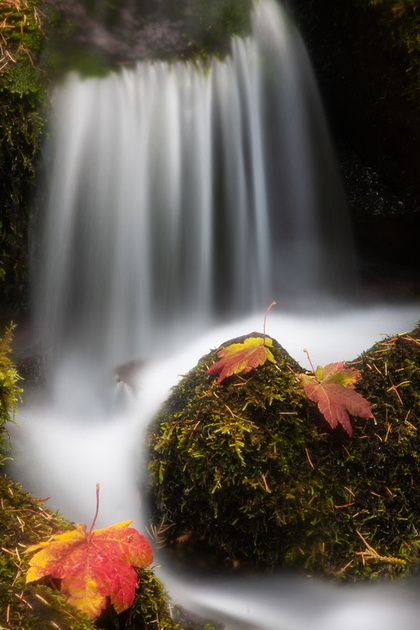
Incorporate the season/weather
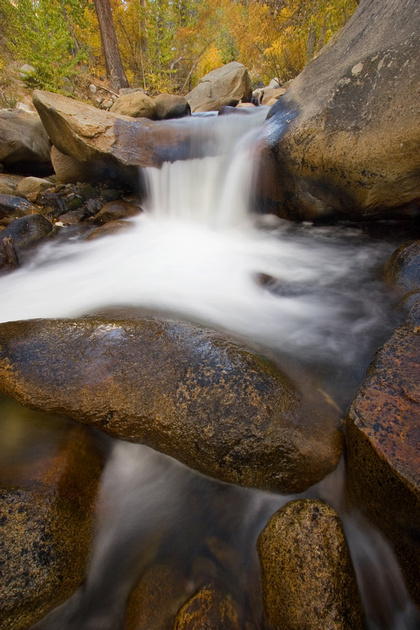
- Fall colors are a great addition to waterfall shots. They aid in a more dynamic composition, creating a mood with color, and telling a story about the location.
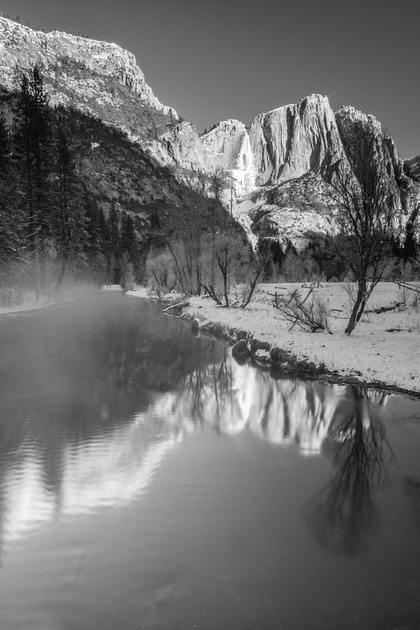
- Winter is great time to capture ice and snow. I think these make for nice monochromatic images as well.
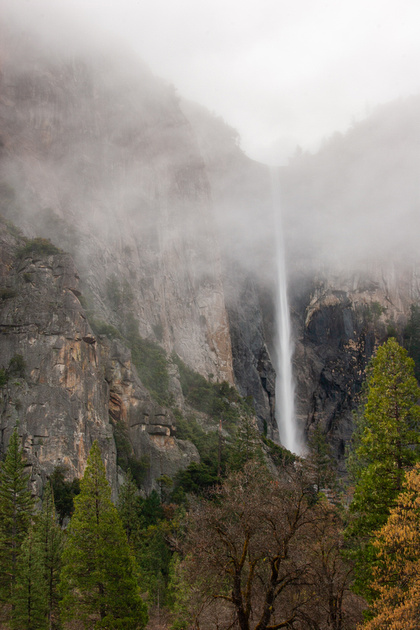
- Fog or low lying clouds can be a nice element to create a little more drama.

Don't forget the little guys
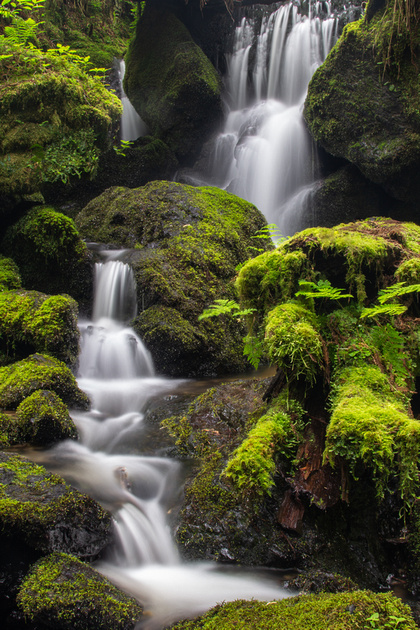
- Waterfalls don't have to be large to be worthy of a waterfall photo!
- Some of the prettiest falls I have seen are the smallest. Tiny Fern Spring in Yosemite isn't a true waterfall but it has a series of tiny cascades that create really cool reflections in the afternoon.

Panoramics
- You would think a vertical panoramic is the ideal way to shoot a waterfall but some falls and compositions lend themselves to horizontal panoramics.
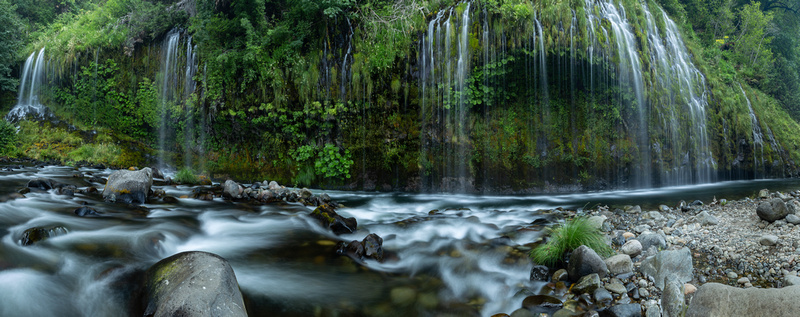 Panoramic, Moss Brae Falls16 mm
ISO 50, F16 @ 6 seconds Panoramic, Moss Brae Falls16 mm
ISO 50, F16 @ 6 seconds
|
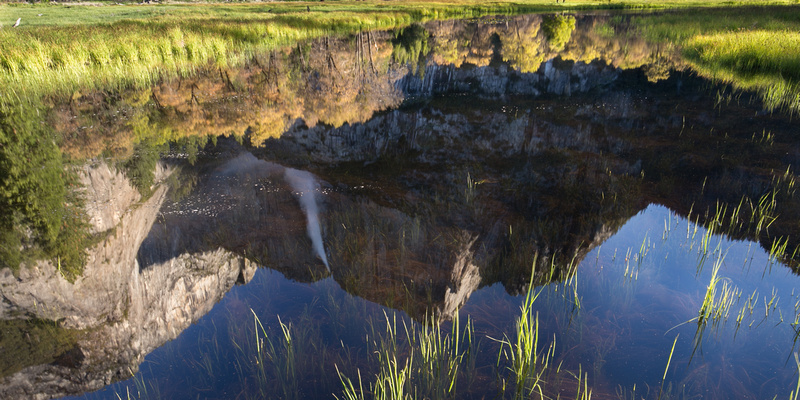 Panoramic reflection, Upper Yosemite Falls, Yosemite National Park23 mm
ISO 100, F19 @ 1 second Panoramic reflection, Upper Yosemite Falls, Yosemite National Park23 mm
ISO 100, F19 @ 1 second
|
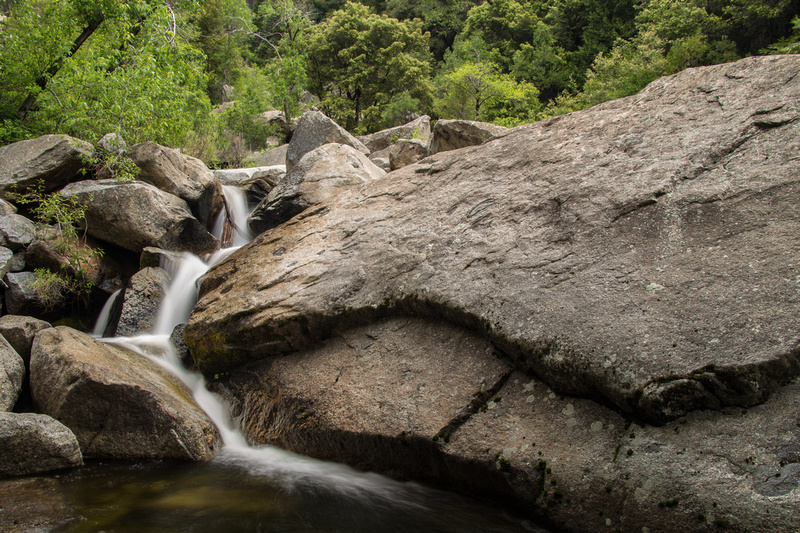
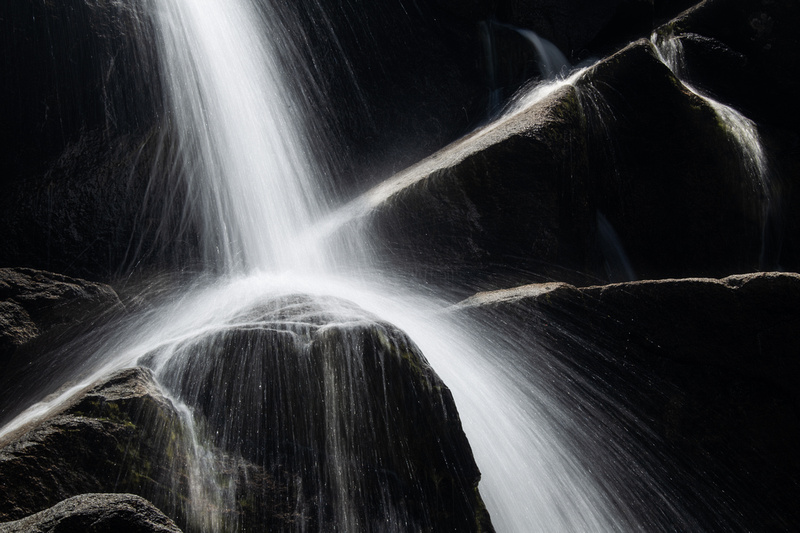
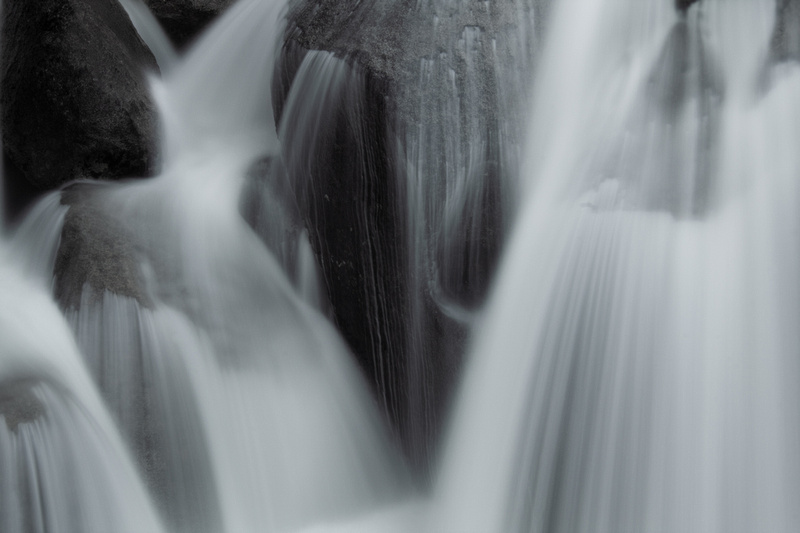
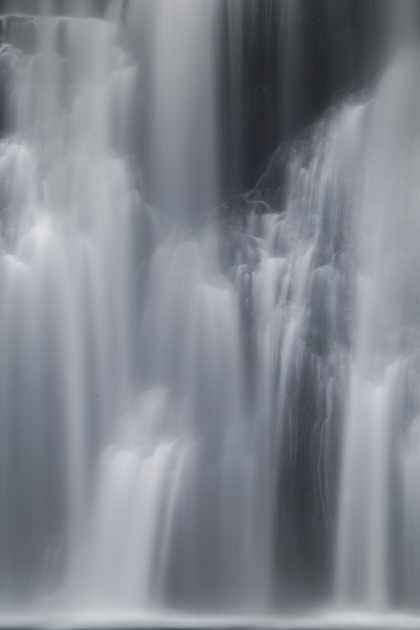
A different view
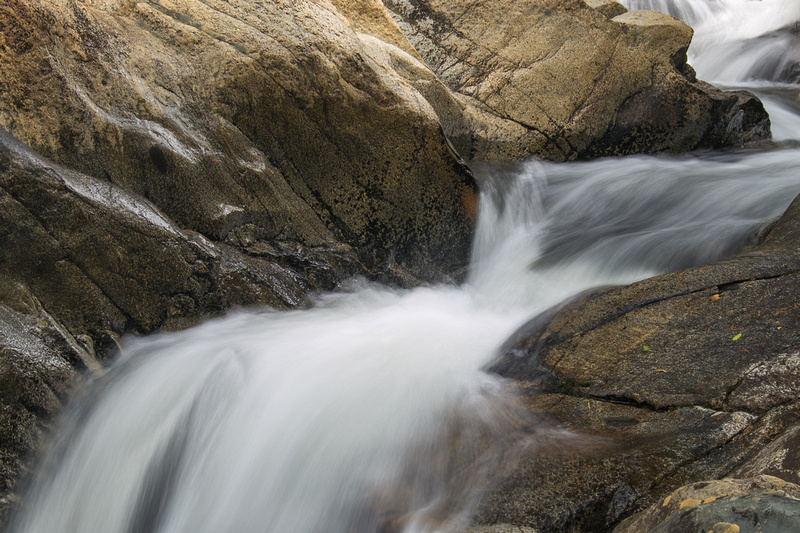
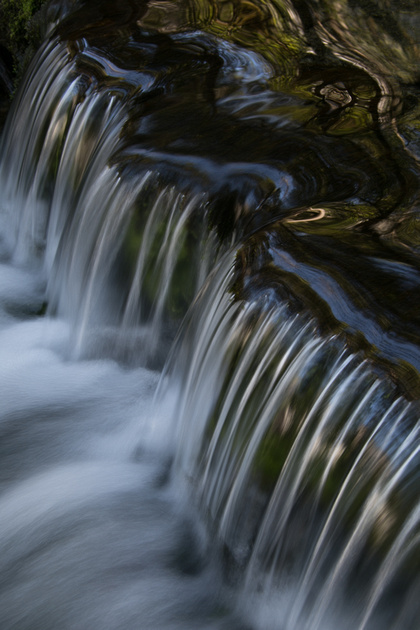
- There are many compositions that can be found within a waterfall itself. If a waterfall has a lot of cascades on the way down, I Iike to isolate these for a more simple but elegant image.
- Using the lighting conditions and foreground elements, you can create unexpected shots, even of those waterfalls that have been captured tens of thousands of times.
I hope you enjoyed this post! Stay tuned for more how to's, location guides, and trip reports.
Keywords:
akaka falls,
autumn,
bishop creek,
bridal veil falls,
burney falls,
california,
cascade creek,
coast,
color,
darwin falls,
death valley,
desert,
eagle falls,
fall colors,
fern spring,
fog,
forest,
hawaii,
ice,
kings creek falls,
lake tahoe,
landscape,
lassen,
light,
moss brae,
mount rainier national park,
mountains,
multnomah,
National,
nature,
oregon,
park,
photography,
proxy falls,
rainforest,
redwoods,
redwoods national park,
shade,
silver falls,
snow,
south yuba river state park,
spring,
State,
storm,
summer,
sunrise,
sunset,
tamarak,
trillium falls,
upper yosemite falls,
valley,
waterfall,
winter,
yosemite

Comments
No comments posted.
Loading...
© Cline Photography