DIY: Converting film to digital
If you have been shooting as long as I have, you probably have some old negatives or slides sitting in storage. Its hard to find a lab that makes prints from film anymore and over time, the film begins to degrade.
You can have these scanned by a professional lab, but if you have a little spare time and a camera, you can also do it yourself. This is great method if you want to share some old images on social media, a website, or by email.
Hover over any photo for additional information.
Here's how I did it:
1. I have a small light box that I used to use to view slides and negatives. If you don't have one of these (they're cheap by the way), you can shine a bright light through an opaque surface to create the same effect. I set my light box on a table that stands a few feet high. I added a few books underneath to get the light box to the height I wanted.
2. I traced one of my slides onto a thin piece of cardboard, used an Exacto knife to cut along the traced edges, then punched out the rectangle I had traced. Next, I taped the cardboard to the light box. This created a stable place to put my slides so I didn't have to adjust my camera with each new slide. It also blocked any excess light coming in from the sides.
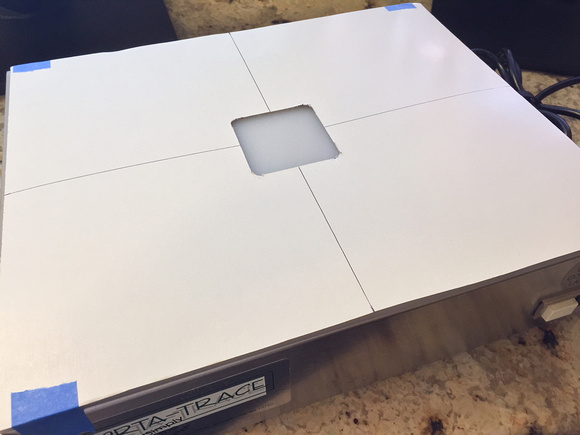 Lightbox modified to hold a slide
3. I setup my camera on a tripod, aiming downward, directly above the light box. I adjusted my tripod until I was able to focus on the image, eliminating that cardboard that holds the film.
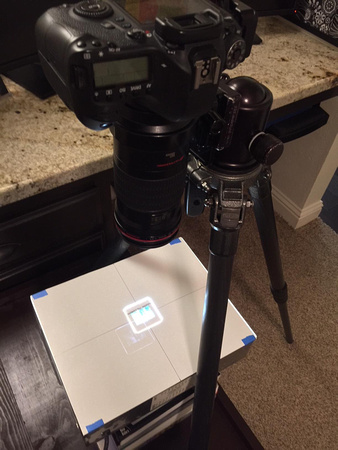 Camera setup with lightbox and slide
4. I used compressed air to remove any dust off the slide and table.
5. I turned on my camera, adjusted my settings and took a few test shots to make sure my exposure and white balance was correct.
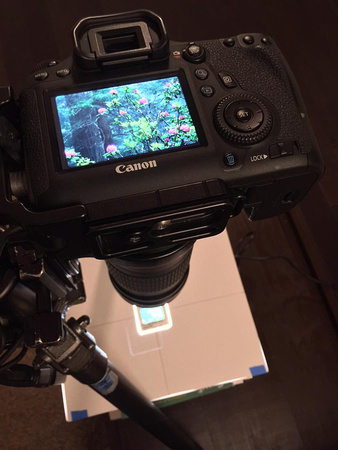 Image capture
That's it.
Once done, I imported these into Lightroom and made some basic adjustments to make sure the color cast was correct and to crop out hints of cardboard captured on the edges. Very basic and quick.
Here's a few of the pictures I converted.
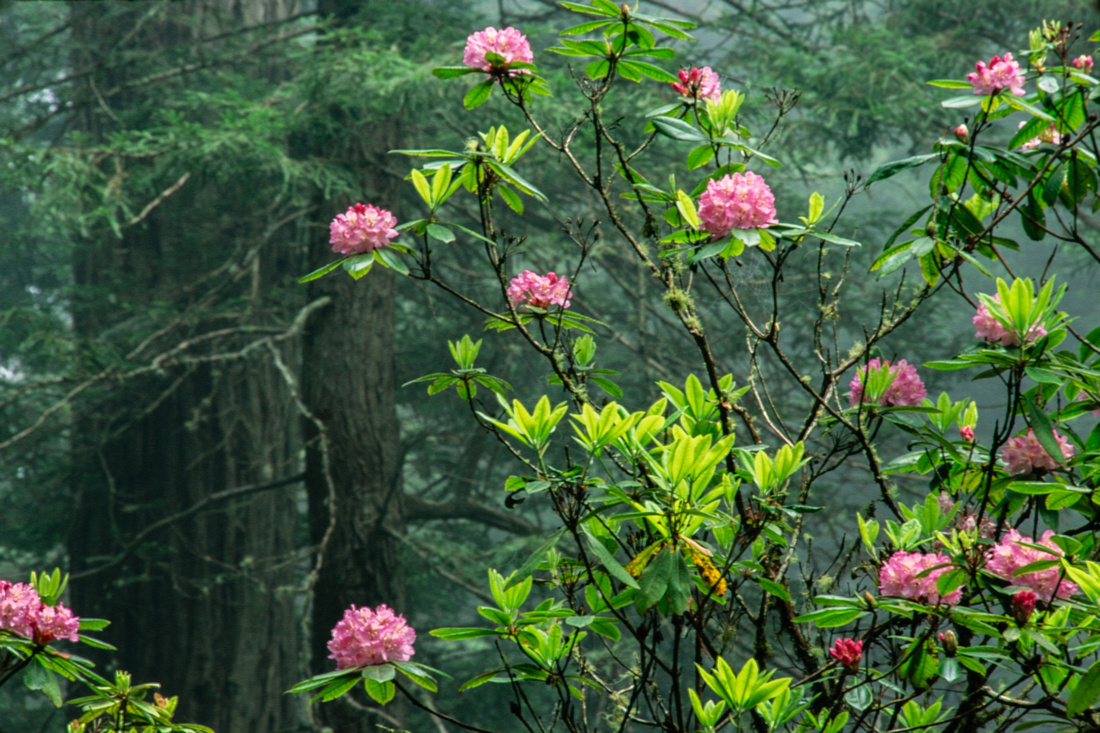 15 year old image of rhododendrons at Redwoods National Park 15 year old image of rhododendrons at Redwoods National Park
|
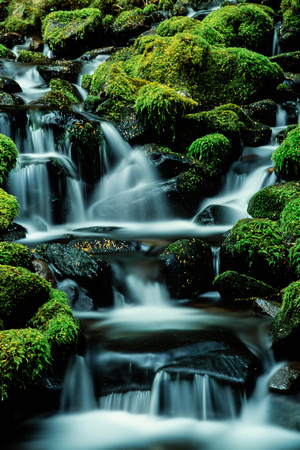 15 year old image of a stream at Olympic National Park 15 year old image of a stream at Olympic National Park
|
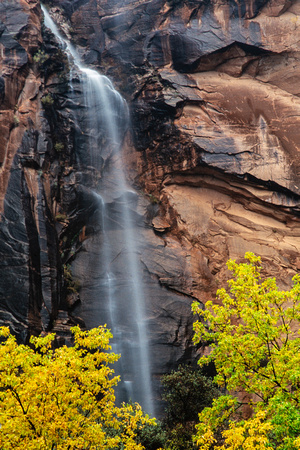 14 year old image of an ephemeral waterfall after a autumn rainstorm in Zion National Park 14 year old image of an ephemeral waterfall after a autumn rainstorm in Zion National Park
|
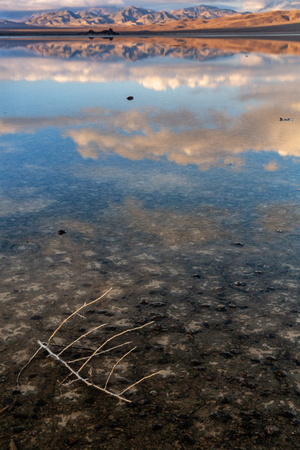 14 year old image of the Racetrack Playa after heavy rains in Death Valley National Park 14 year old image of the Racetrack Playa after heavy rains in Death Valley National Park
|
I actually had about 500 slides scanned a couple years ago. Here is a comparison of a professional scanned slide and the same one converted using my camera
 Slide scanned at a professional lab Slide scanned at a professional lab
|
 Slide shot with my camera Slide shot with my camera
|
You can do the same thing with film. You just need to invert the image by opening it in PhotoShop, then clicking on Image > Adjustments > Invert from the top navigation bar.
I hope you enjoyed this fun little DIY and can convert some of your slide or film images as well.
