Creative photography: Alternative processing techniques
Nearly 100% of the photos I take end up being edited using pretty straightforward techniques. Sometimes, when the weather is especially icky and I can't get out and shoot, I'll dig into my stock to see what fun and creative things I can do with these images. None of these examples are terribly complicated to accomplish. If you aren't interested in creating these types of effects, you might just enjoy a short break from your day to peruse these interesting photos.
Hover over any photo for subject and location information.
1. High key
High key photos contain bright lighting to blow out harsh shadows. I am particularly fond of this method for black & white images. To create high key images, it is best to use ones that are already bright and don't contain a lot of distracting background elements. To achieve that high key effect, simply bump up the exposures, highlights, and contrast in your editing software (I used Lightroom) until you are satisfied with the results. I don't think there is a magic combination here; it's all up to your taste. Below are some examples of digital images that I converted to high key.
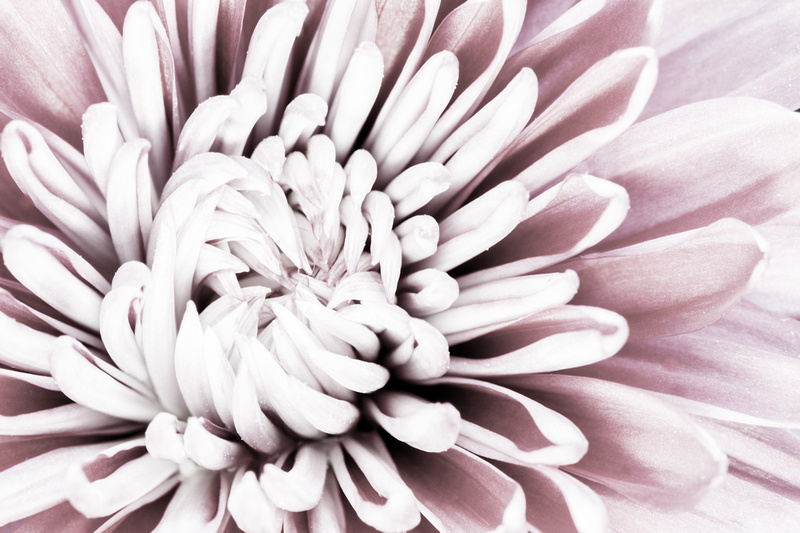 High keyChrysanthemum, Carmichael, California High keyChrysanthemum, Carmichael, California
|
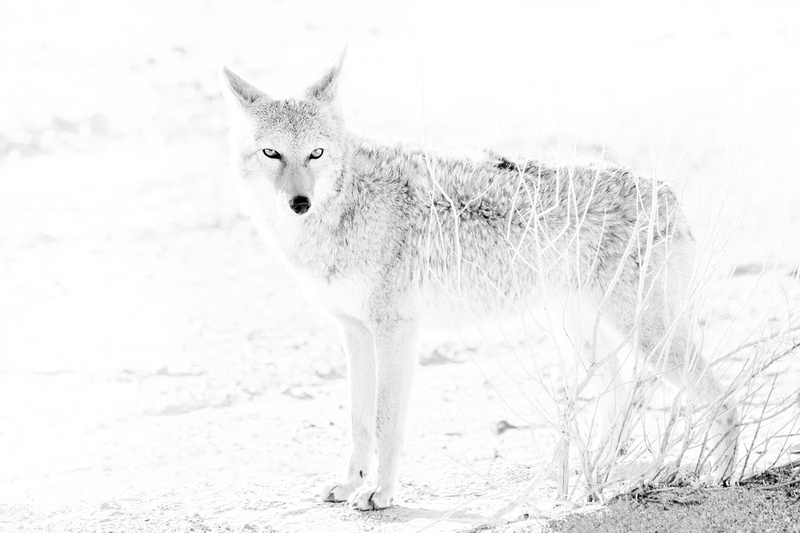 High keyCoyote, Death Valley National Park, California High keyCoyote, Death Valley National Park, California
|
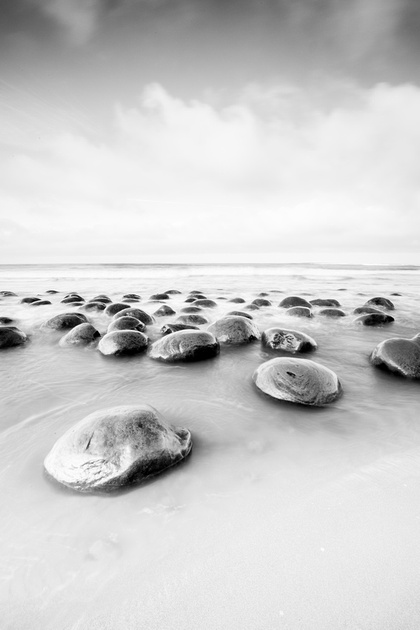 High keyBowling Ball Beach, California High keyBowling Ball Beach, California
|
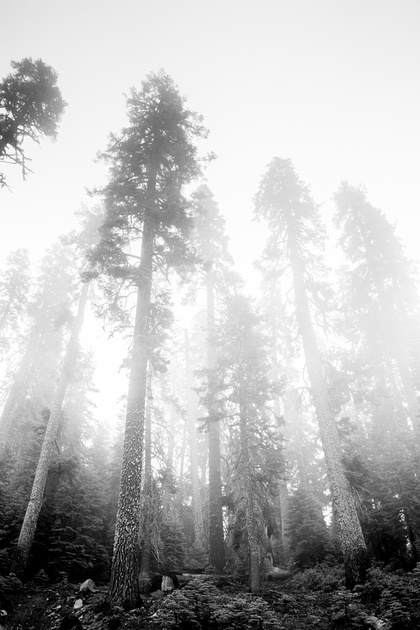 High keyTrees, Yosemite National Park, California High keyTrees, Yosemite National Park, California
|
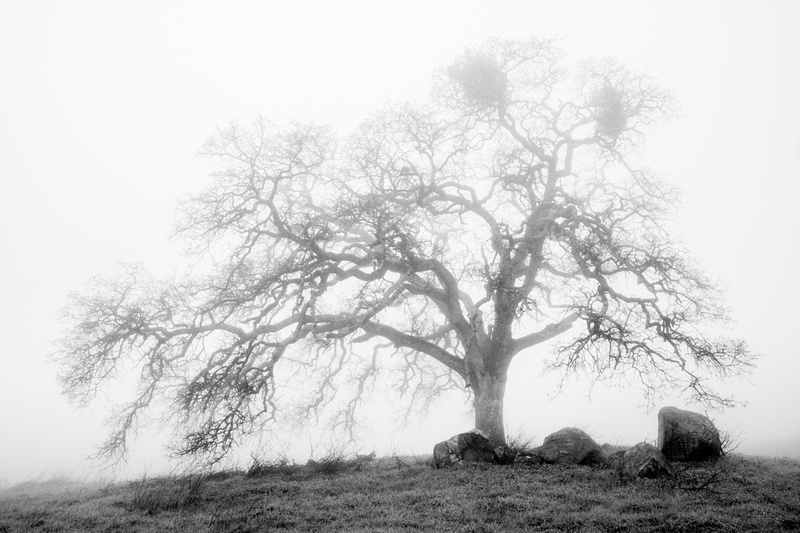 High keyOak Tree, Cameron Park, California High keyOak Tree, Cameron Park, California
|
2. Infrared
Infrared photography has a very distinctive glowing look with bright foliage and black or near black skies. Back in the film photography days, you could purchase infrared film to produce images like these, Today, you can have a digital camera converted to shoot infrared images exclusively, apply infrared filters to your standard digital camera, or mimic that "infrared look" through post processing. Having a camera converted is the best choice but filters and editing are good choices if you don't have a money tree in your backyard and/or don't take a lot of infrared images. To complete this in Photoshop:
- Open image
- Create a duplicate layer of the image. You may want to name this layer Infrared.
- In the adjustments layer panel, select the Invert Layers option. This will cause the image to look like a film negative.
- While in the Infrared layer, select the layers panel, then set the blending mode to Color.
- Select Layer > New Adjustment Layer > Channel mixer.
- Once in here, change the output channel to Red, the move the red slider to 0 and the blue slider to 100.
- Now change the output channel to Blue, and the move the red slider to 100 and the blue slider to 0.
- Create a Hue and Saturation layer in the layers panel, then reduce the saturation until there is no or almost no color remaining. If you want to leave some color in, adjust the hue slider until the foliage has a yellow appearance. If you want black & white (as I have done below), you can stop at the saturation setting.
- Create a curves layer and use this to adjust the contrast settings to your taste.
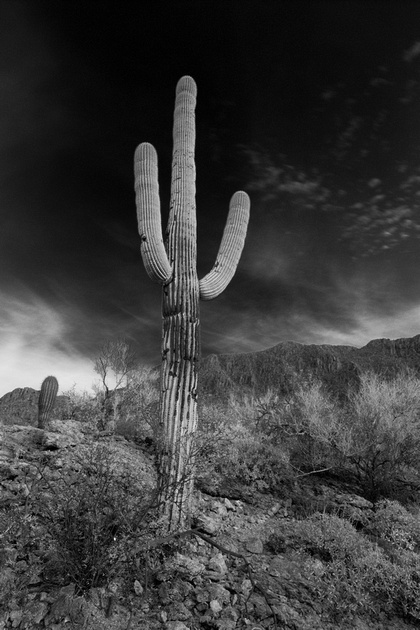 InfraredSaguaro, Gates Pass, Saguaro National Park, Arizona InfraredSaguaro, Gates Pass, Saguaro National Park, Arizona
|
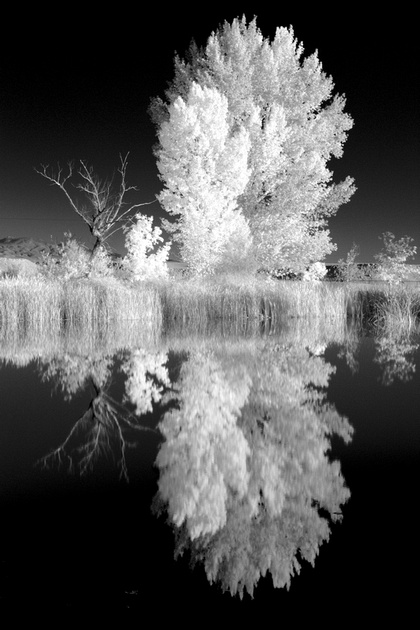 InfraredMill Pond, Bishop, California InfraredMill Pond, Bishop, California
|
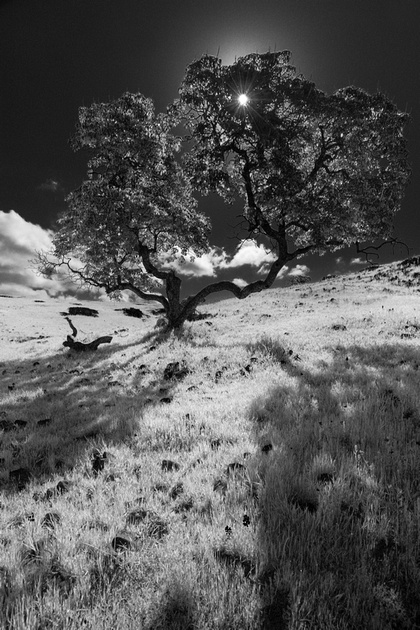 InfraredPasture, Oroville, California InfraredPasture, Oroville, California
|
 InfraredSand dunes, White Sand Dunes National Monument, New Mexico InfraredSand dunes, White Sand Dunes National Monument, New Mexico
|
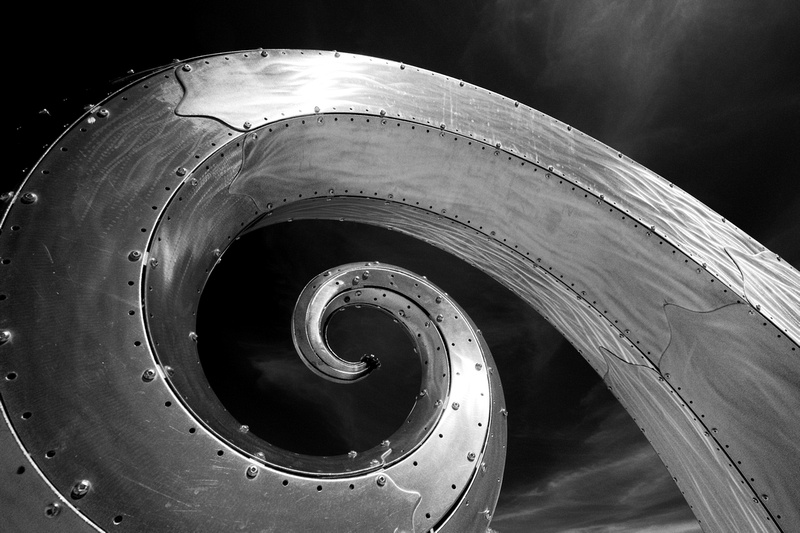 InfraredWave Sculpture, Seattle, Washington InfraredWave Sculpture, Seattle, Washington
|
3. Ultra saturated
After digital photography became mainstream, there was a saturation, if you will, of ultra saturated images on the web. The best opportunity to create images with saturated color when film was standard was Fuji Velvia slide film. This was my film of choice and I'm sure it was for a lot of nature photographers. So - when digital started to replace film, it made sense that folks would recreate this look using photo editing software, and i'll admit, most of my landscape images have saturation added to recreate the look I was going for. However, there is a point where saturation becomes unantural. That doesn't mean the end result can't be good as long as you accept that it isn't intended to mimic reality. This is a pretty easy look to achive. Using the Hue and Saturation option i either Photoshop or Lightroom, just bump it up until you have achieved the desired effect.
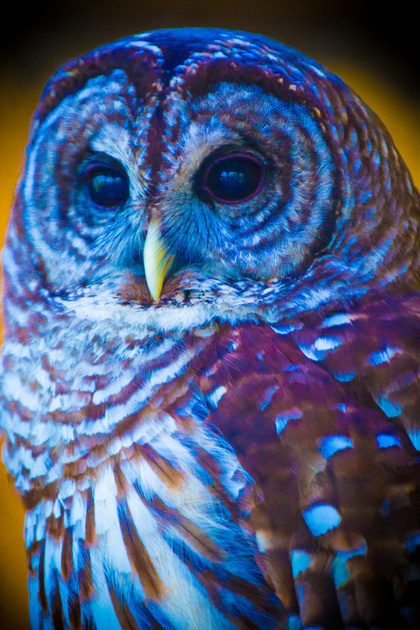 SaturatedBarred owl, Georgia SaturatedBarred owl, Georgia
|
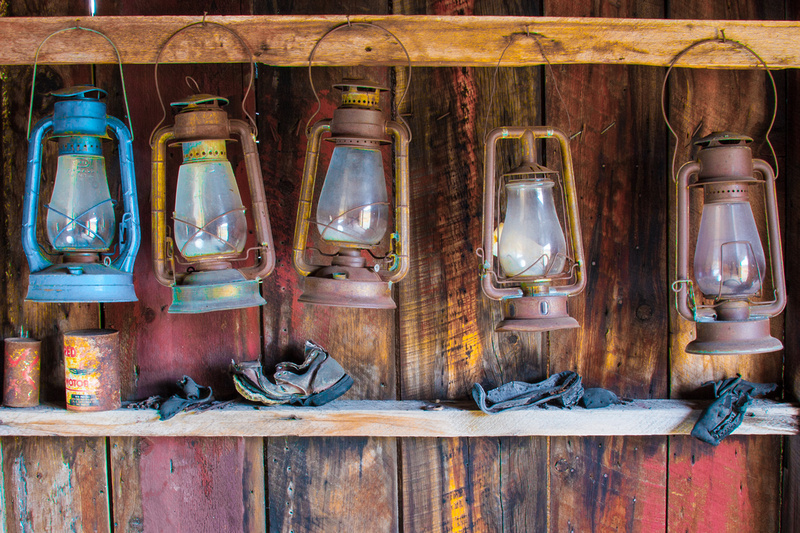 SaturatedLanterns, Bodie State Historic Park, California SaturatedLanterns, Bodie State Historic Park, California
|
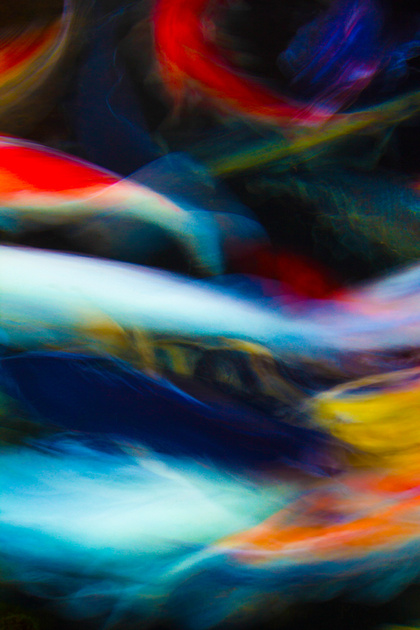 SaturatedKoi, Maui SaturatedKoi, Maui
|
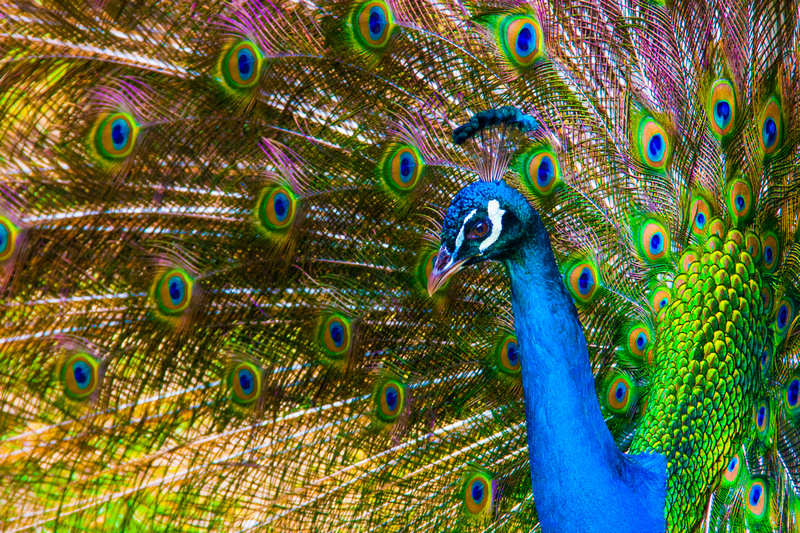 SaturatedPeacock, San Francisco, California SaturatedPeacock, San Francisco, California
|
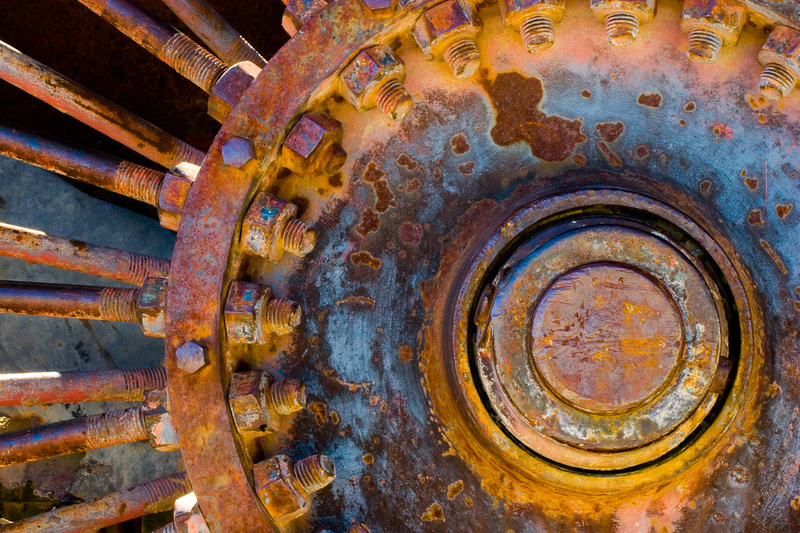 SaturatedTrain wheel, Death Valley National Park, California SaturatedTrain wheel, Death Valley National Park, California
|
4. Photoshop filters
Photoshop offers a variety of filters to create visual effects commonly used in the graphic design field. The examples below are intended to show the results of some of these filters. These are a pretty basic use of the filters chosen, but this gives an idea of all the possibilities Photoshop provides. To use any of these, while in Photoshop with the selected image open, select Filter from the top navigation, and choose the filter you want to try out. Warning: this can get a little addictive.
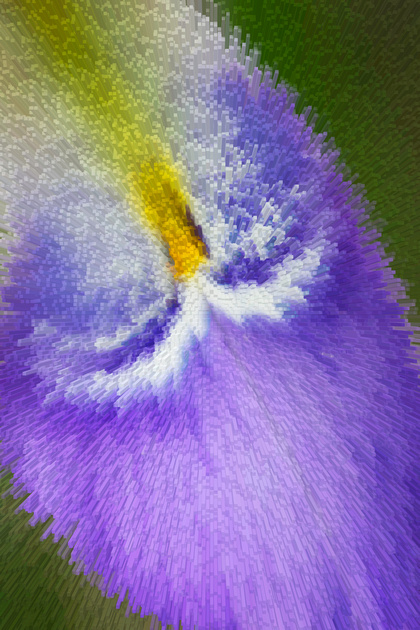 Filter, extrudeIris, Pacific Grove, California Filter, extrudeIris, Pacific Grove, California
|
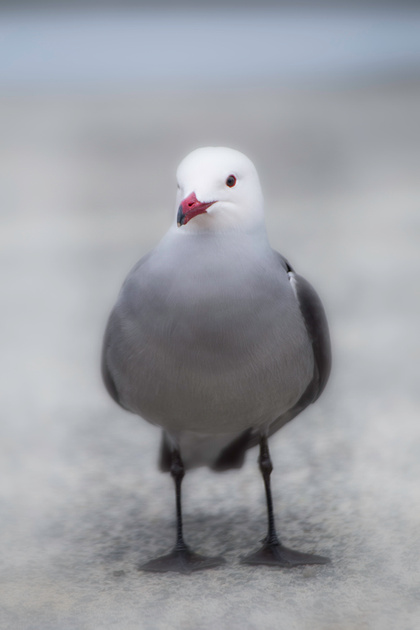 Filter, gaussian blurWestern Gull, Pacific Grove, California Filter, gaussian blurWestern Gull, Pacific Grove, California
|
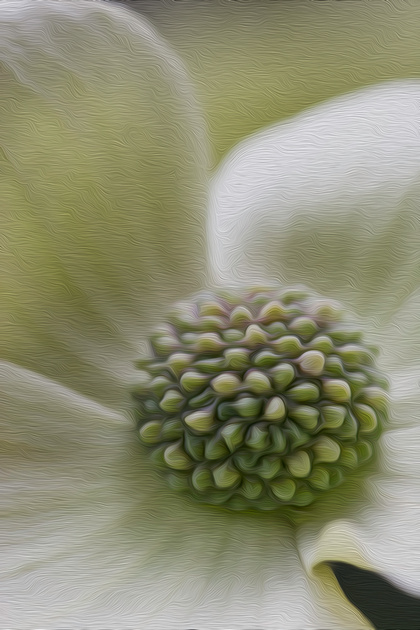 Filter, oil PaintDogwood, Yosemite National Park, California Filter, oil PaintDogwood, Yosemite National Park, California
|
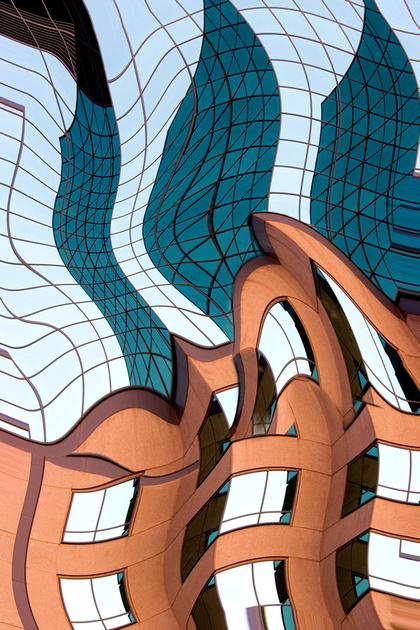 Filter, shearBuilding, Sacramento, California Filter, shearBuilding, Sacramento, California
|
 Filter, Directional blurAspen grove, June Lake, California Filter, Directional blurAspen grove, June Lake, California
|
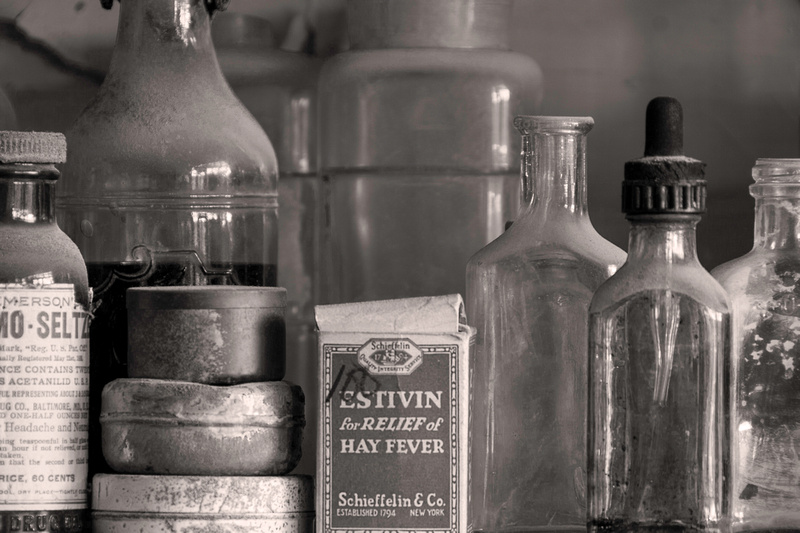
5. Grain
I've never been a fan of film grain so I can't say that I've ever intentionally added it to a digital image other than for this post. I strive to capture tack sharp, clean images, so adding grain back in seems counter-intuitive. I guess I'm just not edgy and cool enough for it. Having said that, here's a few images where I added some grain. To accomplish this, I just navigated to the Effects menu in Lightroom while in Develop mode, and turned it up until I was sufficiently annoyed.
 GrainBathroom, Gladding McBean, Lincoln, California GrainBathroom, Gladding McBean, Lincoln, California
|
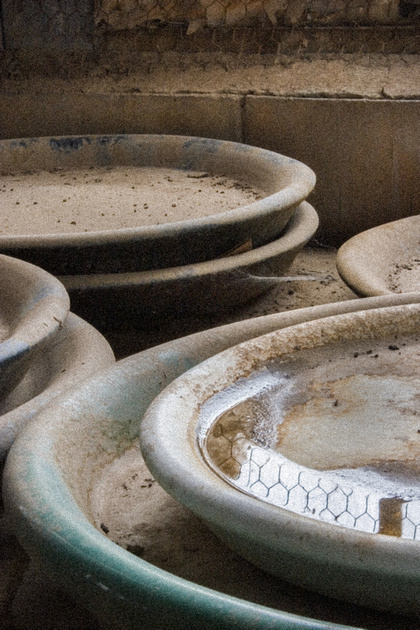 GrainPottery, Gladding McBean, Lincoln, California GrainPottery, Gladding McBean, Lincoln, California
|
 GrainShipwreck, Point Reyes, California GrainShipwreck, Point Reyes, California
|
6. Colored black & white
Another fun technique that we used to accomplish using black & white prints and colored pencils was hand colored prints. This was actually popular in the early 1900's but I remember it taking over in the early 2000's. I thought the technique had pretty much died out but a quick google search revealed no, no, it is still being used with great enthusiasm. I used Photoshop to create my images, and here's how:
- Open image
- Create a duplicate layer of the image. You may want to name this layer monochrome.
- From the tools, select the eraser, and adjust the size, hardness, and opacity to your desired settings.
- Use the eraser tool to "erase" details of the monochrome layer, revealing the color behind. It may take a few tries to get the eraser tool to the desired setting, but you can always undo an erase by selecting Alt+Ctrl+Z.
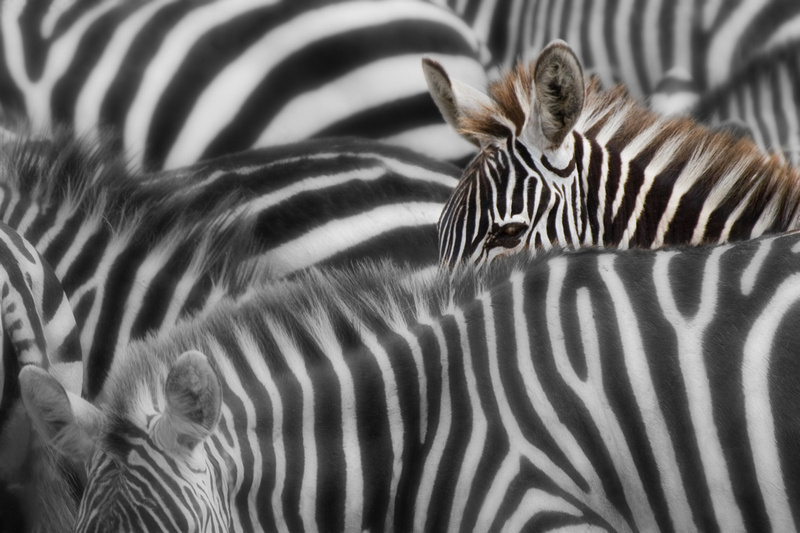 Hand colored black & whiteZebras, Tanzania Hand colored black & whiteZebras, Tanzania
|
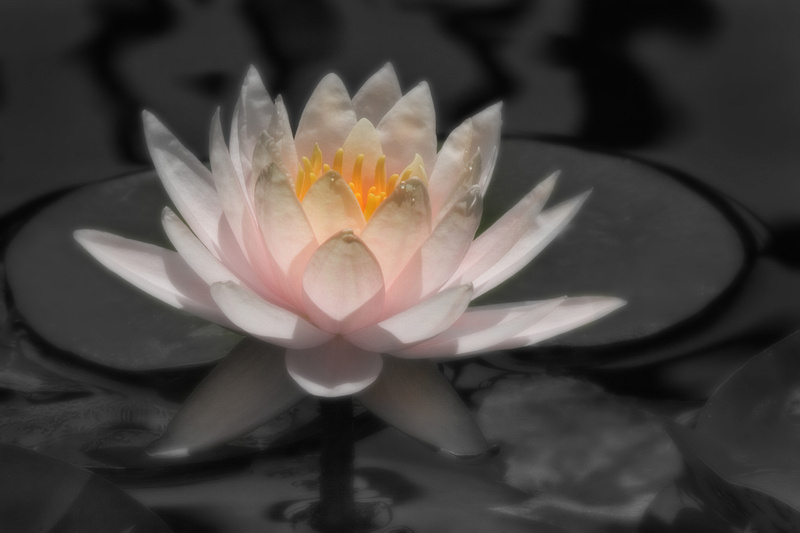 Hand colored Water lily, Fair Oaks, CA Hand colored Water lily, Fair Oaks, CA
|
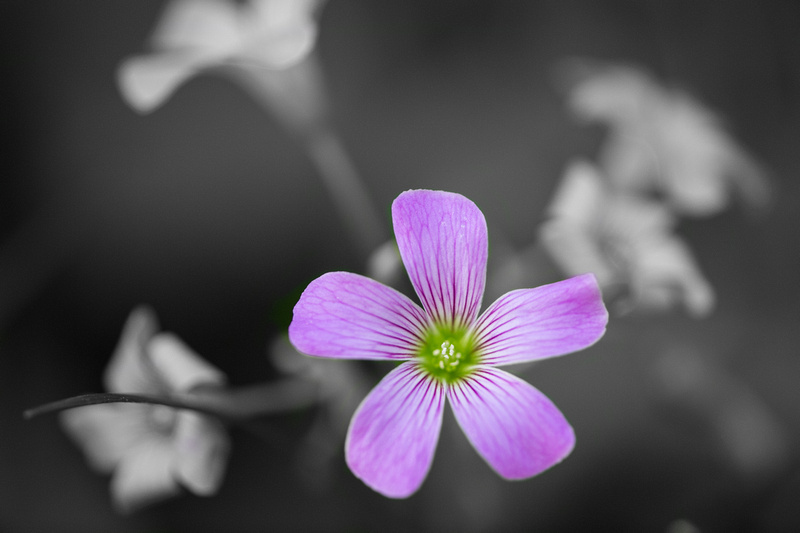 Hand colored black & whiteWashington Oaks Gardens State Park, Florida Hand colored black & whiteWashington Oaks Gardens State Park, Florida
|
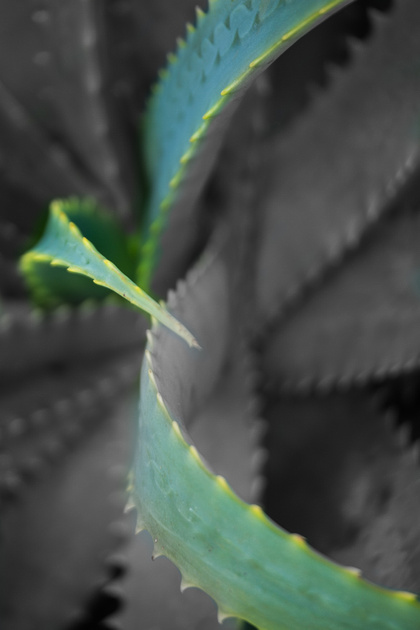 Hand colored black & whiteRed Aloe, Pacific Grove, California Hand colored black & whiteRed Aloe, Pacific Grove, California
|
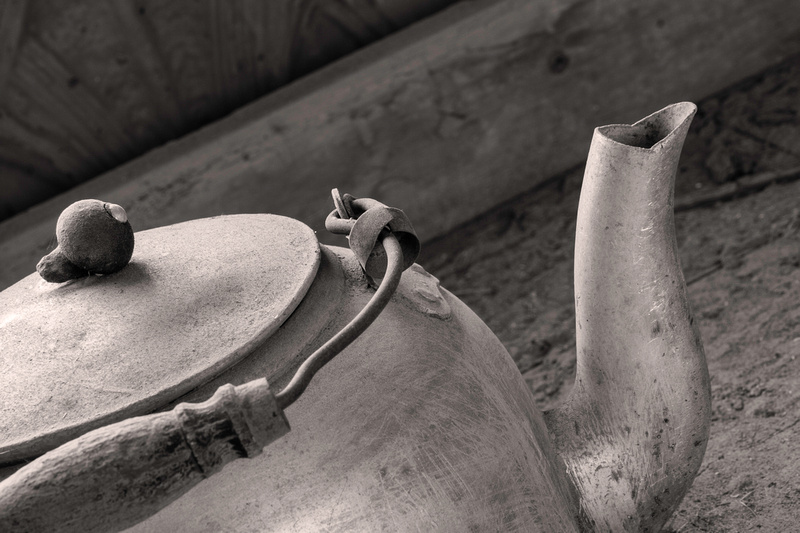
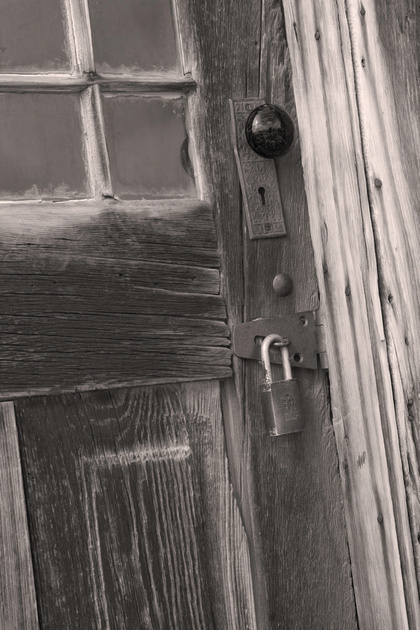
7. Sepia tone
Last but not least, is sepia toning. I used to sepia tone black & white prints all the time during my film days. Sepia has that old-timey feel so I always think of it when I am at ghost towns or lonely roads. This is another easy one to apply in Photoshop.
- Open image
- Create a duplicate layer of the image. You may want to name this layer sepia.
- From the menu options, select Image > Adjustments > Photo filter.
- This will pop up a small iframe with several photo filter options. Simply choose Sepia. I typically leave the density at 25% but you can adjust to your taste.
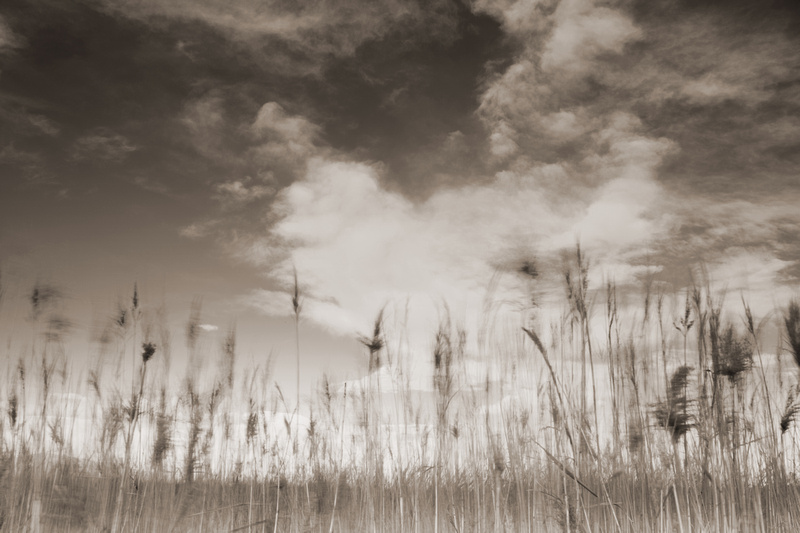 SepiaAsh Meadows Wildlife Refuge, California SepiaAsh Meadows Wildlife Refuge, California
|
|||
|
That's it folks! I hope you enjoyed this tutorial and photo tour!
