Focus Stacking
"F" is for Focus Stacking.
When you are shooting a landscape, you generally want everything from the front of your image - all the way to the back - to be in focus. Sounds easy, yes? That is not always the case.
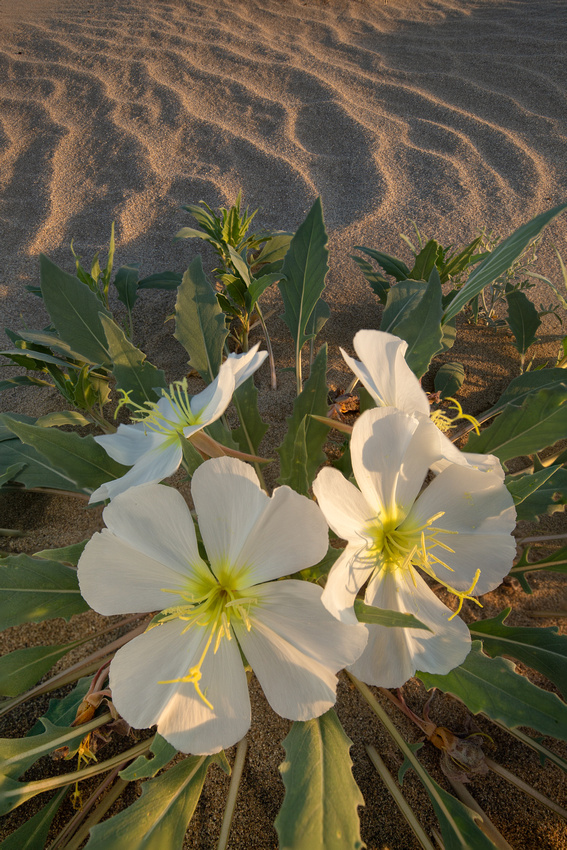
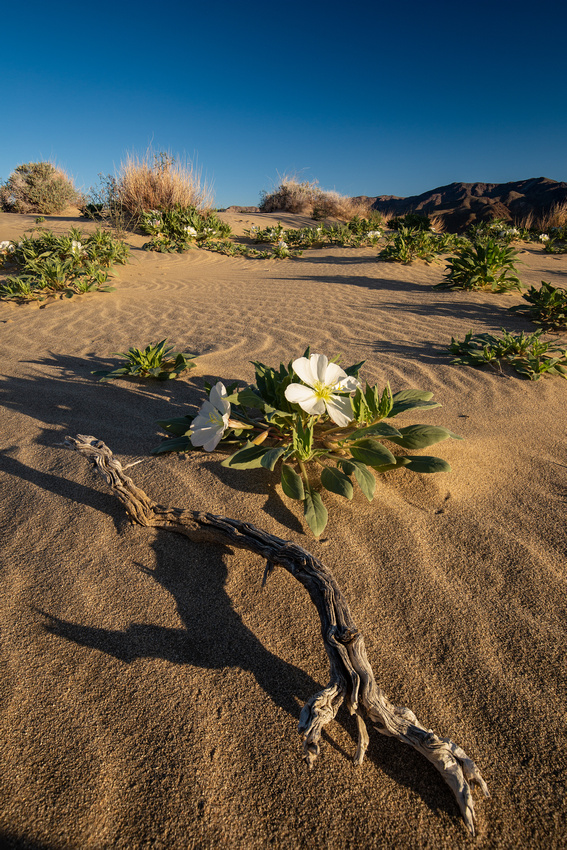
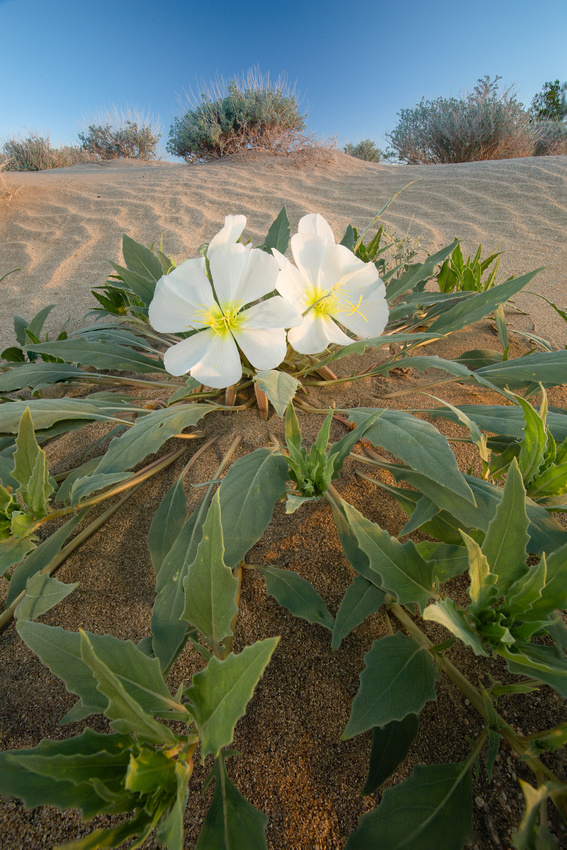
Consider it is a windy sunset and you want to photograph a desert scene with some lovely desert primrose in the foreground. You need to freeze that breeze and at F16, that's just not happening. You could turn up your ISO, but even with today's technology, your are still going to get grain. Fret not, there's an easy solution called Focus Stacking. It's so cinchy. Here's how:
In the Field:
- Note: Use a tripod. You will take multiple images and need to ensure the frame remains the same.
- Compose your image.
- Adjust your camera's exposure settings so that the Aperture is open. I find that F8 is the sweet spot.
- Set the focus on the area closest to you, take one picture, then check your histrogram to make sure the exposure is good. If it isn't, just adjust and re-shoot. Note: I like to delete bad images now so there is less to sort through in post-processing.
- Set the focus on the next area that is just beyond what is in focus.
- Keep doing this until you have reached the area farthest from you.
- This may result in 3 photos or 10. There isn't a right or wrong number here.
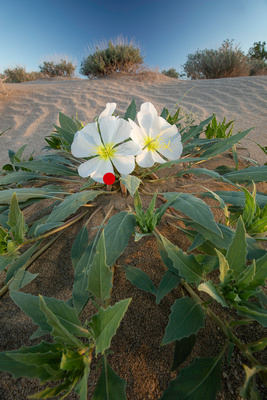
The dots in the photos below indicate where I focused in each photo. You can start to see why a tripod is so important.
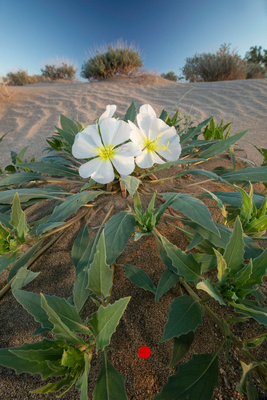 Desert PrimroseFocus point 1 Desert PrimroseFocus point 1
|
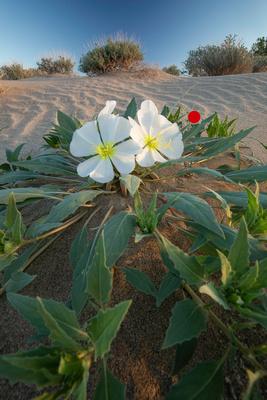
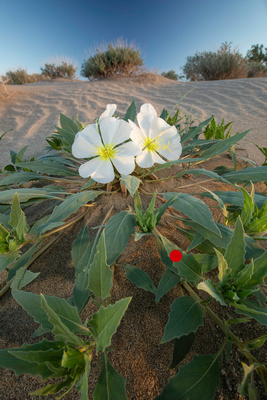 Desert PrimroseFocus point 2 Desert PrimroseFocus point 2
|
 Desert PrimroseFocus point 3 Desert PrimroseFocus point 3
|
 Desert PrimroseFocus point 4 Desert PrimroseFocus point 4
|
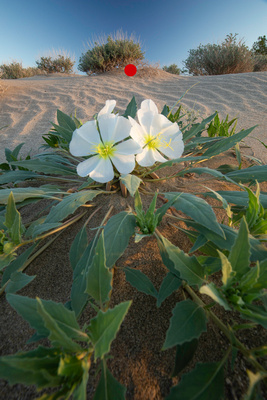 Desert PrimroseFocus point 5 Desert PrimroseFocus point 5
|
In Post Processing:
- Assuming you are in Lightroom, select the images you want to stack by pressing the Ctrl key and clicking on each image.
- While on any of the selected images, right click, and select "Edit In". A new menu will appear to the right. Select "Open as Layers in Photoshop"
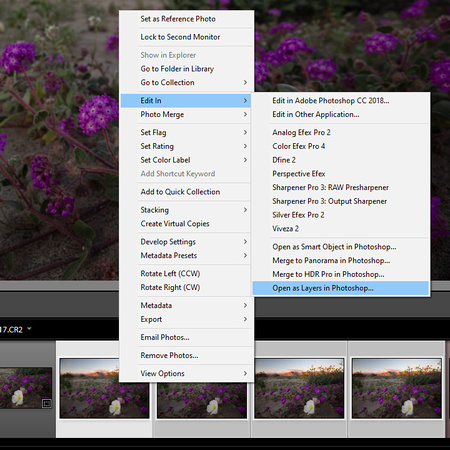 Lightroom menu Lightroom menu
|
- This will open the images in Photoshop, and you will see them as layers on the right navigation.
- Select all layers by pressing the Ctrl key and clicking on each layer.
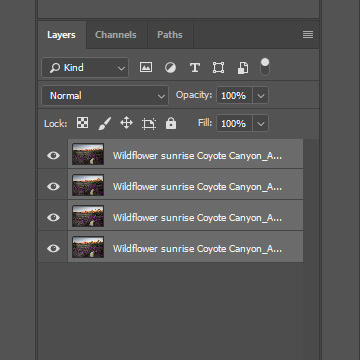 Photoshop Layers Photoshop Layers
|
- On the top navigation bar, select "Edit", then select "Auto Align Layers. This will present a pop-up window. Leave the project on Auto and select "OK".
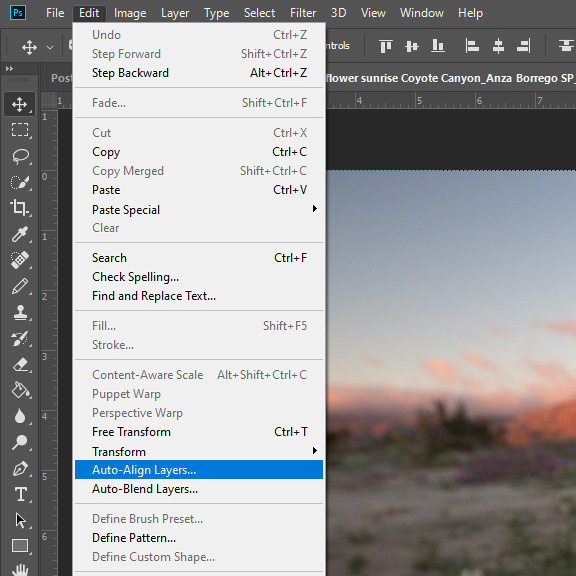 Photoshop menu Photoshop menu
|
- All images should still be selected, but double check to be sure then navigate again to "Edit", and this time select "Auto Blend Layers". This will present a pop-up window. Leave the selection on "Stack Images" and select "OK".
- It's going to do some magic, then suddenly, your images will be stacked so that every part of the frame is in focus.
- From here, you can dodge, burn, color correct, adjust contrast, crop, etc.
- That's all there is to it!
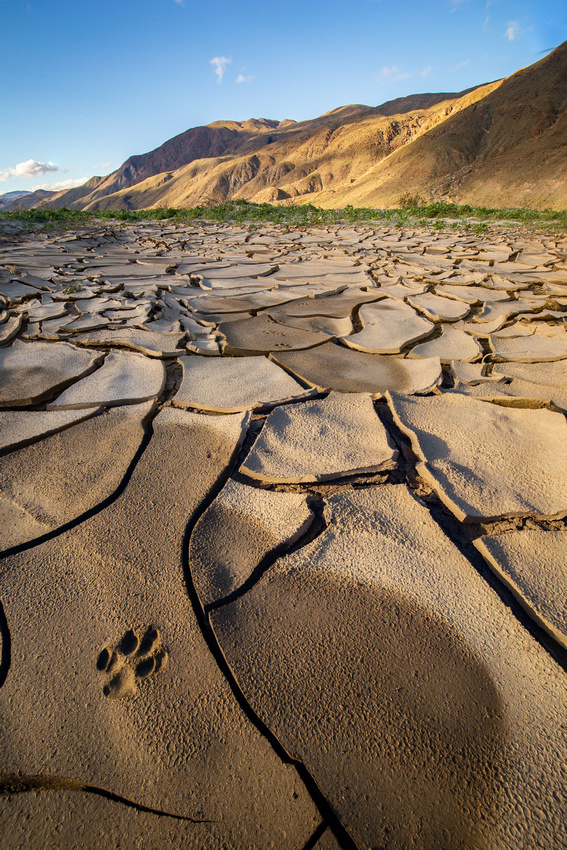
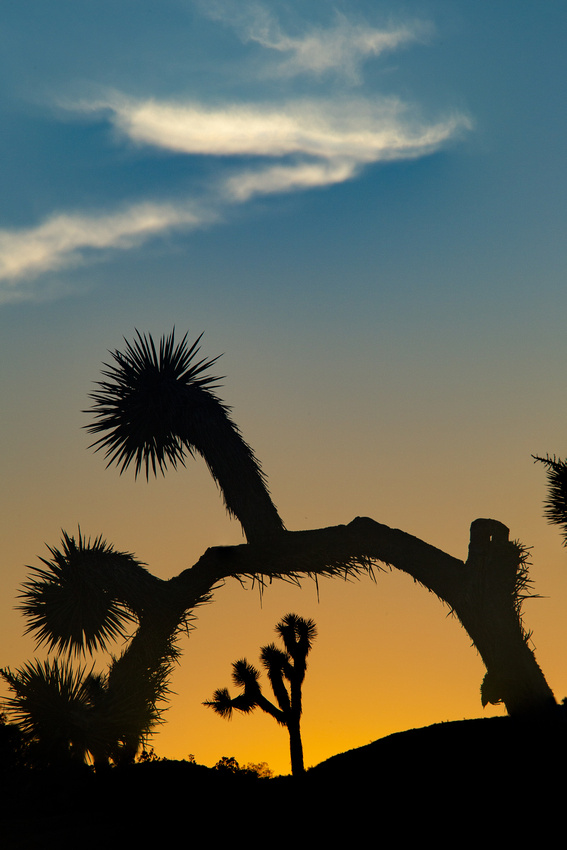
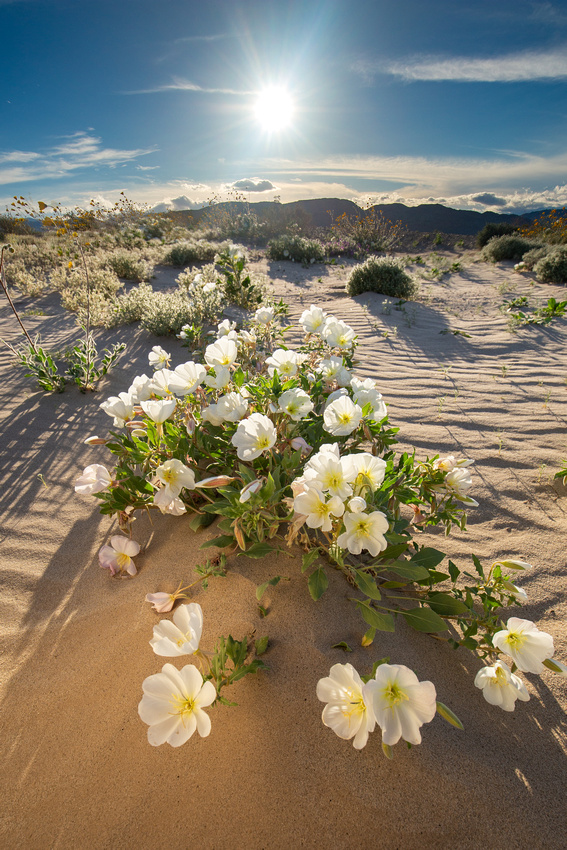
Here are some of the photos I created using focus stacking