The Zone System for photography

"Z" is for Zone System.
This is my last post in my alphabetic blog series, so I thought I better make it a good one. For those of you are who thinking, "oh snoozeville, this is a technical post", I've tried to include some interesting photos along the way. :o)
Part 1: What is the Zone System?--------------------------------------------------------------
P1.1 Zone System Beginnings
The Zone System was developed by Ansel Adams and Fred Archer around 1940. In the early 1980's, Ansel Adams wrote a three part book series: The Camera, The Negative, and The Print. He covered the Zone System in depth in his second book, The Negative, where he wrote, "The Zone System allows us to relate various luminances of a subject with the gray values from black to white that we visualize to represent each one in the final image". I leveraged information from his books to write this post.
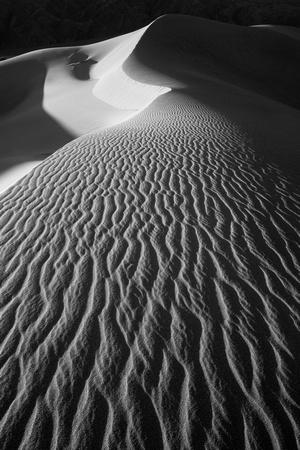 Mesquite Dunes, Death Valley National Park Mesquite Dunes, Death Valley National Park
|
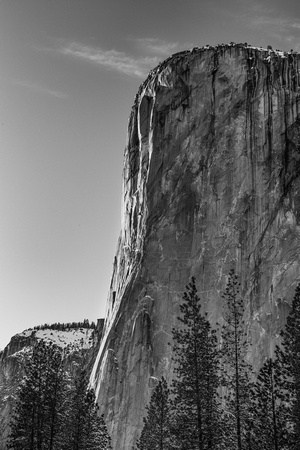 El Capitan, Yosemite National Park El Capitan, Yosemite National Park
|
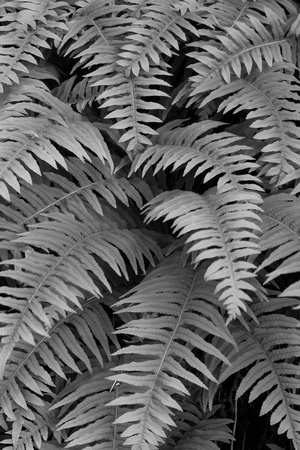 Ferns, Redwoods National Park Ferns, Redwoods National Park
|
P1.2 How the Zone System works
You cannot talk about the Zone System without talking about exposure. There are 11 zones, 0-10. These are often represented in roman numerals, but in this post, I'll stick to plain old numbers. Zone 0 is pure black with no detail and zone 10 is pure white with no detail.

There are nine gradations of tones in between, each representing one stop. What is a stop? It is a doubling or halving of light. If you increase one stop, you’re doubling the amount of light. If you’re decrease one stop, you’re halving the amount of light. There are three different ways you can control stops (or light): Aperture, Shutter speed, and ISO.
Without getting crazy, I am going to define what each of these is:
- Aperture is the diameter of the lens opening. It is what dictates how much light will get to the film/sensor. Lenses have many possible apertures with the larger numbers representing a smaller opening which lets less light in. Here are some typical apertures or f-stops: f/1.4, f/2.8, f/4, f/5.6, f/8, f/11, f/16, f/22. When you shoot at f/1.4, that is what we refer to as shooting "wide open" because you are letting a lot of light.
- Shutter speed controls how long light is allowed to pass through the lens to the film/sensor. Shutter speed is measured in seconds, or fractions of seconds. Here are some typical shutter speeds: 1/4, 1/8, 1/15, 1/30, 1/60, 1/125, 1/500, 1/1000. When you shoot at 1/1000th of a second, we refer to that as fast.
- ISO is the film/sensors sensitivity to light. This is often referred to as speed. Doubling the sensitivity is indicated by doubling the number of the ISO. Here are some typical ISO's: 50, 100, 200, 400, 800, 1600, 3200, 6400
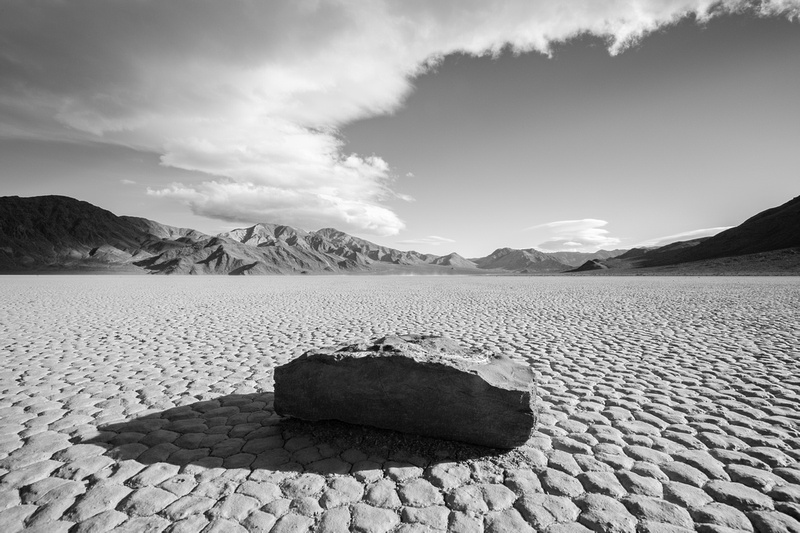 The Racetrack Playa, Death Valley National Park The Racetrack Playa, Death Valley National Park
|
P1.3 Zones Defined
I haven't found as good a definition as in Ansel Adams chapter on the Zone System, so I've modeled this after how he described it.
| Value Range | Zone | Description | |
| Low Values | 00 | 0 | Total black |
| 11 | 1 | Slight tonality, no texture | |
| 22 | 2 | First suggestion of texture | |
| 33 | 3 | Average dark materials and low values showing adequate texture | |
| Middle values | 44 | 4 | Average dark foliage, dark stone, or landscape shadow |
| 55 | 5 | Middle gray (18% reflectance). Clear north sky, gray stone, average weathered wood | |
| 66 | 6 | Average caucasian skin in sunlight, light stone, shadows on snow | |
| High values | 77 | 7 | Very light skin, light gray objects, average snow |
| 88 | 8 | Whites with texture,like snow and clouds | |
| 99 | 9 | White without texture, approaching pure white | |
| 10 | 10 | Pure white |
Part 2: Using the Zone System-------------------------------------------------------------------
P2.1 Putting it into practice
Your camera wants to meter everything at zone 5 or middle gray, but you probably don't. This is why understanding the zone system is so important. It allows you to place your subject in the zone you want it to be in.
Here are steps for using the Zone System by adjusting the aperture, shutter speed, or ISO. If you aren't sure how to do any of the steps below, refer to your camera's manual.
| --- |
|
|
P2.2 Examples
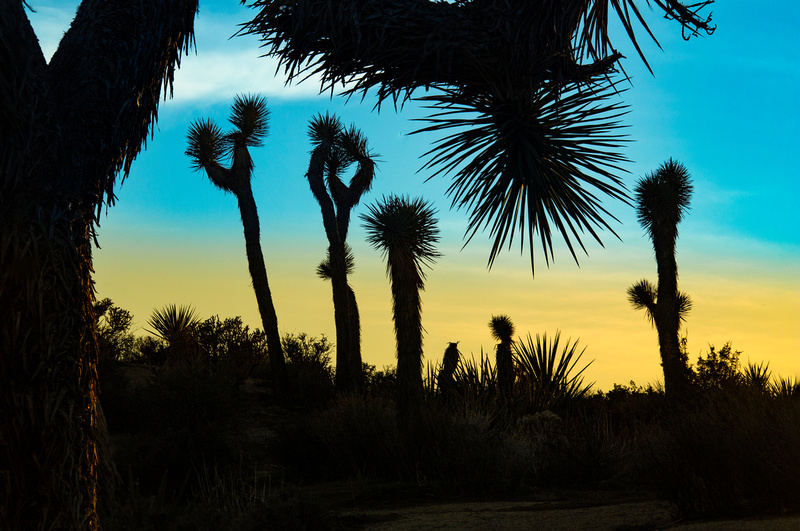
Example1
|
For this image, I was far more concerned about getting detail in the sky and clouds than I was about getting detail in the Joshua Trees. I metered for the sky and placed it in zone 8, allowing the foreground and trees to fall into zones 0-3. |
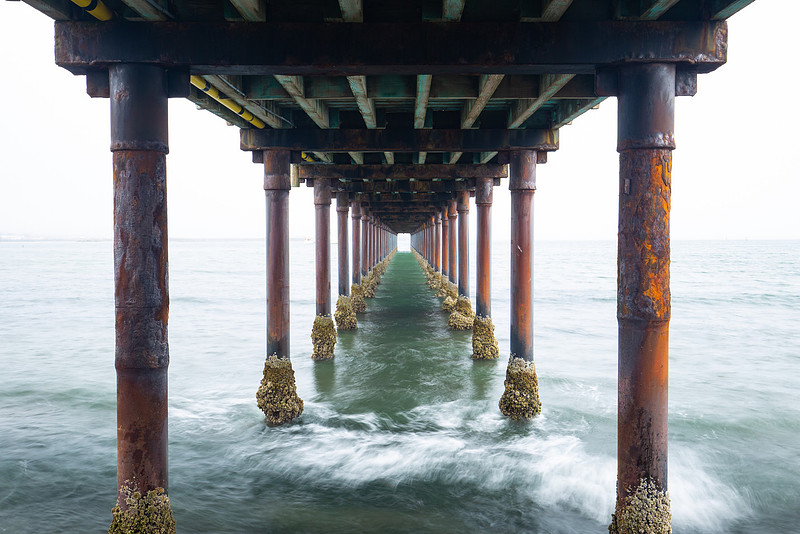
Example 2
|
|
P2.3 The Histogram
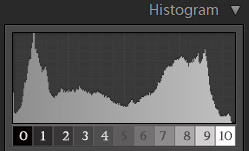
Digital cameras came along 50 years after the Zone System was created, and provided one more tool to help photographers utilize the Zone System. If you are using a digital camera, your camera will produce a histogram with each photo you take, allowing you to immediately see which zones the photograph fell into.
The histogram looks like mountain ranges. If the mountains are on the left, the image is falling into the darker zones. If the mountains are on the right, the image is falling into the brighter zones. The histogram below is the actual histogram for the dogwood photo. I have overlaid the zones to show how the histogram conveys zone information.
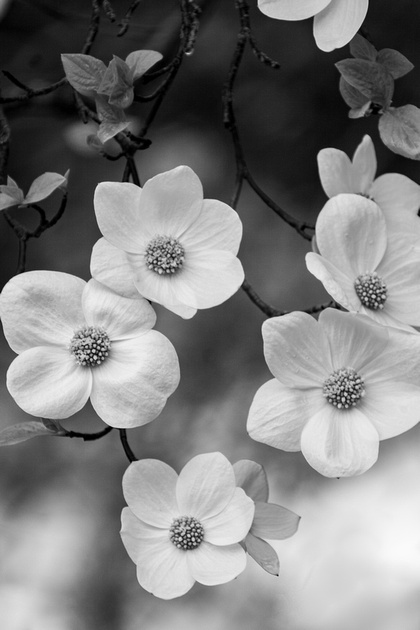
I learned early on in digital photography to check the histogram after each photo. Sometimes I am okay if certain parts of the photo fall into zone 0 or zone 10, but a lot of times, I want to see texture and detail throughout. This photo is a good representation of retaining detail throughout the photo, meaning, very little fall into zone 0 or 10.
|
Dogwoods, Yosemite National Park |
Part 3: Dynamic Range----------------------------------------------------------------------------
The Zone System is based on the assumption that there are ten stops between total black and pure white. Digital cameras have come a long way in the past 30 years and it isn't uncommon for cameras to extend beyond 10 stops. For example, my current camera body supports 12 stops. This doesn't change any of the rules around the Zone System, it just offers more zones between 0 and 10, or put more simply, more ability to capture detail in shadow and highlights. That allows me to capture more photos like this.
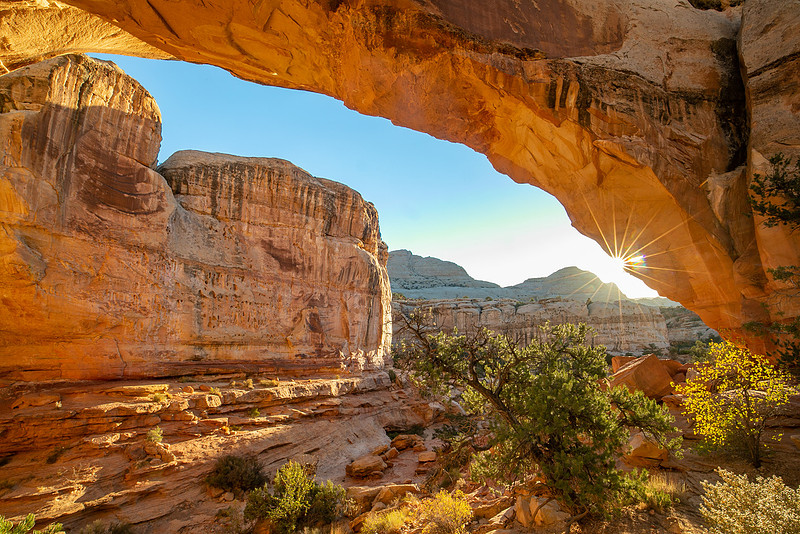
Hickman Bridge, Capitol Reef National Park |
If you are unsure of your camera's dynamic range, just google, "Dynamic range of XX camera" and you should have your answer.
So there you go, the Zone System compressed into one blog post! As you can see, it isn't terribly complicated but understanding it can mean the difference between capturing snapshots and creating art.
If this has interested in learning more on photography, check out my post on compositional rules to improve your photography.
I hope you enjoyed this journey of alphabetic blog articles. As I mentioned back in August of 2020, I started this series to get my photographic mojo back after going through a difficult time, and I must say, it has helped tremendously. It produced additional topic ideas I would like to write about, so this isn't the end. I'll see you next week with another topic and more photos.