Tripod tips
To tripod or not to tripod. That is the question.
When I started learning photography, one of the first things I remember hearing and reading is that professional photographers use a tripod. Being the serious student I was (still am) I purchased a solid, reputable tripod and ball head that I still use to this day.
The use of a tripod is a matter of personal taste. It's not right. It's not wrong. It's just different.
I use a tripod about 98% of the time. I love my tripod. It's been very supportive over the years. Pun intended. :)
In this post, I'm going to go over when a tripod is necessary and when it's not.
When a tripod is necessary:
#1 When shooting with long shutter speeds, such as in low light, night photography, or to achieve motion blur
|
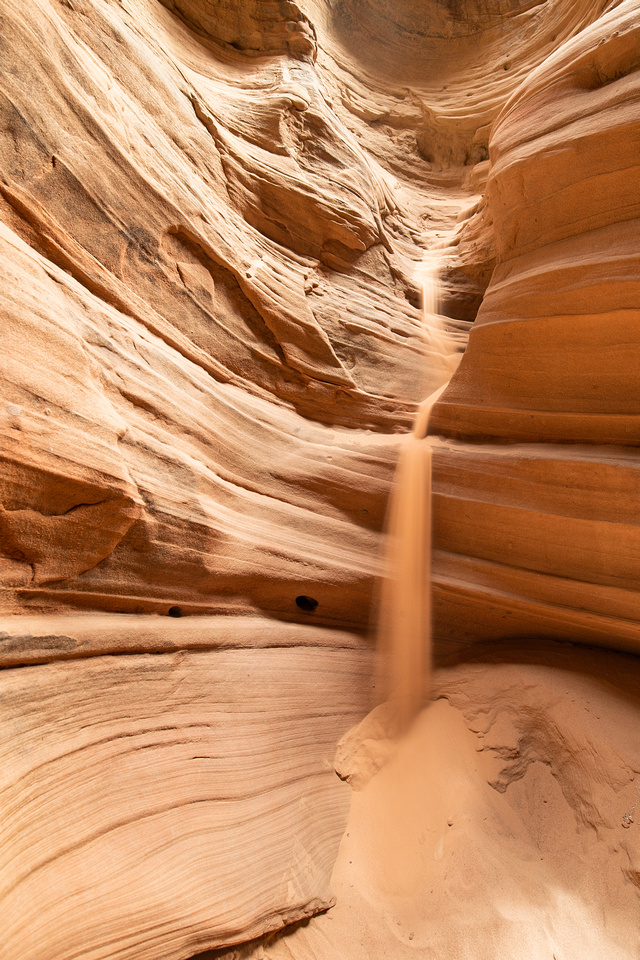
Sand waterfall, Buckskin Gulch, Arizona | 16mm, F8, 2 seconds, ISO 125 Buckskin Gulch is a deep slot canyon where the light is limited in most areas. I took advantage of the low light to create this sand waterfall. I could not have captured this without my tripod. |
|
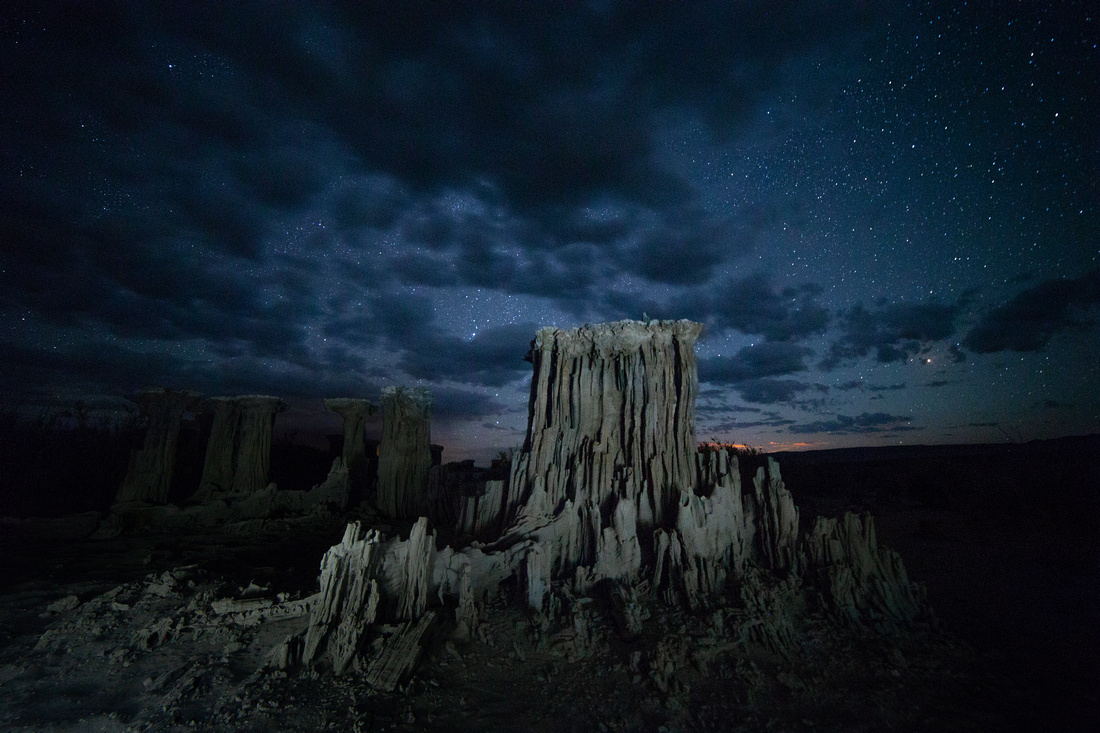
Navy Beach, Mono Lake | 14mm, F1.4, 30 seconds, ISO 3200 This is Navy Beach in the middle of the night. The intention was to take a series of photos to capture the Perseids Meteor Shower, but the clouds had other plans. If you plan on doing any night photography, not only is a tripod necessary, it needs to be a good sturdy one that won't shake if it gets windy because most exposures are going to be close to or exceed 30 seconds. |
|
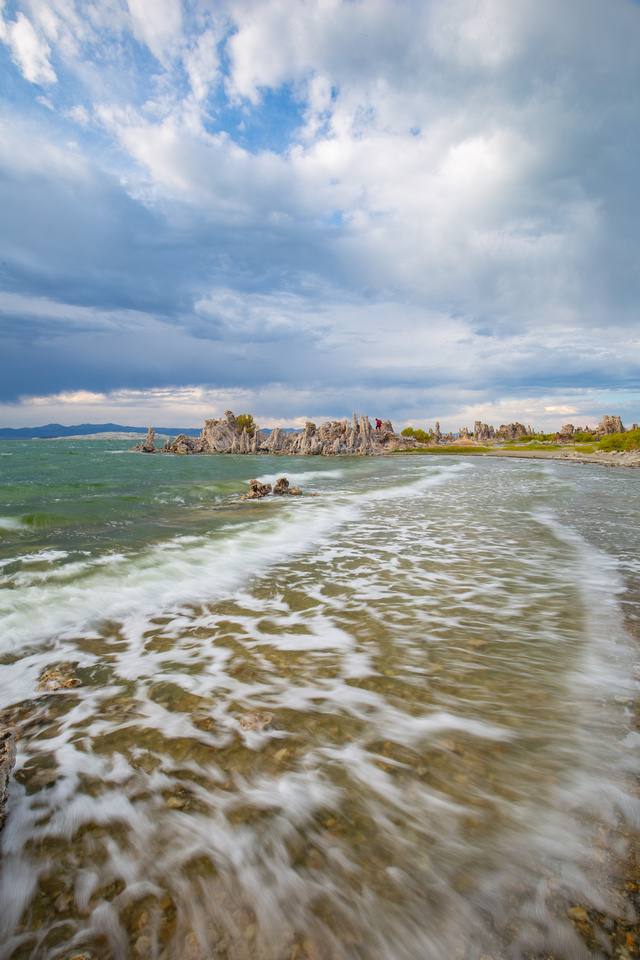
Mono Lake | 16mm, F16, 1/4 second, ISO 50 This was a particularly windy evening at Mono Lake, which resulted in waves crashing onto the shore. I experimented with various shutter speeds to achieve different blurred motion results, and liked this one the best. You can technically hand hold at 1/4 of a second but if you want the still objects to be tack sharp, a tripod is critical. |
#2 When creating focus stacked shots
|
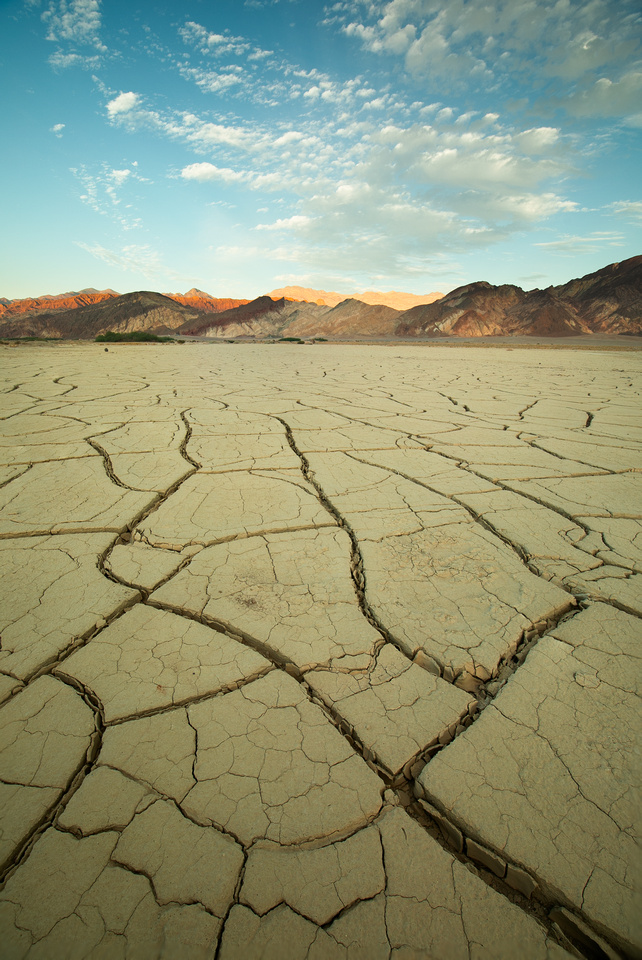
Cracked earth, Death Valley National Park | 16mm, F8, 1/20 seconds, ISO 100 This is five photographs all focused at different points between the foreground, back to the mountains, then merged to create one image that is in focus throughout. Because this requires merging 5 identical images, using a tripod is needed to ensure each lines up perfectly. |
#3 When shooting in High Dynamic Range (HDR)
|
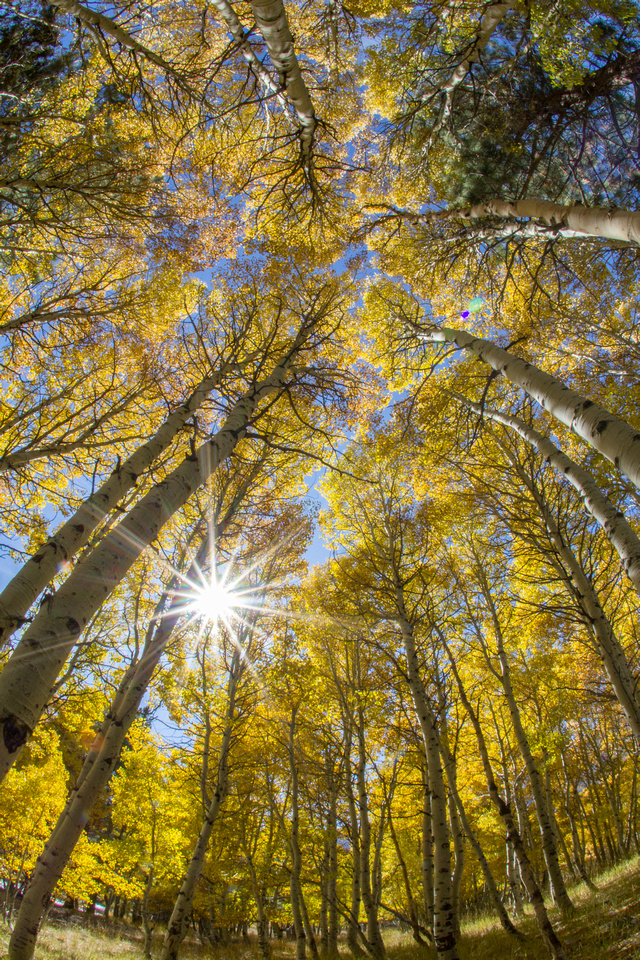
Aspens in autumn | 16mm, F22, 1/20 second, ISO 100 This is four photos of the same scene taken using different exposures, then merged so I could capture the highlight and shadow detail. Like focus stacking, the images need to be perfectly aligned so a tripod is critical in creating a high dynamic range photo. |
#4 When creating panoramic images
|
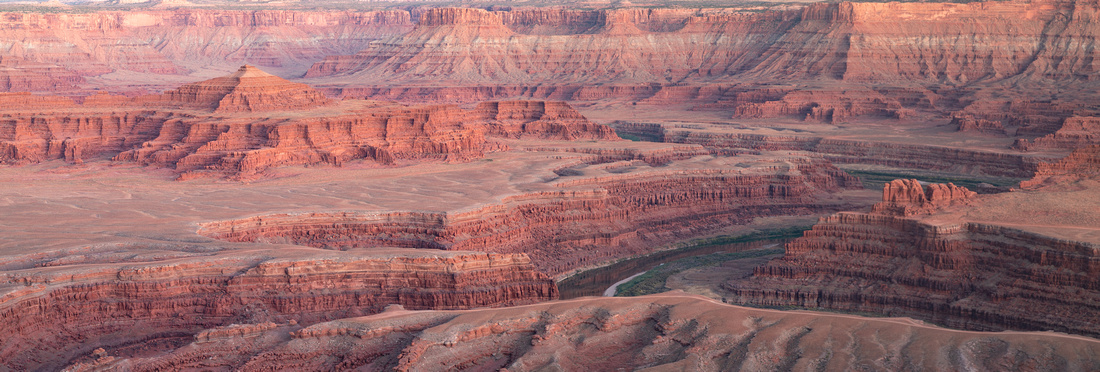
Dead horse Point State Park, Utah | 91mm, F8, 30 seconds, ISO 100 This is five photographs taken from left to right, and overlapping by about 10%, then merged to create a panoramic image. Note: you can create panoramic images without a tripod, but the ability to keep the image level and overlaps consistent, a tripod is extremely helpful. |
#5 When creating self portraits
|
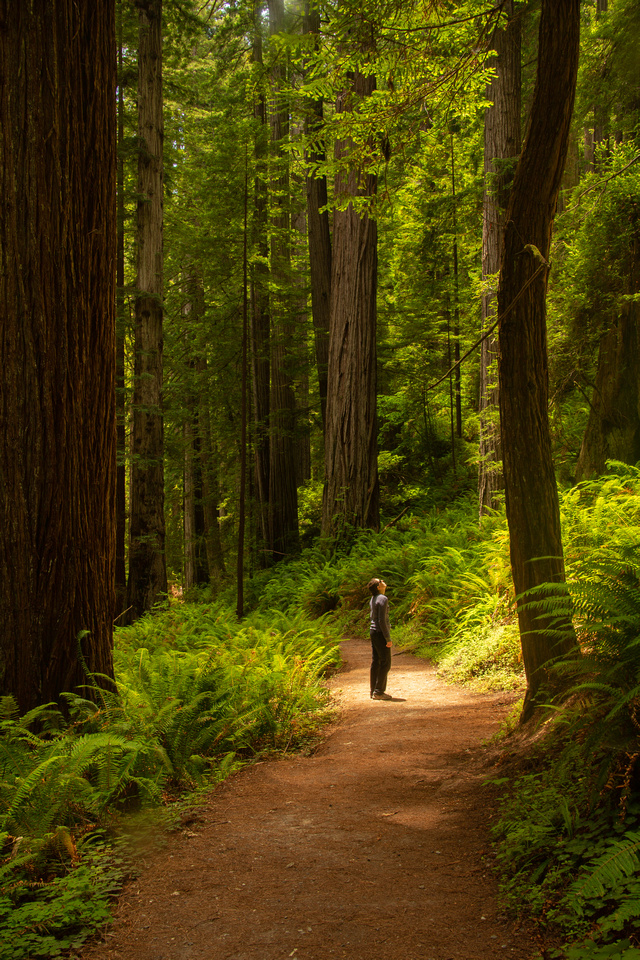
Prairie Creek Redwoods State Park | 40mm, F16, 1/2 second, ISO 100 I'm not a fan of having my picture taken but I had to make an exception here. I was in the Redwoods on a partly cloudy day, where the sun was only shining in this spot intermittently. There were almost no other hikers on the trail, so I ran out and took this before the sun went back behind the clouds. |
#6 When shooting macro images
|
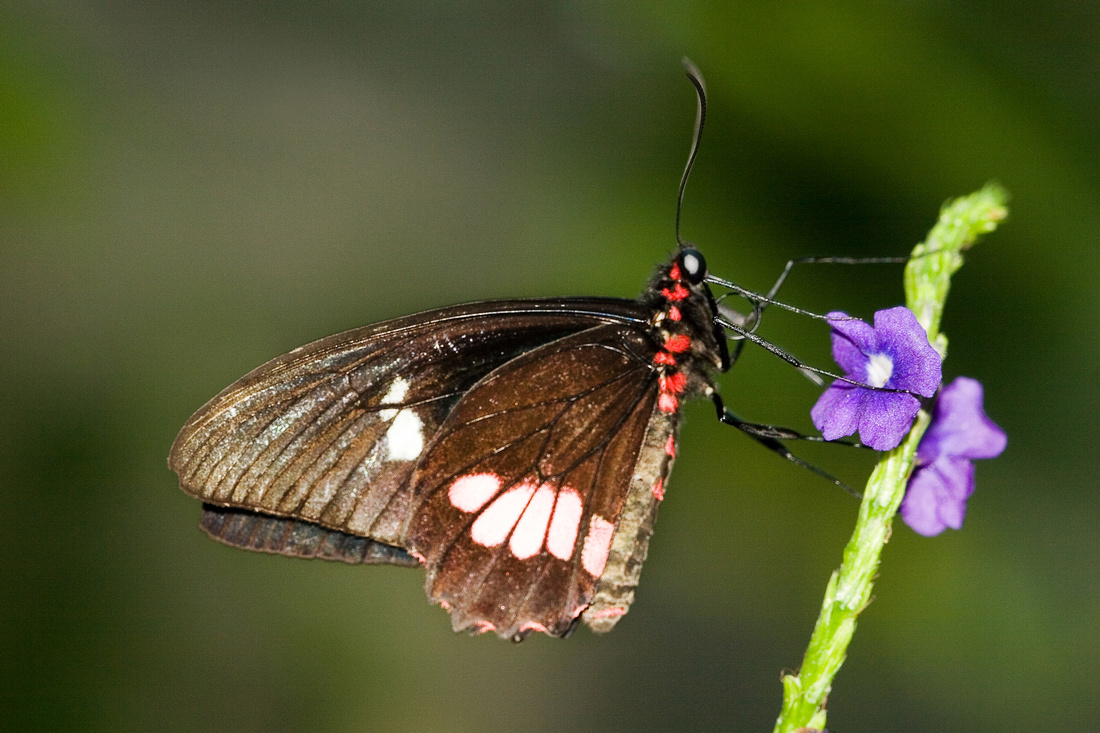
Fritillary Butterfly, Niagara Falls |180mm, F7.1, 1/100 second, ISO 200 I love macro photography, especially butterflies. If you stand still they will eventually land where they can get food. Using a tripod allowed me to let go of the camera while I waited and pre-focus on the flower to aid in getting a sharp image of the butterfly once it landed. |
#7 When you want to create a large print
|
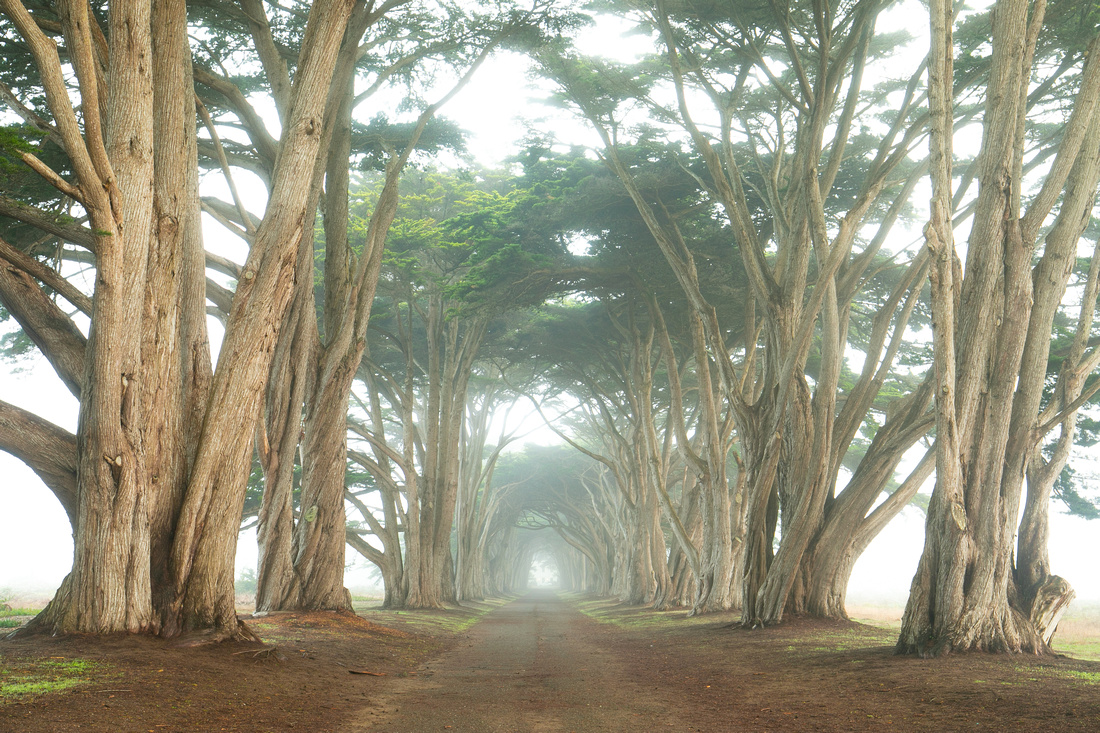
Cypress Tree Tunnel, Point Reyes National Seashore | 35mm, F16, 5 seconds, ISO 100 If you want to make large prints from your photographs, you need to ensure the key features are tack sharp. Using a tripod to ensure there is no camera shake, and to allow you to use a lower ISO all help to create sharp images that can withstand being blown up. |
When you can get by without a tripod:
#1 When shooting with fast shutter speeds
|
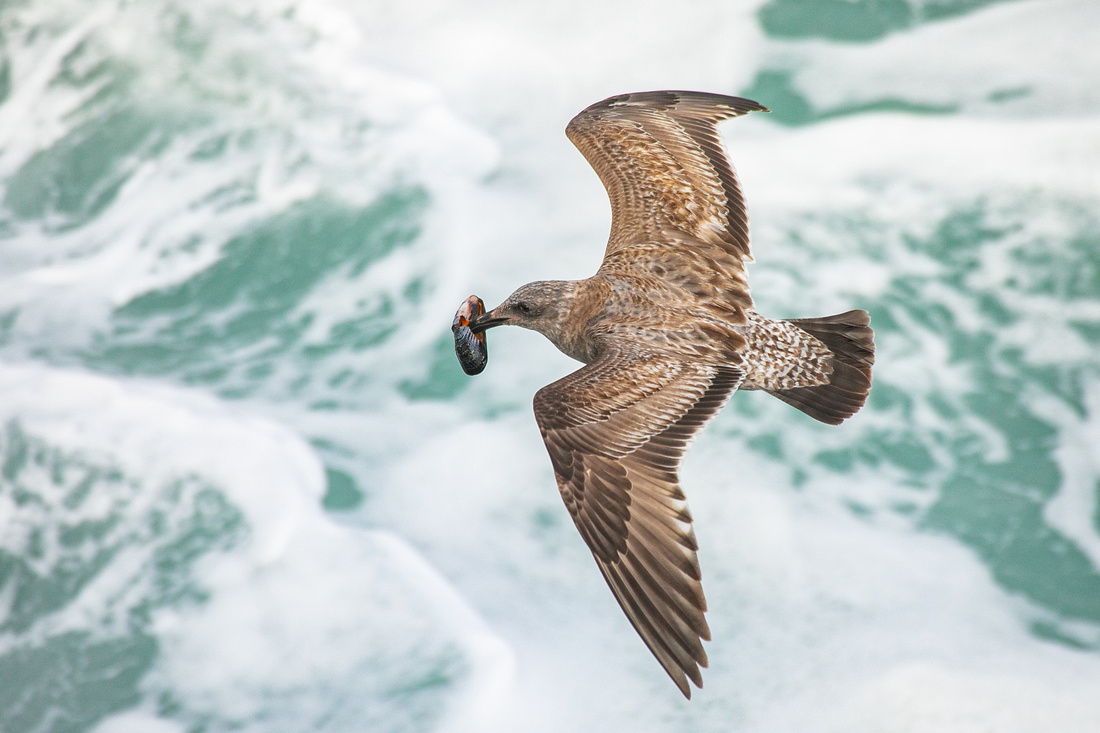
Gull with mussell, Point Reyes National Seashore | 400mm, F8, 1/3200 second, ISO 1000 I was hiking at Tomales Point and noticed these gulls flying back and forth with lunch in their mouths so I started taking some photos. I didn't have my tripod with me so I just bumped up the ISO to ensure my shutter speed was fast enough to prevent camera shake. The rule of thumb is, your shutter speed should be at least as fast as your focal length. In this case, my shutter speed was 1/1000 and my focal length was 400, so I was certain I wouldn't have blurred photos from camera shake. |
|
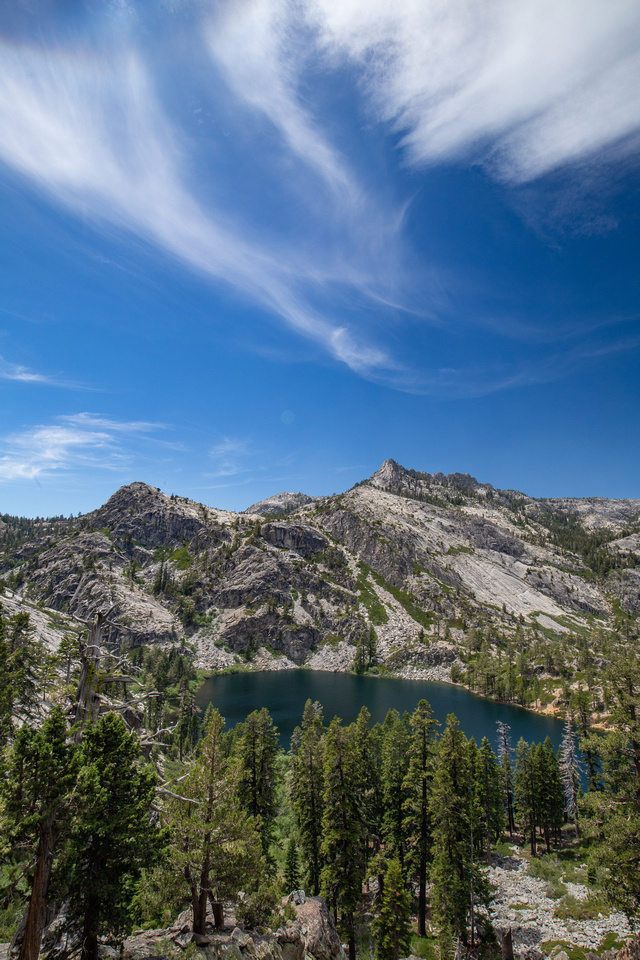
Eagle Lake, Tahoe National Forest | 16mm, F16, 1/45 second, ISO 200 I rarely carry my tripod if I am hiking for the primary purpose of hiking. I'm far too lazy for that, but I still like to keep my camera on me in case I see a nice image, like this one. Again, using a fast shutter speed allowed me to hand hold, no problem. |
|
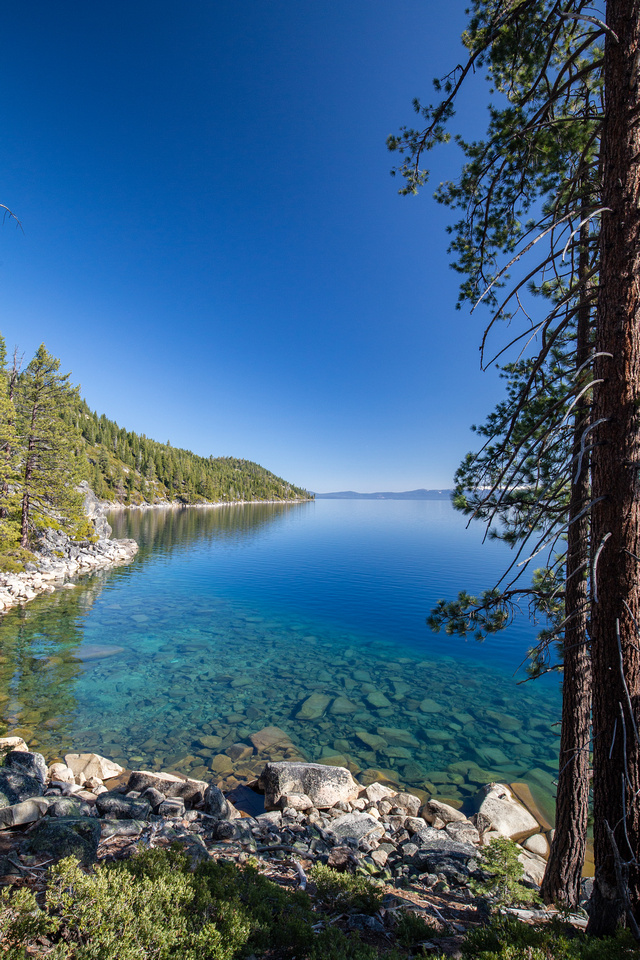
Lake Tahoe from the Rubicon Trail | 20mm, F11, 1/90 second, ISO 400 Another hiking shot while up in Tahoe on a beautiful spring day. I stopped many places along this hike to take pictures. Not having a tripod helped me quickly get shots that grabbed my attention. |
That's it! There is a time and place for using a tripod and likewise, for leaving it at home. I'll still continue to use a tripod most of the time but, as you can see, even I free myself of the tool from time to time and I still manage to get some decent shots!

