Creating impressive shadow imagery
Creating impressive shadow imagery
Text and photos by Heather Cline
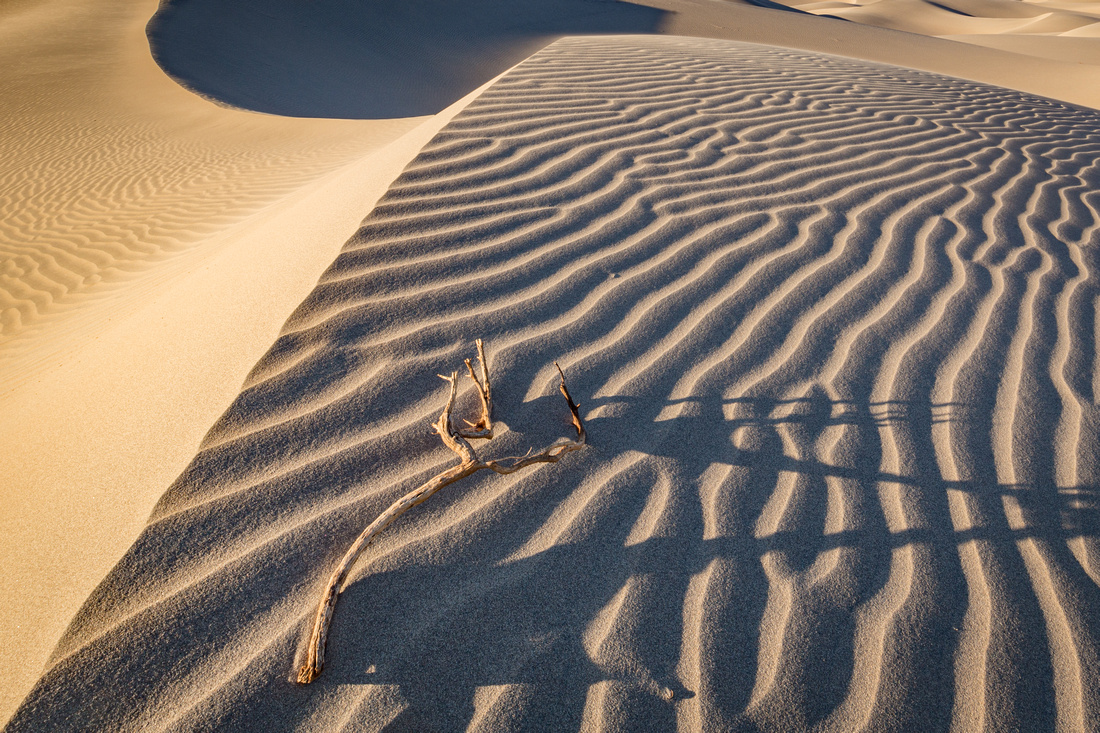 
Mesquite Dunes, Death Valley National Park |
A shadow is defined as a shape of an object that forms due to the absence of a light source.
All photographs contain light and shadow, but placing importance on the shadows and making them a focal point, you have entered into shadow photography. You can leverage shadows to add drama to your photographs. In this article, I will cover how to handle different lighting conditions to create more interesting photos.
Exposure
ISO, aperture, and shutter speed are all vital for a successful exposure. The rules still apply in shadow photography.
- ISO
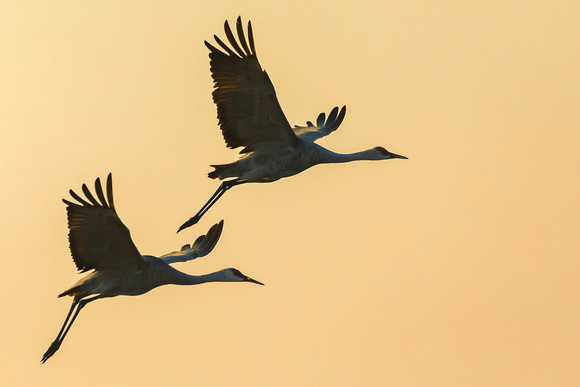
ISO is essentially the film or digital camera's sensitivity to light. The higher the ISO, the more sensitive it is to light, and therefore less light is needed to produce a properly exposed image. In contrast, the lower the ISO, the less sensitive it is to light, requiring more light. What ISO does is enable you to change the aperture and/or shutter speed. Adjusting ISO to allow for a faster shutter speed is probably the most common reasons to do it. For example, if you want to capture a bird in flight, a fast shutter speed is needed, not fast like 1/100th of a second - fast like 1/1000th of a second.
- Aperture
Aperture can be thought of as a window that lets light into your lens. While the mechanics of the camera that allow this to happen is complex, the concept is pretty straightforward. The aperture in the camera can open and close based on the setting selected. If we pretend this window has curtains, you can adjust the window (aperture) to let more or less light reach the camera sensor.
Aperture serves a couple different functions: First, because it controls the amount of light coming into the camera, it allows the photographer to choose an aperture that corresponds with the shutter speed and ISO to achieve a correct exposure, which is necessary to produce technical excellence in your photography. Second, it controls the depth of field. Depth of field is the level of sharpness in front of and behind the plane of focus. This is all about creativity and the reason it is important to understand how this works is because you can then control the creative output.
- Shutter Speed
Shutter speed is a measure of how long the shutter is open when you take a photograph. Before digital photography, shutter speed dictated how long the film was exposed to light. The longer (aka: slower) the shutter speed, more light hit the film, resulting in lighter images. In contrast, the shorter (aka: faster) the shutter speed, less light hit the film, resulting in darker images. Today, shutter speed refers to how long light is exposed to the sensor in your digital camera, but the same rules apply.
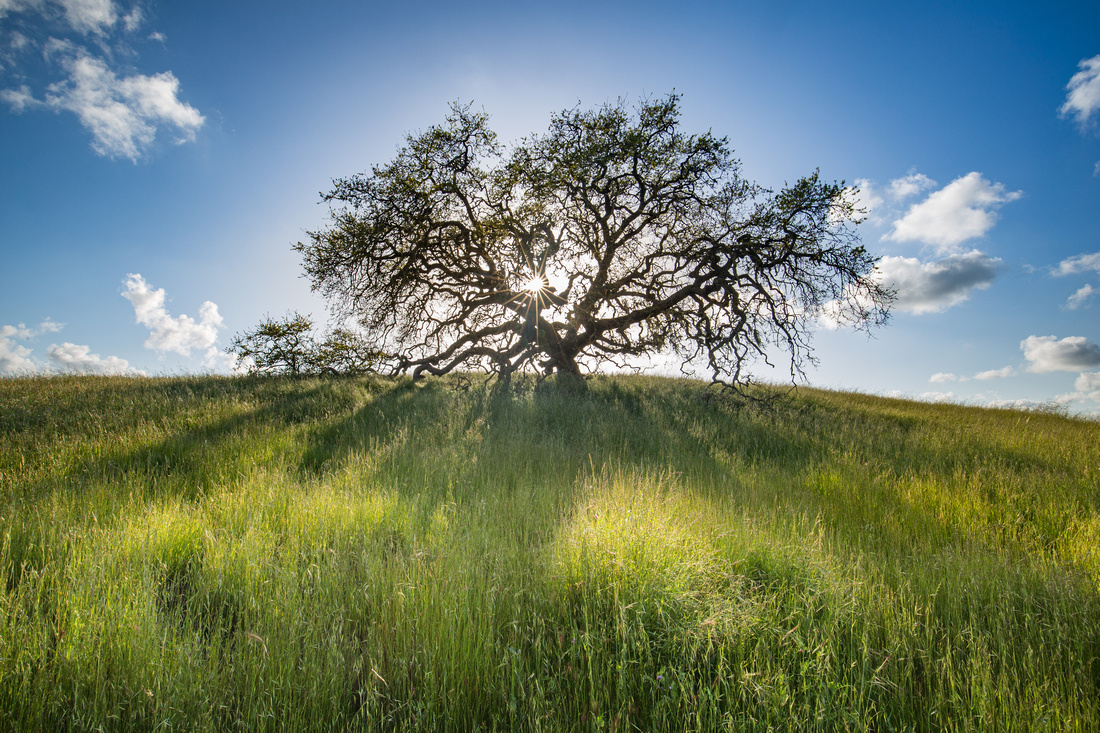
Oak Tree, Crane Creek Regional Park |
Quality of Light
Understanding what quality of light is best suited to achieve your vision is essential in shadow photography. Fortunately, you aren't limited to "one type of light" to be successful, but it is important to know the difference in quality of light and how to leverage each type to your advantage.
- Intensity
Intensity refers to the volume or amount of light the scene or subject receives from the sun, the primary light source for outdoor photography.
- High Intensity
High intensity light is most closely associated with the bright sun at midday. Photographers often avoid midday for photography, but it can provide opportunities if you look for them.
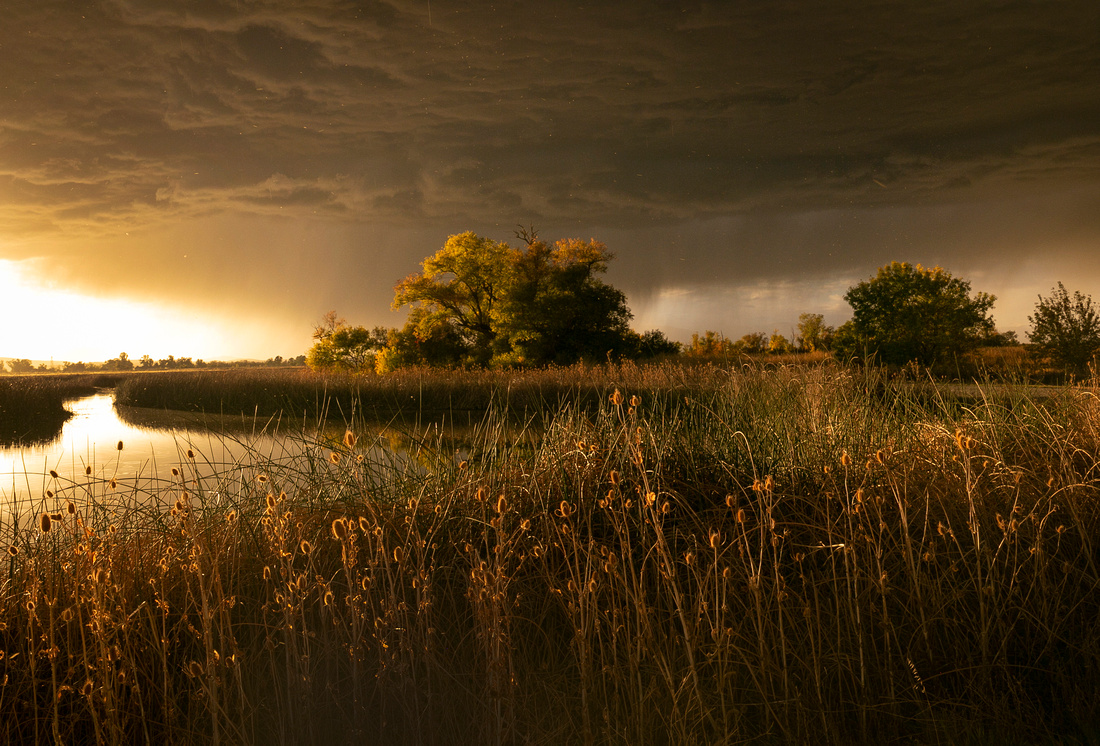
- Low Intensity
Low intensity light is soft and diffused. Cloudy, overcast skies, and open shade create these conditions. Soft light evenly illuminates the scene.
|
|
Direction of Light
The shape of a shadow changes depending on the position of an object and direction of the light source. Directional light is simply light that gets emitted from a specific direction. Knowing when and how to use these is what matters in shadow photography.
- Front light
Front lighting occurs when the sun is directly behind you. While this is the easiest light to manage, it is can be boring and predictable.
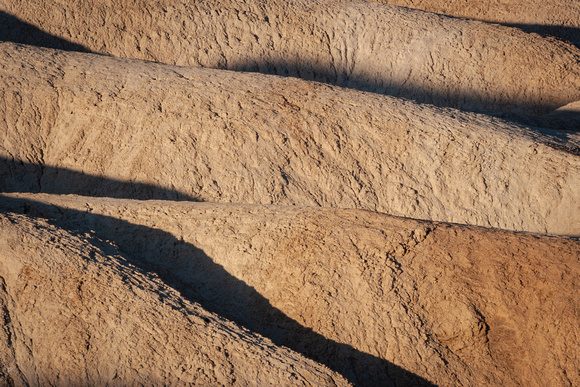
Zabriskie Point, Death Valley National Park
- Side light
Light that illuminates the scene or subject at a 90-degree angle. This lighting emphasizes texture, depth, or patterns. For example, a sand dune, where the ripples and texture in the sand are important elements in the image, is best captured with strong side lighting.
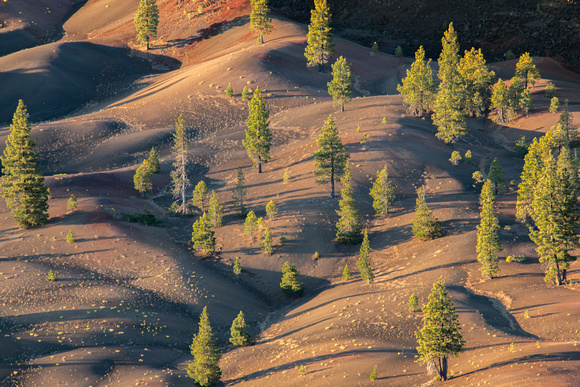
Painted Dunes, Lassen Volcanic National Park
- Back light
Light that is behind your subject. This can be challenging light to work with but also creates dramatic effects. Subjects with translucent materials—such as grasses, fall foliage, or animal fur—can come alive with a gorgeous backlit glow or rim light.
Zabriskie Point, Death Valley National Park
Patterns and Textures
Shadows are an excellent tool for highlighting patterns and textures.
Patterns appear whenever strong graphic elements are repeated. You can emphasize patterns by isolating them from their surroundings, creating the illusion that the repetition is infinite.
Texture refers to surface characteristics and appearance of an object and may be described as smooth or rough, hard or soft, matt or glossy, fuzzy or soft, or sharp or flat, to name a few. A well done photograph featuring texture can make you feel like you can reach out and feel the surface through the photograph. Texture creates a sense of depth, bringing a three-dimensional characteristic to a two dimensional medium.
Here are five simple tips for capturing texture in your photographs:
- Texture is best captured when it is detailed and sharp. This is accomplished using a smaller aperture with f8 being a good option. Using a tripod will help eliminate camera shake, leading to more sharp images as well.
- Get close to capture those details then step back to incorporate it into a larger composition.
- Shoot during the edges of the day to get that low angled side light that creates contrast and accentuates details.
- Move around the subject, looking for a different perspective. This is a low investment technique that can yield great results.
- Finally, experiment with different shutter speeds. A fast shutter speed will produce a different texture than a slow one.

Snow mounds, Yosemite National Park |
In this article, we covered exposure, light, patterns and texture - and how they all play a role in creating impressive shadow photography. I hope this has provided some inspiration for your next photo excursion.
