The Orton Effect
The Orton Effect
Text and photos by Heather Cline
|
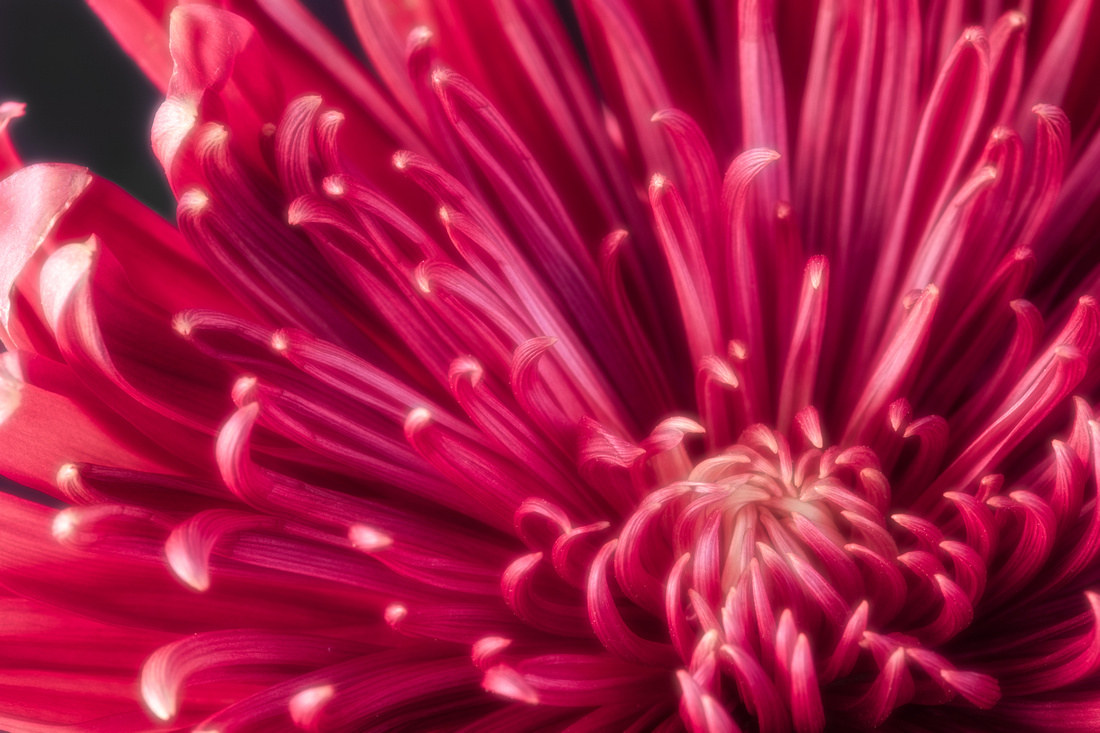
Chrysanthemum with Orton effect applied |
There are many tools and techniques you can employ to make your image stand out, but few have stood the test of time as the Orton Effect.
What is the Orton effect?
The Orton Effect is a technique that was developed by Canadian photographer, Michael Orton in the 1980s. He originally created the effect to imitate watercolor paintings. It remains one of the most popular post-processing techniques for landscape photographers today.
An image with the Orton effect applied appears highly detailed but also soft and dreamy. It is a distinctive fantasy- watercolor effect that is reminiscent of Lord of The Rings.
Orton achieved the effect by sandwiching two or more exposures of slide film, where one was in focus and one or more additional slides that were out of focus and overexposed. You can replicate the effect in Lightroom but, much like the technique with slide film, the key is to have one or more layers blurred and merged so that the blending of them creates the desired effect.
This article will explain how to replicate the effect using post-processing software, such as Adobe Photoshop.
|
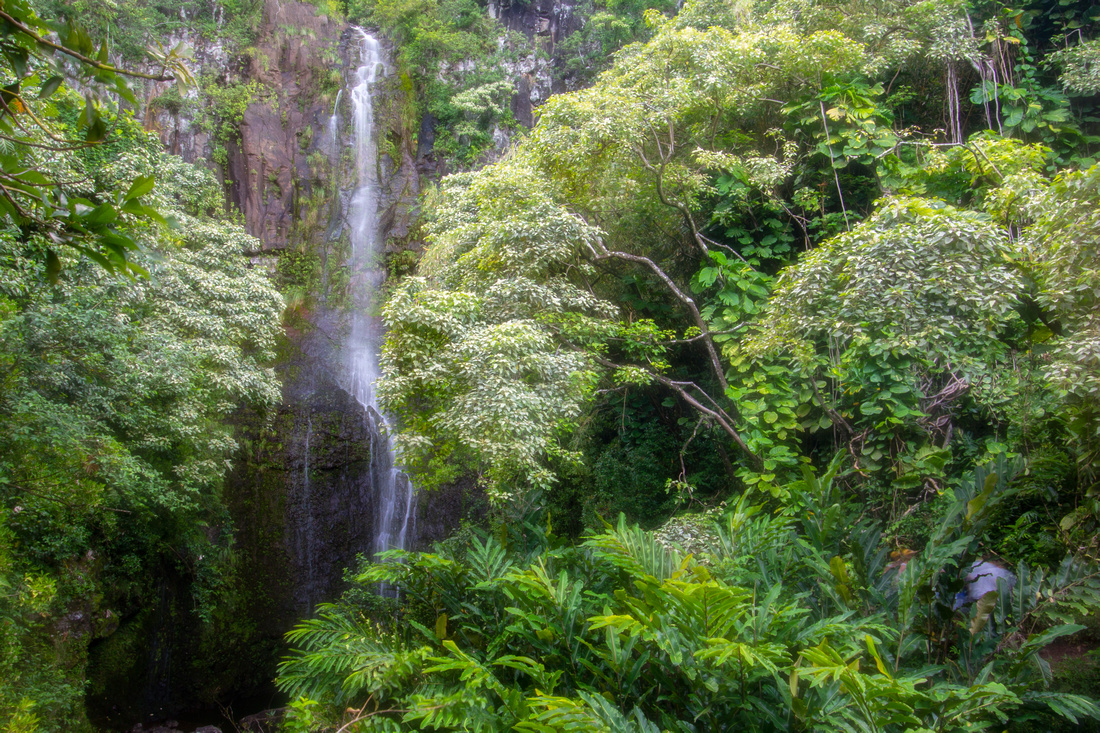
Waimea Falls, Maui with Orton effect applied |
How to create the Orton Effect
- Open the image in Adobe Photoshop and apply any adjustments necessary (color correction, contrast, etc.)
- In the Layers panel, right click on the Background image and select Duplicate Layer (Ctrl + J). You can title this layer anything you want. I’m leaving the Photoshop default name of “Layer 1” for this tutorial.
- Select Layer 1, then from the top nav, select Filter > Blur > Gaussian Blur (Alt + Ctrl + F)Select a radius; somewhere between 25-50 is ideal, then select OK
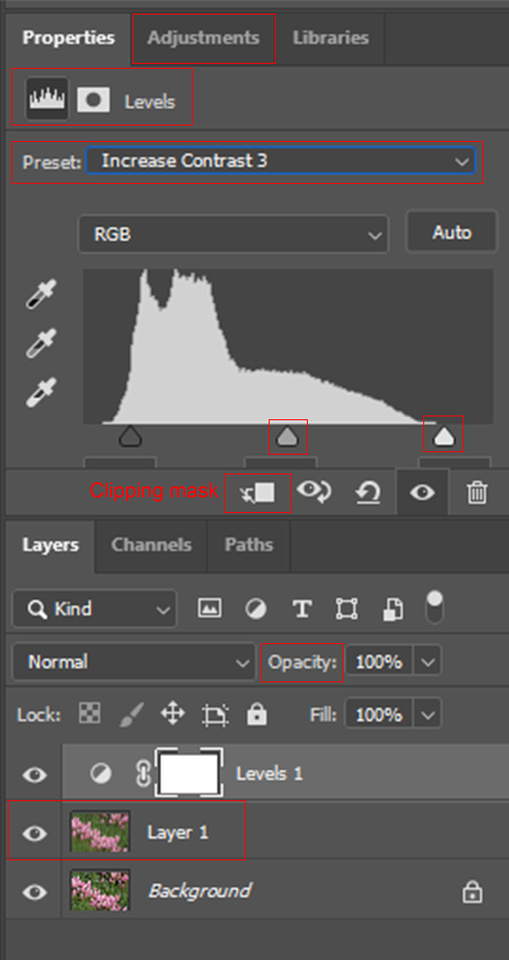
- In the Adjustments panel, select Levels (see screenshot below)
- Select Photoshop preset Contrast 3 then pull the highlights and shadows to the left
- Click on the clipping mask to apply these adjustments only to Layer 1
- While on Layer 1, pull the opacity down to 0%, then gradually increase until you reach the desired effect. Somewhere around 5-15% should be ideal.
- Add a Layer Mask to Layer 1 to paint out (remove) the effect from the shadow areas
|
|
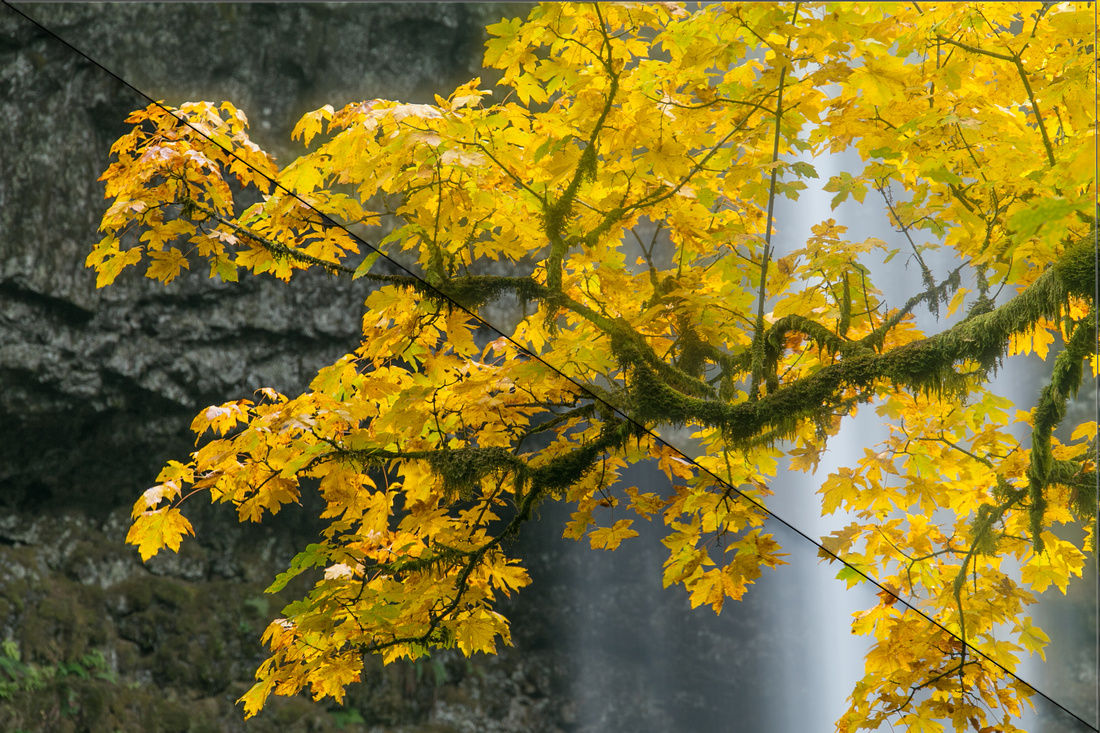
South Falls (Silver Falls State Park) with and without the Orton effect applied |
Choosing the right images to apply this effect
First, you must consider whether your photo will be improved by adding the enhancement.
To get an idea of which photos might benefit from the Orton effect, you can always start by looking at Michael Orton's work. Orton's desire was to create a painterly look, so if you have a photo that you believe would benefit from this effect, that might be a good one to start with.
Looking at other images online that have applied the Orton effect can help you get a sense of which ones would benefit as well.
No matter which image you choose, you must start with a good image. This effect will not turn a bad image into a good one. They haven't quite invented that solution yet!
|
Un-named waterfall at Akaka Falls, Kona with Orton effect applied |
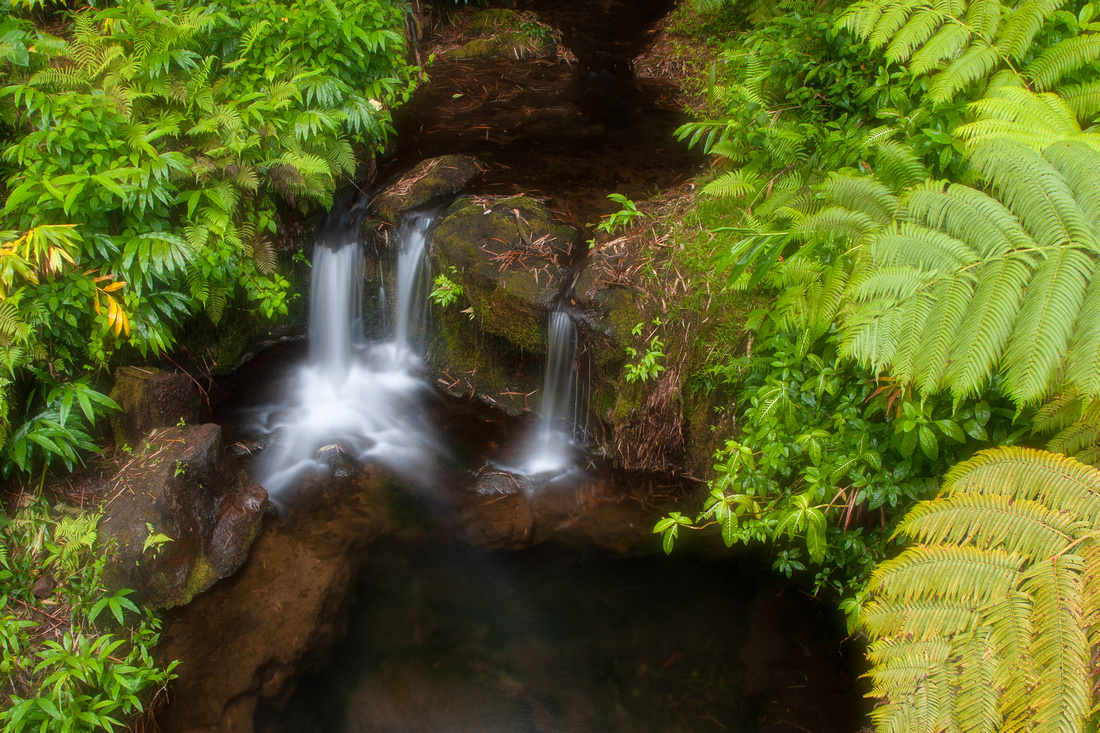
I hope this post has provided you some good information on the Orton Effect. For additional photos, check out my Orton effect gallery here.
