Five creative processes in Photoshop
Wake Up Your Right Brain: Five Creative Processes in Photoshop
Text and photos by Heather Cline
Photoshop is a powerful tool for editing photographs but it is also widely used for creating graphic art. Even if you are not a graphic designer, there is value in trying out these effects. They allow you to try out the various tools and possibilities Photoshop has to offer, which are all intended to create your best images. This article represents just a tiny sliver of what Photoshop is capable of.
Here are five creative processes you can apply to your images in Photoshop.
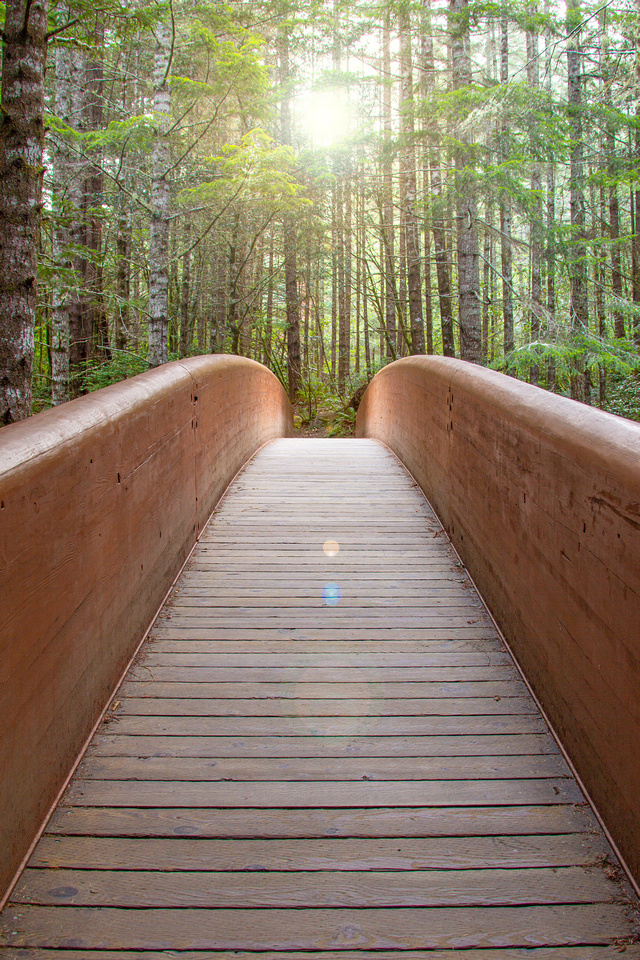
Add Lens Flare
Difficulty rating: Easy
Sometimes we want to remove lens flare from photos, but in some cases, adding flare can change the feeling of the photo and it's pretty easy to do.
- Open image in Photoshop
- Create a new layer above your image (Ctrl +J)
- Press X to fill this layer with black
- Press Alt + Delete to fill this layer with the foreground color. It should now be black.
- On the top Nav, Go to Filter > Render > Lens Filter
- A dialogue box will appear. In here, you can make three adjustments for the desired look, then click OK:
- Position the lens flare where you think it will look best
- Adjust the brightness
- Adjust the lens type
- To remove the black background, adjust the blending mode from normal to screen. You can access this by right clicking on the layer and selecting Blending Options.
- Once the black background is removed you can still move the lens flare as needed using the move tool.
|
|
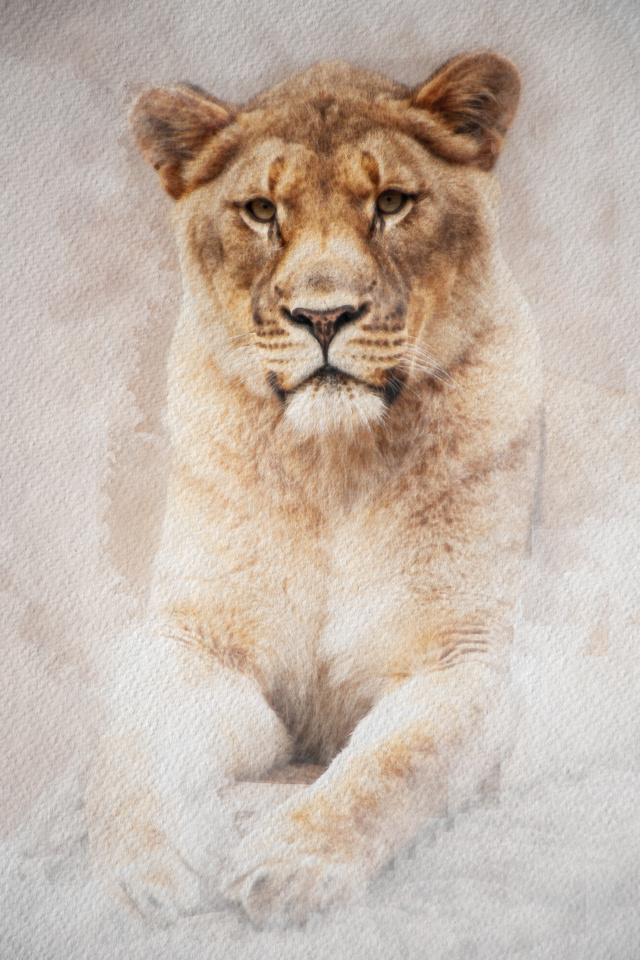
Watercolor Paint Effect
Difficulty rating: Moderate
This is a great effect to use for portraits, wildlife, or even landscapes. If you love the look of watercolors but you don't know how - or don't have the supplies - this is a really nice way to achieve the effect with your favorite photos.
- Open image in Photoshop
- Change Image Mode. On the top Nav: Image > Mode > 8 Bits/Channel
- Copy the background layer (Ctrl+J) and name this layer Watercolor effect
- Turn off the background by selecting the eye icon to the left of the layer
- Convert the layer to a smart object. On the top nav: Layer > Smart Objects > Convert to Smart Object
- Go to Filter > Filter Gallery and open the Artistic menu, and select Watercolor
- Set brush detail to 14
- Set Shadow Density to 0
- Set Texture to 3
- Select the Plus icon at the bottom, open the Sketch menu, and select Water Paper
- Set Fiber Length to 35
- Set Brightness to 65
- Set Contrast to 65
- Select OK
- Add a Smart Blur. On the top Nav: Filter > Blur > Smart Blur
- Set Radius to 15
- Set Threshold to 100
- Set Quality to High
- Select OK
- Add sketched edges. On the top Nav: Filter > Stylize > Find Edges.
- On the Layers Panel:
- Double click the icon to the right of Filter Gallery. Change the Blend Mode to Soft Light and set opacity to 50%. Click OK
- Double click the icon to the right of Smart Blur. Set mode to Screen and set opacity to 50%. Click OK
- Double click the icon to the right of Find Edges. Change Mode to Multiply and set opacity to 50%. Click OK
- On the Layers Panel:
- Add paper texture (skip this step unless you have downloaded or saved watercolor paper texture files)
- On the top Nav: File > Place Embedded. Navigate and choose file.
- Size the layer until it covers the image you are working on
- Change blending mode to Multiply
- Add a Layer Mask
- Select the Watercolor Effect Layer.
- On the top Nav: Layer > Layer Mask > Hide All
- Paint in image
- Select the Layer Mask
- Select the brush tool
- Set foreground to white
- Set Opacity and Flow to 100%
- Using the brush, gradually paint in the image until you have the desired result.
|
|
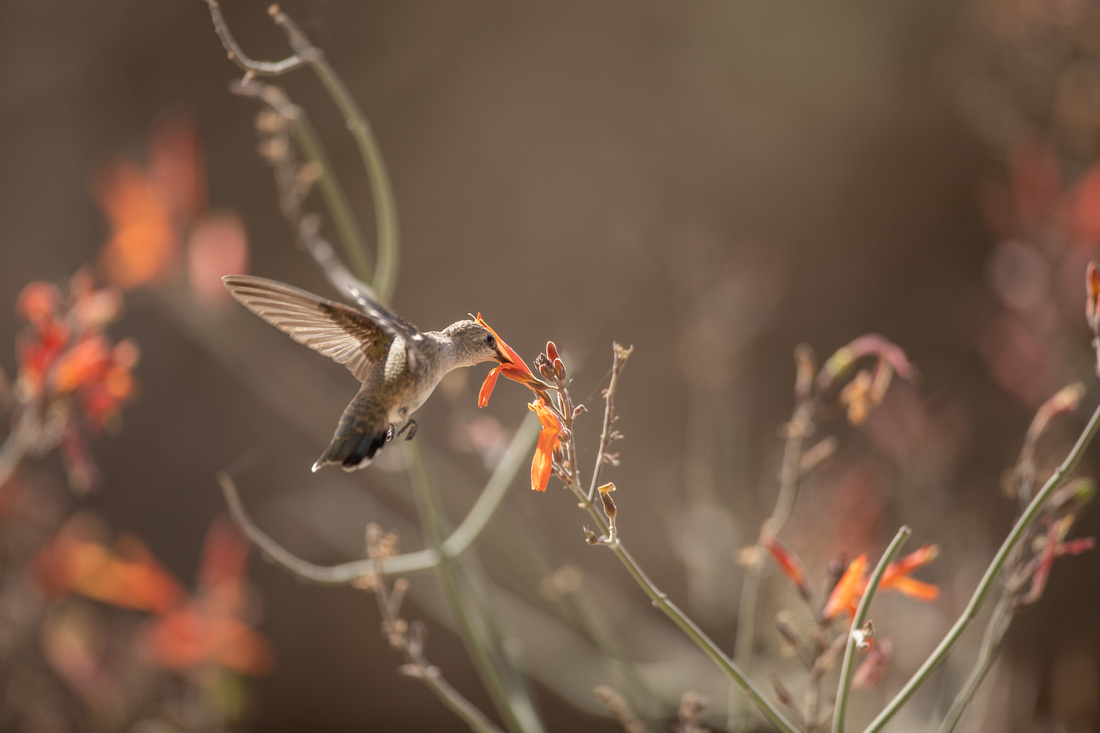
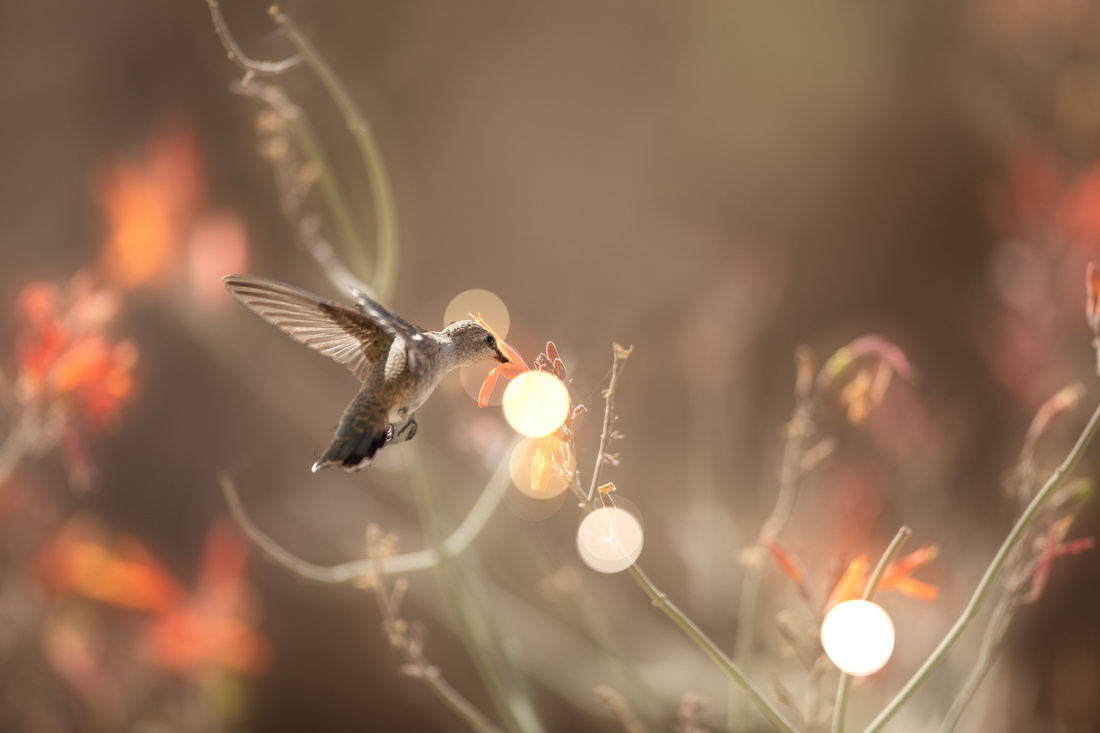
Bokeh Effect
Difficulty rating: Easy-Moderate
This is a nice, simple way to add a little drama to your images by giving the background a soft blur effect. This is a popular effect to use with portrait photography as well.
Here is how to do it:
- Open image in Photoshop
- Create a new layer above your image (Ctrl +J). Name this "Background Blur."
- Use the quick selection tool to select the subject, then create a copy of this layer (Ctrl+J). Name this layer "Subject"
- While on the Subject layer, open the quick select tool again, then select "Select Subject" from the top nav.
- Go back to the Background Blue layer, and select Edit > Fill. In the dialogue box, set contents to Content-Aware, Mode to Normal, and Capacity to 100%.
- Hit Ctrl+D to deselect the subject (remove the marching ants)
- Convert the Background Blur layer to a smart object. On the top nav: Layer > Smart Objects > Convert to Smart Object
- Add bokeh effect.
- On the top Nav: Filter > Blur Gallery > Field Blur
- A dialogue box will appear. Move the blur slider between 100-200
- Move the Light Bokeh slider to the right until balls of light appear
- Adjust Bokeh color slider as needed/ desired
- Adjust Light Range slider as needed/desired
- Click OK
- Use a Curves adjustment to darken the background
- On the top Nav: Image > Adjustment > Curves (Ctrl+M)
- Drag the bottom part of the S curve down slightly
- Click OK
- While on the Background Blur Layer, change blend mode from normal to screen
- Adjust the Opacity of this layer until you reach the desired outcome
|
|
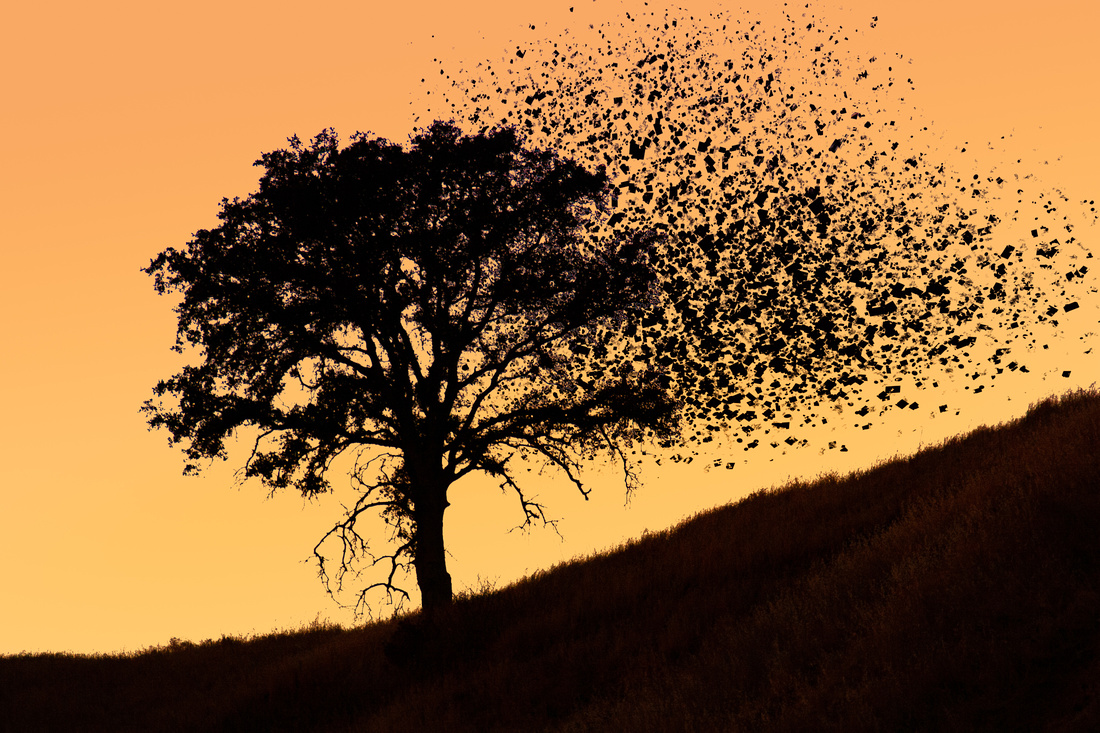
Dispersion Effect
Difficulty rating: Moderate
This effect caught my eye immediately and I had to try it out. You can create some really cool artistic pieces using this process and it can be used with so many genres. There are many free dispersion effect brushes available online, so the sky is the limit with this one. I just tried it out with one image and I think I'm hooked!
Here is how to do it:
- Open file in Photoshop. It is important to select an image with a clear subject.
- Remove the background from the subject
- Unlock the background layer by clicking the lock to the right of the layer
- Use the selection tool of your choice to select the subject, then invert selection to select the background
- Press delete to remove the background
- Deselect the selection (Ctrl+D)
- Create a duplicate layer (Ctrl+J)
- Create an Adjustment Layer
- Select Solid Color from the options
- Select a color for your background from the Color Picker dialogue box
- Select this layer and drag it below Layer 0
- If desired, move the subject to a new location within the image
- Select Layer 0 and open the Liquify Filter. Filter > Liquify
- A new dialogue box will appear. Select the Forward Warp tool from the upper left corner, and adjust the brush size as desired in the upper right corner.
- Use the Forward Warp to push the parts of the subject you want to disperse, then click OK
- Add Layer Masks
- Select Layer 0
- Press and hold the Alt key while selecting Add Layer Mask. A black thumbnail should appear to the right of the layer.
- Select Layer 0 Copy
- Select Add Layer Mask (do not hold Alt key)
- Create the dispersion effect
- Select the Layer 0 thumbnail
- Select the dispersion effect brush tool of your choice (note: these must be downloaded but are free through sites such as Brusheezy)
- Change the foreground color to white
- Click on areas of the images that were warped in the liquify tool
- Select the Layer 0 Copy layer mask. Change the foreground to black
- With the same dispersion brush selected, click on the subject image to hide it's parts
|
|

Sky replacement
Difficulty rating: Super Easy
Full disclosure; this is not a creative change I make to my images in Photoshop. I feel pretty strongly about publishing an image as close to what I saw in reality so I struggle to make material changes to my images, such as the sky. Having said that, all photographers have had at least one experience where they needed a good sky and got skunked. You cannot control mother-nature - or can you? With this quick edit, you can quickly change out a sky in seconds. Photoshop even provides many different skies to choose from. If you have some of your own skies you would prefer to use, you have that option as well.
Here is how to do it:
- Open image in Photoshop
- On the top Nav: Edit > Sky Replacement
- Select form one of the preset sky images or use one of your own
- Use the adjustment options in the Sky Replacement dialogue box to make any edits you desire and once you are happy with the results, click OK.
|
|
That's it! Five new processes to try out the next time you feel a bit of creativity coming on. I hope this helped inspire you to apply some creative techniques to your own photos in Photoshop.
