5 Tips for dynamic vertical landscapes
5 Tips for Dynamic Vertical Landscapes
Text and photos by Heather Cline
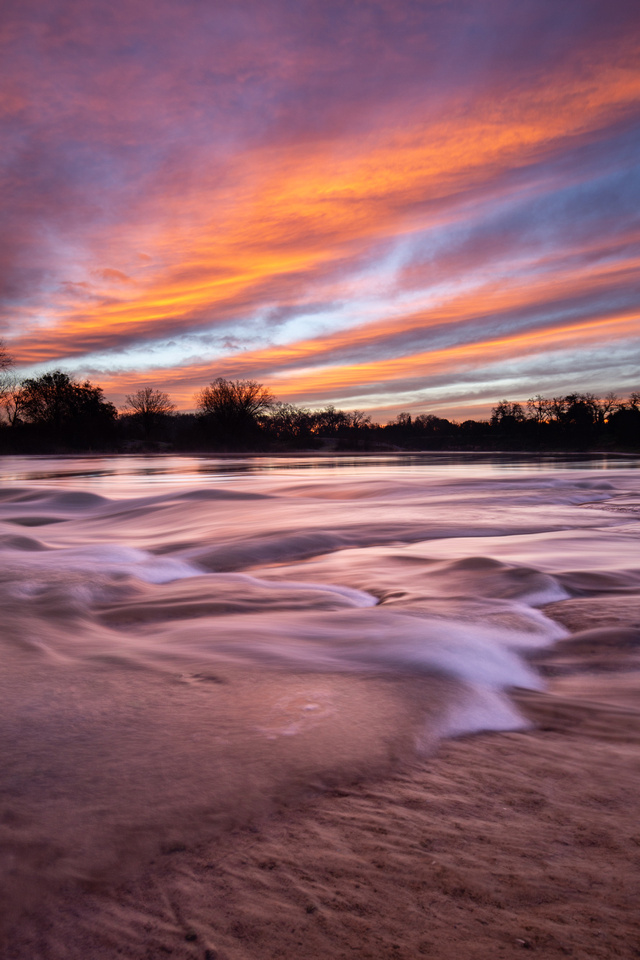 
American River at sunrise |
Landscapes are one of the most popular genres people pursue when getting into photography. Landscapes are more easy to access than other types of photography and you can get started without making a crazy financial investment into specialized equipment that you would if you were interested in macros, aerial, or astrophotography.
That is not to say landscapes are easy to master. You have to consider location logistics, lighting, composition, and weather to name a few. In addition to this, the number of people creating landscape images grows everyday, making it difficult to stand out. One way to create more dynamic landscape images is simply to turn your camera 90 degrees. That's right - go vertical.
This article is intended to provide you some quick and easy tips for capturing dynamic vertical landscapes.
1. Get Low
Getting down low gives you a different perspective, creating additional compositional opportunities. When you employ a lower perspective, you can take advantage of leading lines and foreground elements that stand out more than they did if shooting from a higher angle.
This is one of the reasons wide angle lenses are so popular among landscape photographers, because they allow you to capture these sweeping views that help give the image a three dimensional quality.
Note: It is helpful to have a tripod for these types of images but it isn't absolutely necessary.
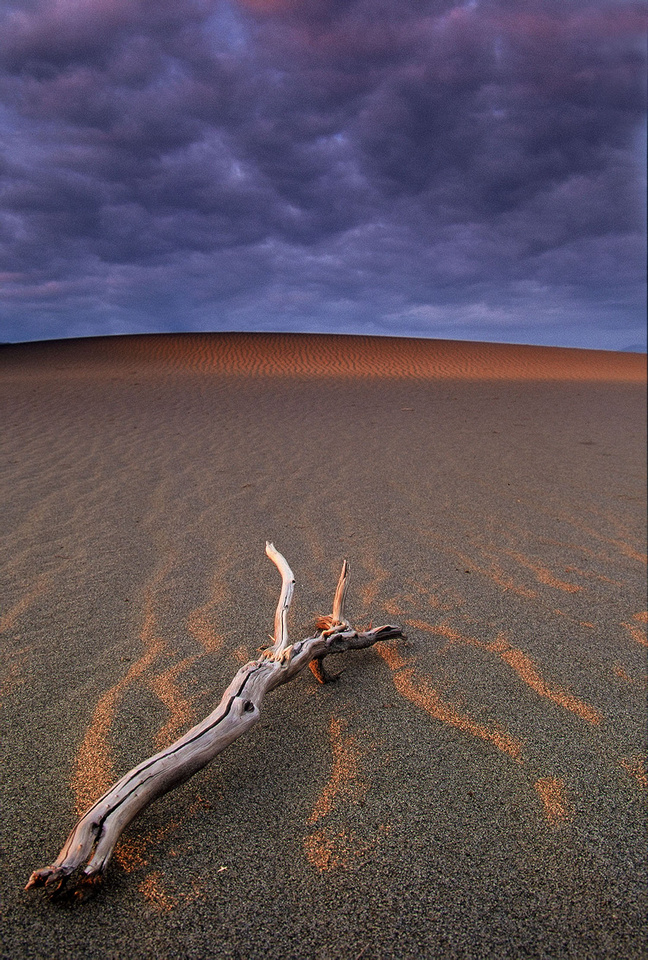
Mesquite Dunes at sunrise, Death Valley National Park |
2. Get Close
Getting close to the foreground subject that occupies the lower part of the image will help it stand out by accentuating depth. The size of the subject will dictate how close you need to get. The smaller it is, the closer you need to get. I've been surprised sometimes just how close I have been to the subject, maybe just a matter of inches, before it was substantial enough to create weight in the image.
Don't forget, the subject matter should look like it belongs with the rest of the surroundings in the composition. It can be challenging to find just the right composition but it is worth it to create and image that stands out.
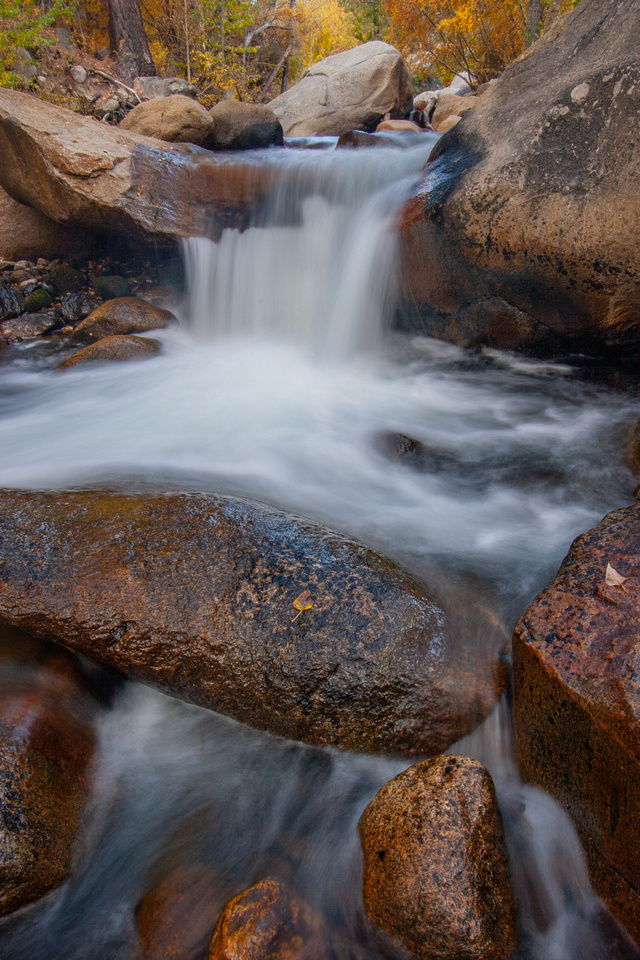
Bishop Creek in Autumn |
3. Leave Some Negative Space
Negative space is a useful tool for framing the subject because there are no other elements to distract from it. Because it gives the viewers eye a place to rest, it leads the viewer to the subject and makes it stand out. The negative space could be the sky, plants, or simply a neutral or blurred out background.

Siletz Bay on a very cloudy morning, Oregon |
4. Include Foreground, MIddleground, Background
When you are composing landscape or wildlife photos, having a strong foreground, middleground and background will add a sense of depth to the image. The foreground element(s) will allow the viewer to enter the picture, while the middleground holds the viewer’s interest as it leads the viewer into the background. This allows the viewer to travel through the frame, creating a sense of depth.
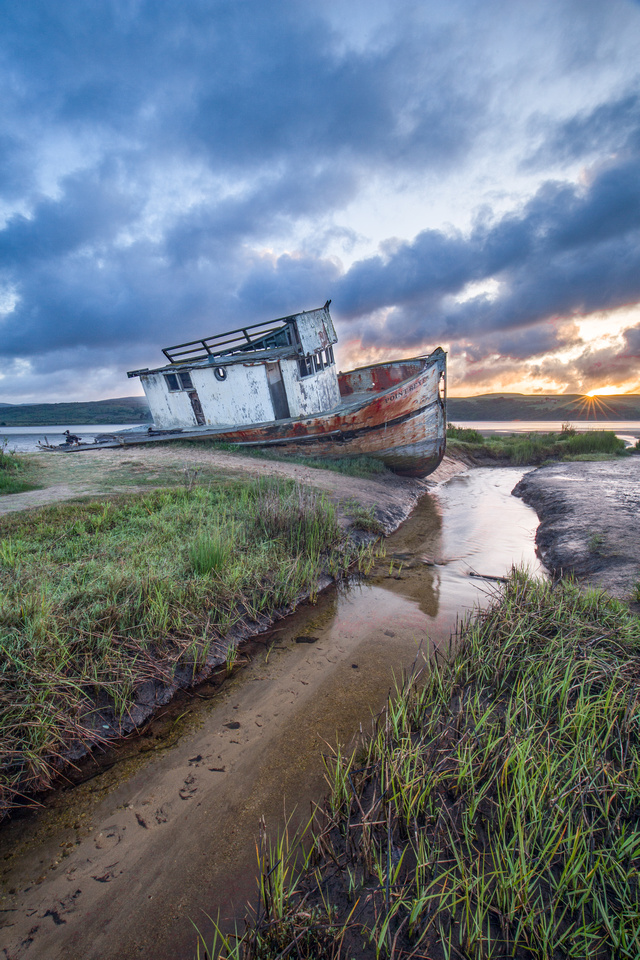
Point Reyes boat at sunrise |
5. Use a Telephoto Lens to Create Compression
Lens compression commonly occurs when you take a picture using a telephoto lens. This is because there tends to be a greater distance between the you and your subject than there would be if you were using a wide angle lens. Both the longer focal length and distance to the subject creates an illusion that objects that are farther away are larger, which compresses the subject and background.
Longer lenses, or focal lengths, have a very narrow field of view than wide angle lenses. This is part of the magic that allows you to fill the frame with the subject without getting too close.
Depth of field is affected by the aperture you choose, but also by focal length. Anything in the frame that is not in focus at (let's say 400 mm) is going to appear much softer than it would at 40 mm.
This is a great tool to have at your disposal because it also allows you to isolate your subject and remove any distractions.
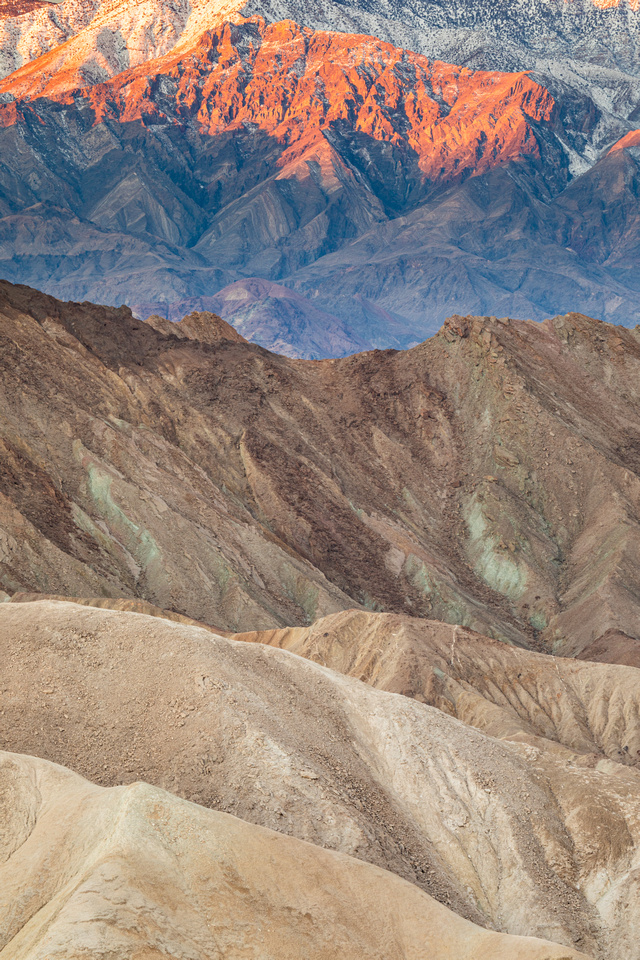
Zabriskie Point at sunrise, Death Valley National Park |
So there you have it! Five quick tips for creating more dynamic vertical landscapes. What orientation do you prefer when creating landscape images? Do you use a vertical orientation a lot? Please share your thoughts in the comments below.
