Photographing the Milky Way

October 26, 2020  •  1 Comment

"M" is for Milky Way. Not the candy bar, but we are close enough to Halloween, I wouldn't blame you for going there. . . Actually, I love chocolate so I'd never blame you for going there. 

This post is all about the Milky Way in the sky - and how to incorporate it into your photos. It isn't terribly complicated but there are a few things you need to keep in mind: 

  • Camera Gear & Lighting Equipment:
    • A DSLR that has manual mode
    • A tripod
    • A remote shutter release
    • Flashlight(s), headlamp, or alternate light source

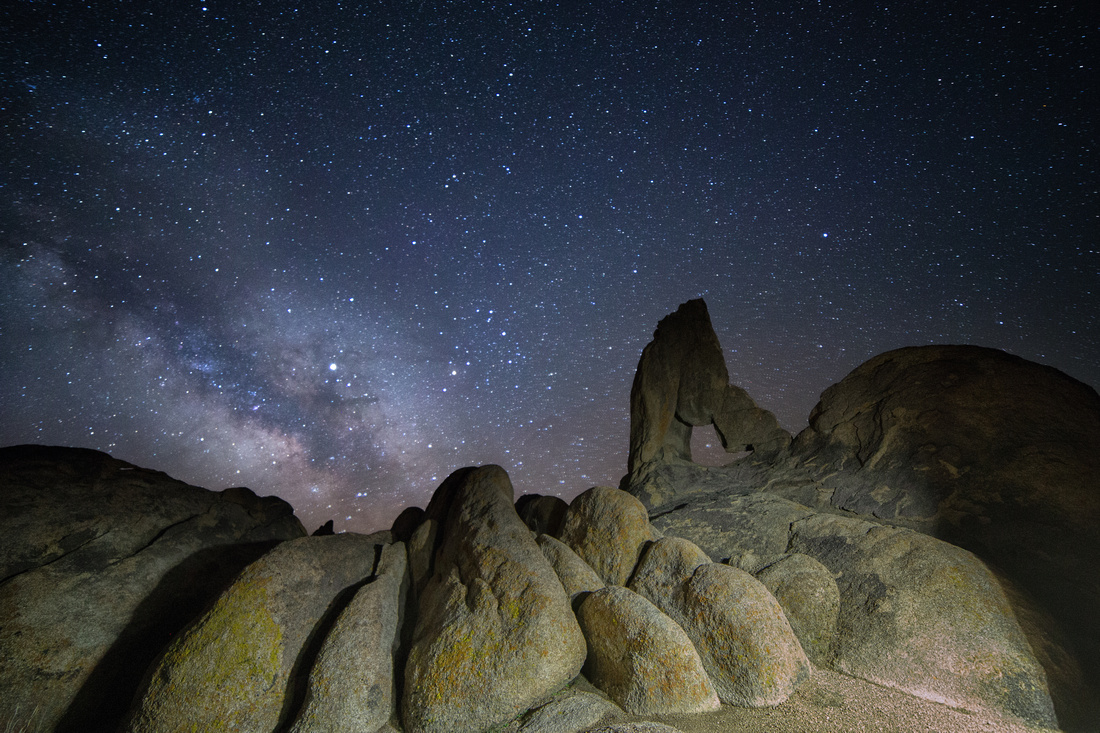
Boot Arch in the Alabama Hills, near Lone Pine California 

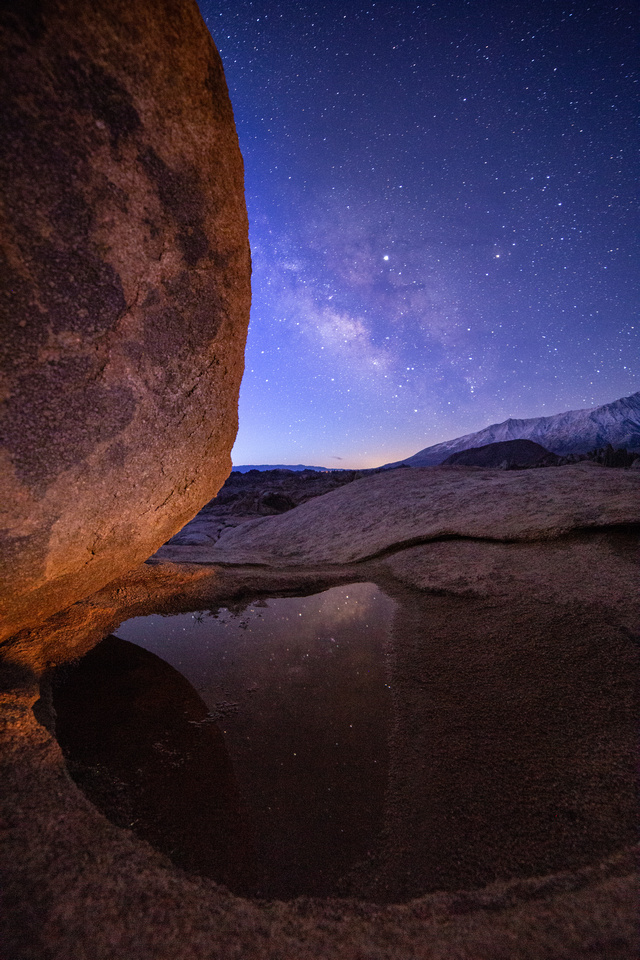
Boulder and pool of water in the Alabama Hills, near Lone Pine California 

  • Dark Skies:
    • Sites like Dark Sky Finder and Light Pollution Maps can help you locate dark sky locations.
    • Shooting during a new moon, or after the moon has set will ensure skies are dark enough. 
    • Apps like Sky View and Photo Pills will provide you with moon phases, rise and set times.
    • The website Clear Dark Sky  provides the predicted cloud cover for a location for a few days in the future. 


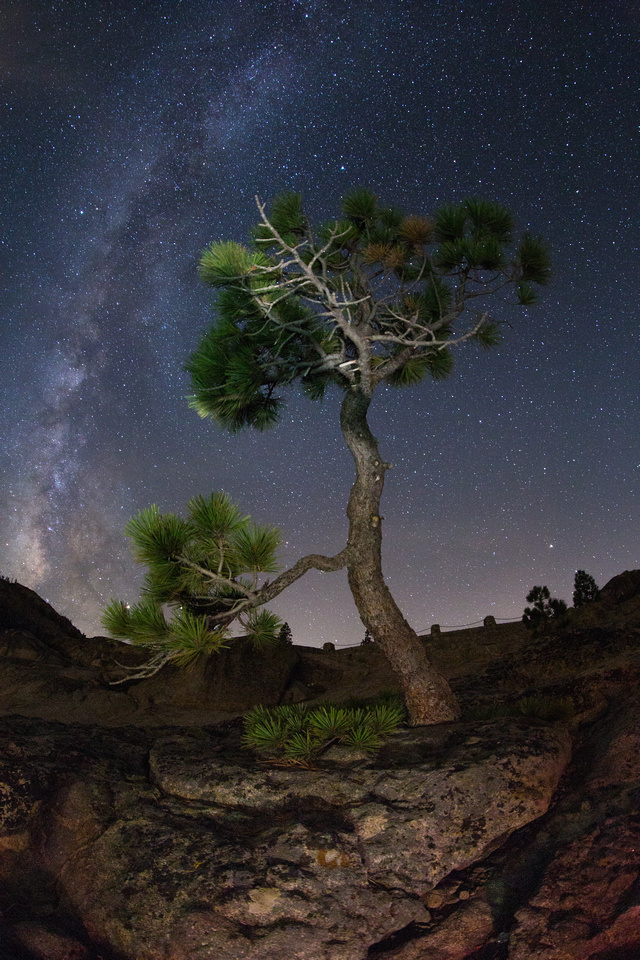
Ancient Bristlecone Pine in the White Mountains, near Big Pine California

Olmstead Point, Yosemite National Park 

  1. Composition:
    • Foreground elements help to round out the composition, such as lakes, rivers, trees, rocks, mountains, and manmade structures. 
    • Apps like Sky View and Photo Pills will provide you with the Milky Way's position, azimuth, and arc for a specific location so you can plan your shot. 
      • If you live in the northern hemisphere, the Milky Way Galactic Center can be seen throughout the summer months.
      • It will be partially in view during the spring, fall, and winter months.

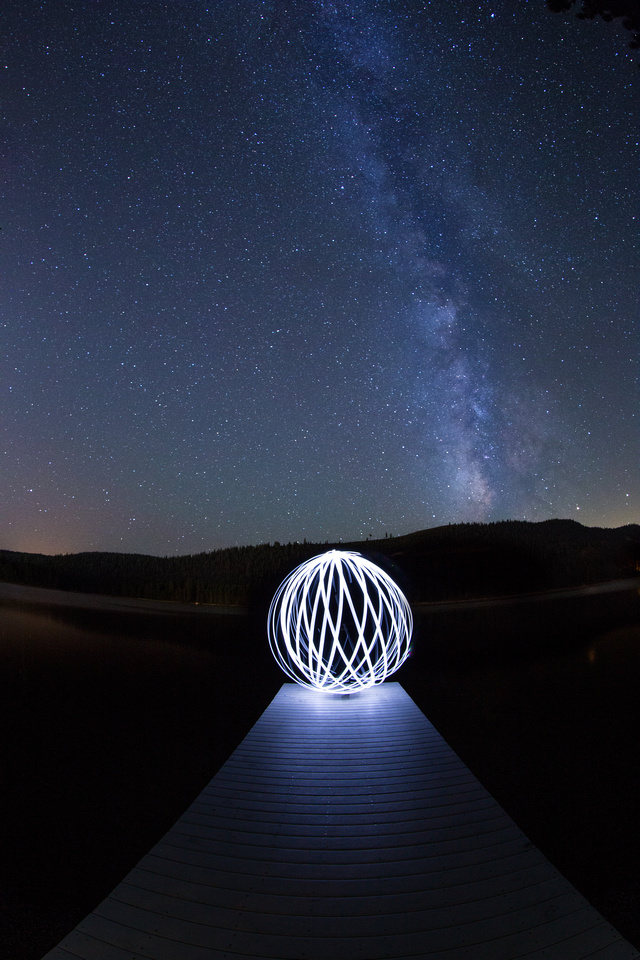
Orb on pier, Donner Lake

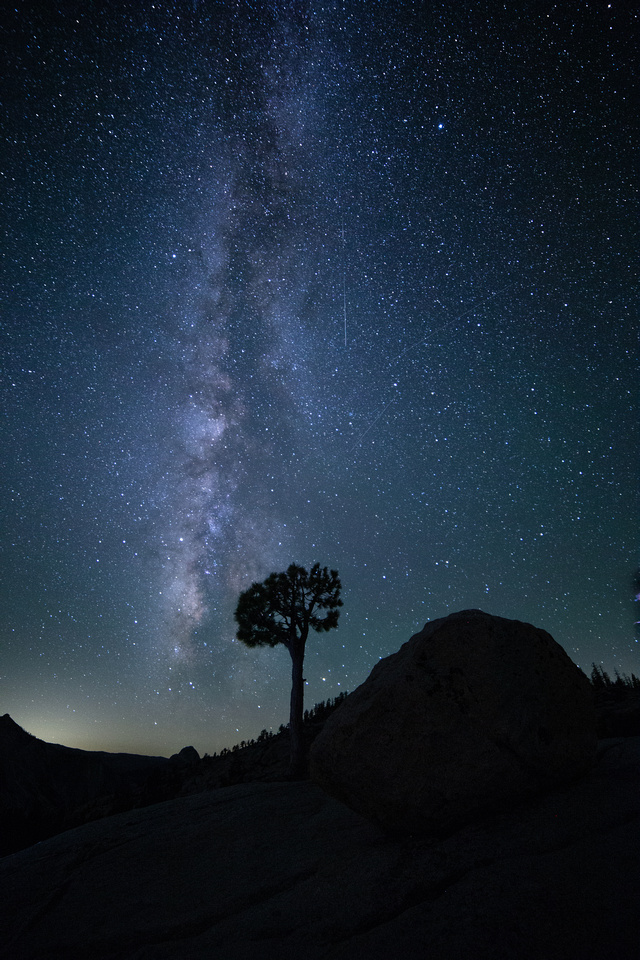
Tree at Donner Lake Overlook, near Truckee California 

  1. Camera settings:

    • Focal length: 14 – 24 mm

    • ISO: 1600 – 3200

    • Aperture: 1.4 – 2.8

    • Shutter speed: 20-35 seconds

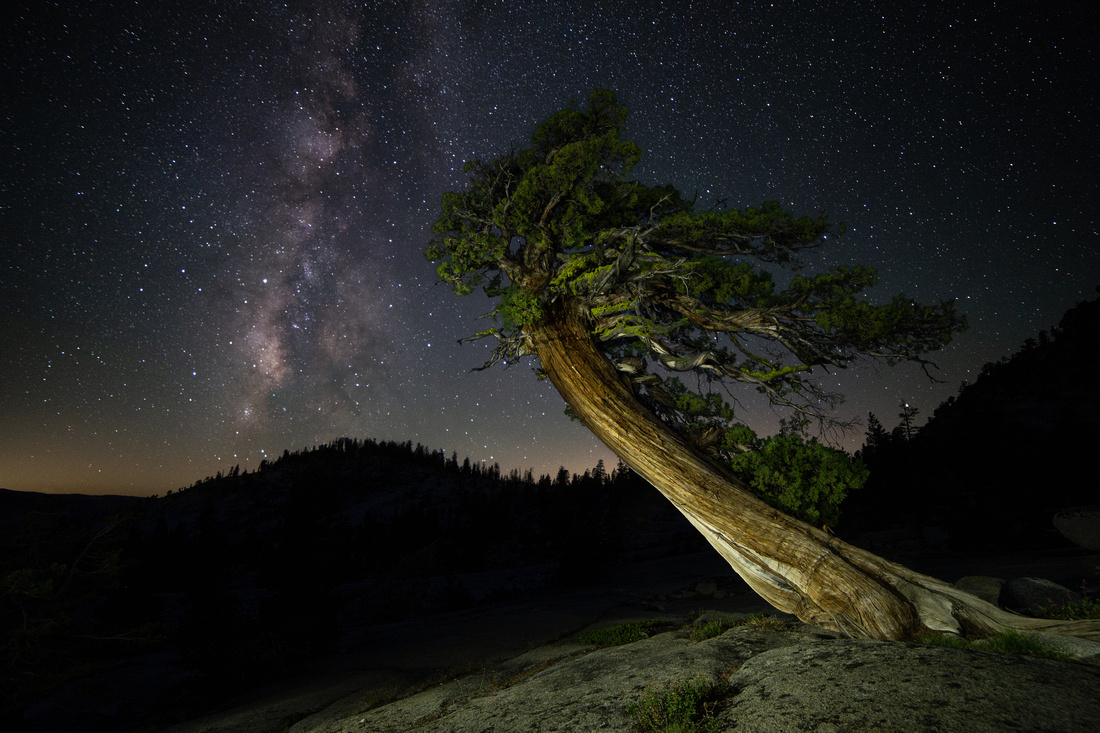
Olmsted Point, Yosemite National Park 

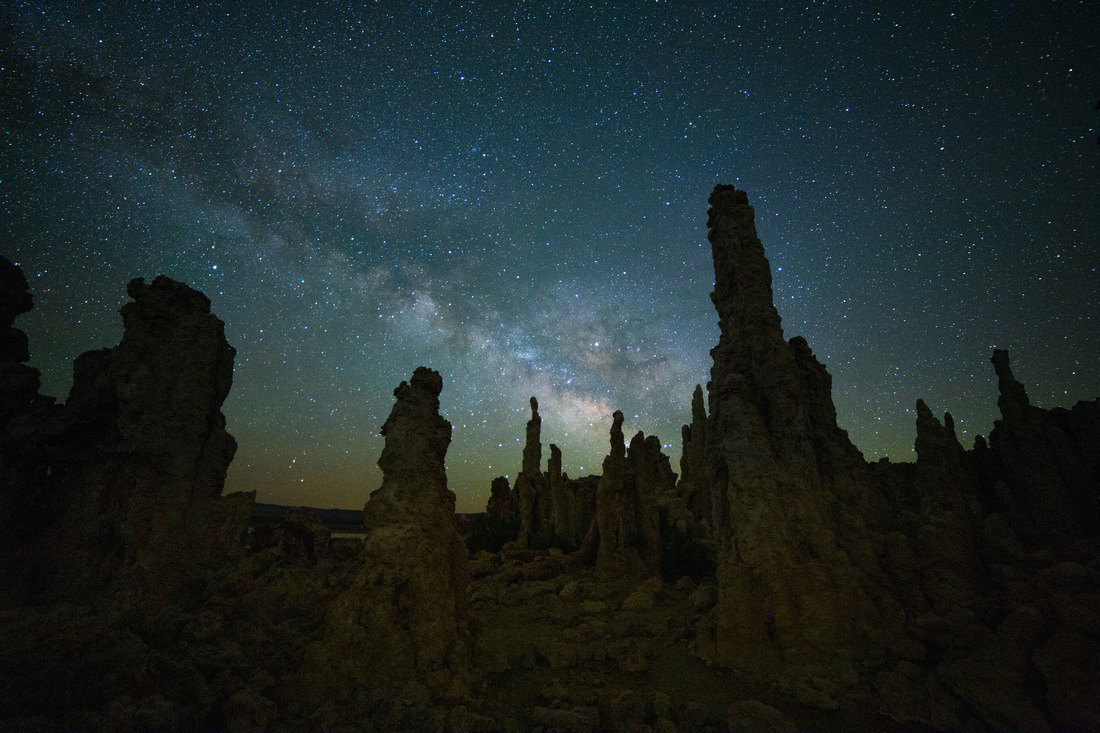
Tufa towers, Mono Lake, near Lee Vining California 

  1. Focus:

    • Auto focus will not work in the dark, so you need to get comfortable manually focusing on stars in the dark.

    • One method is to:

      • Set the focus to manual

      • Turn on Live View

      • Set the magnification to 10x

      • Manually focus on a star until it is pin point sharp.

      • Take a test shot then check the image in the LCD, also magnified, to confirm sharpness. If it is not sharp, refocus and try again until it is sharp.

      • Note: If I have a subject in the foreground, I finish all my star shots, then refocus on the foreground, adjust my camera settings, then take those shots. When you use a wide aperture, the range of focus will be very shallow. If your stars were sharp, your foreground will be blurry.

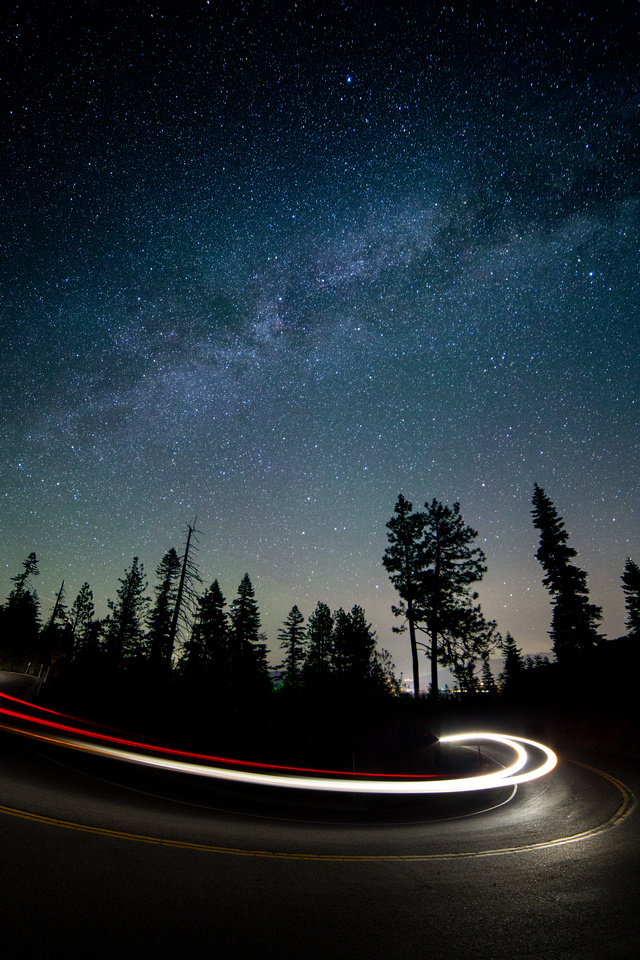
Car on turn, Lake Tahoe, California

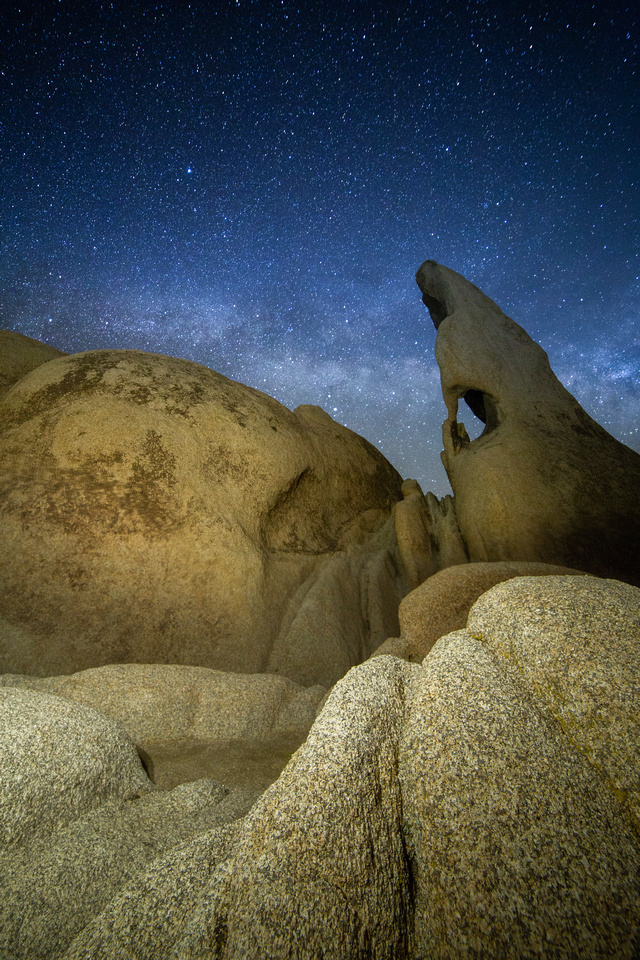
Wizards Eye, Joshua Tree National Park


Comments

Truman Holtzclaw(non-registered)
Exciting set of images!
No comments posted.
Loading...

Archive
January February March April May June July August September October November December (1)
January (3) February (2) March (1) April May (1) June July August September October November December
January February March April May June July August (5) September (4) October (4) November (6) December (4)
January February March April May June July August (2) September (4) October (2) November (2) December (3)
January (8) February (10) March (7) April (8) May June July August September October November December