10 tips for your best macro photos
It's the little things in life. . .
Macro photography is close up photography of small subjects. There are some strict definitions floating around of what constitutes a true macro image but I'm going to take it down a notch here and use the definition above. Let's relax folks.
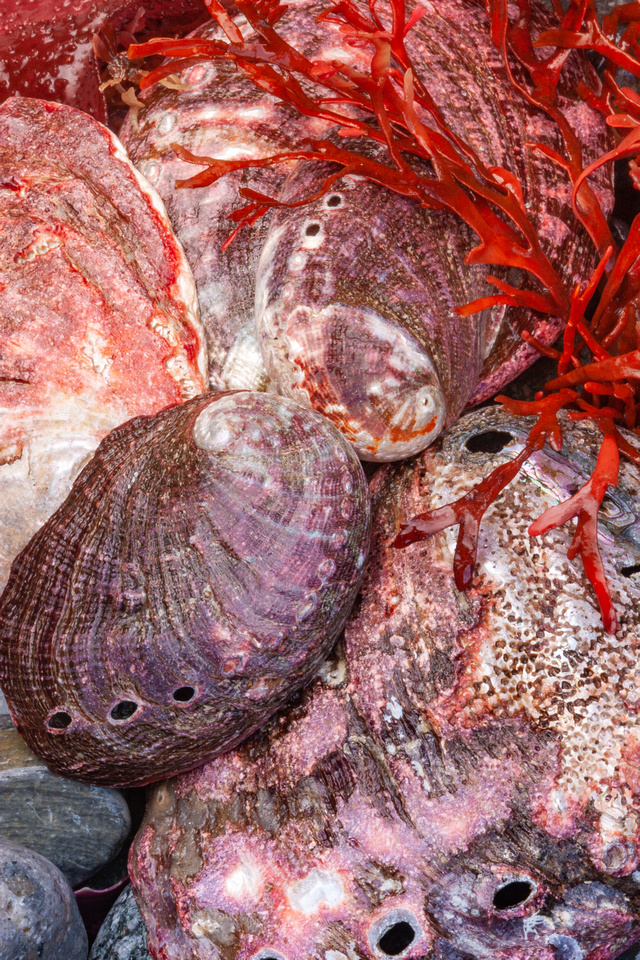
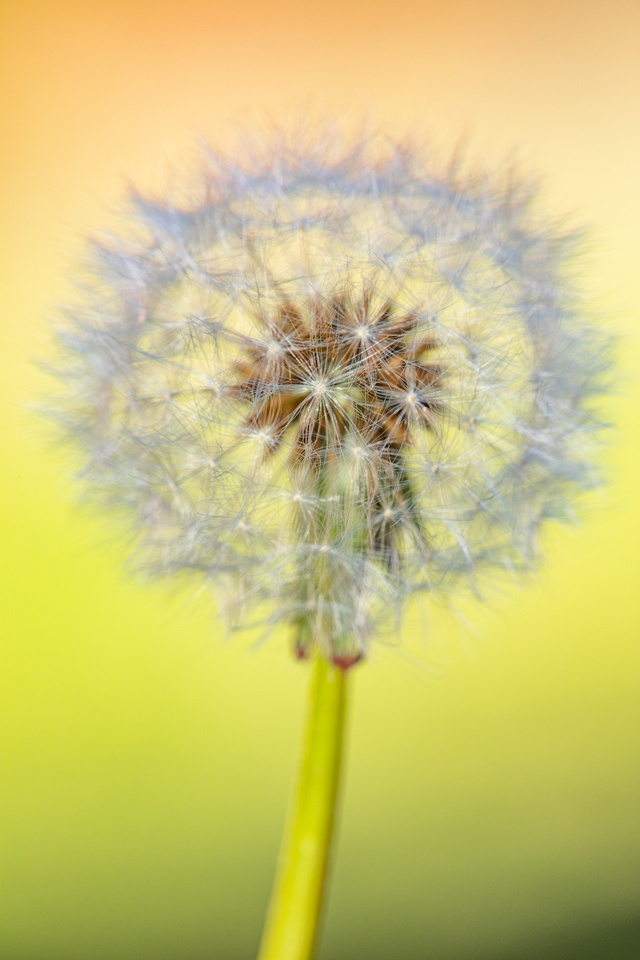
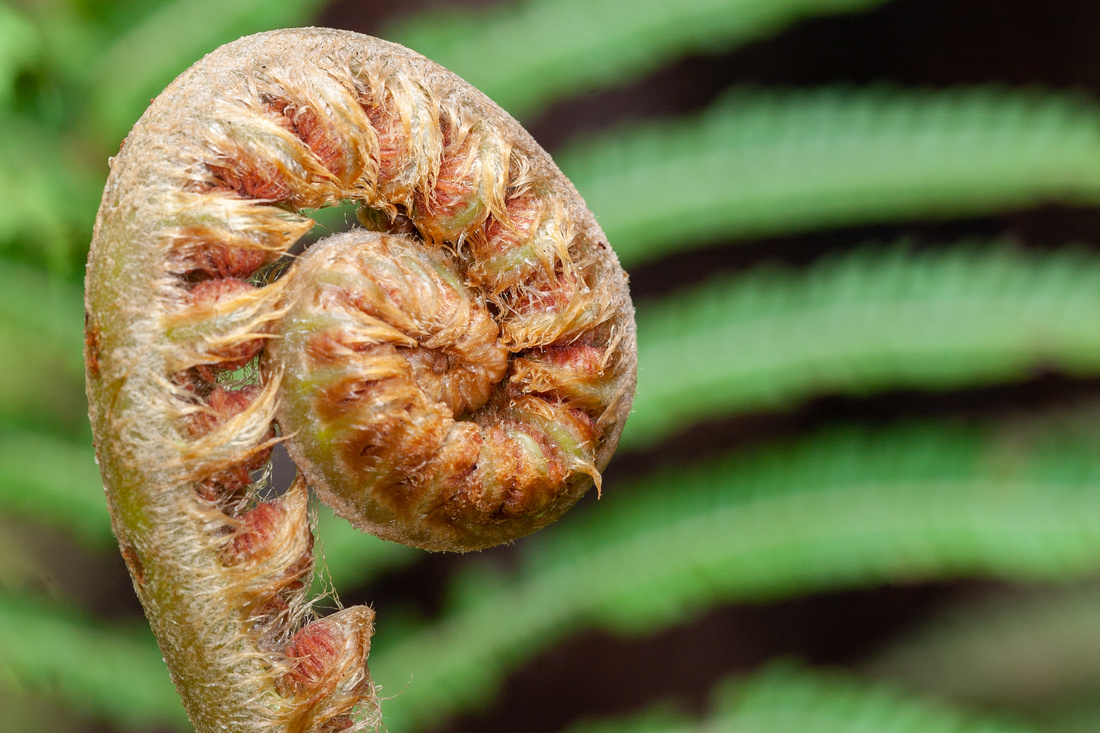
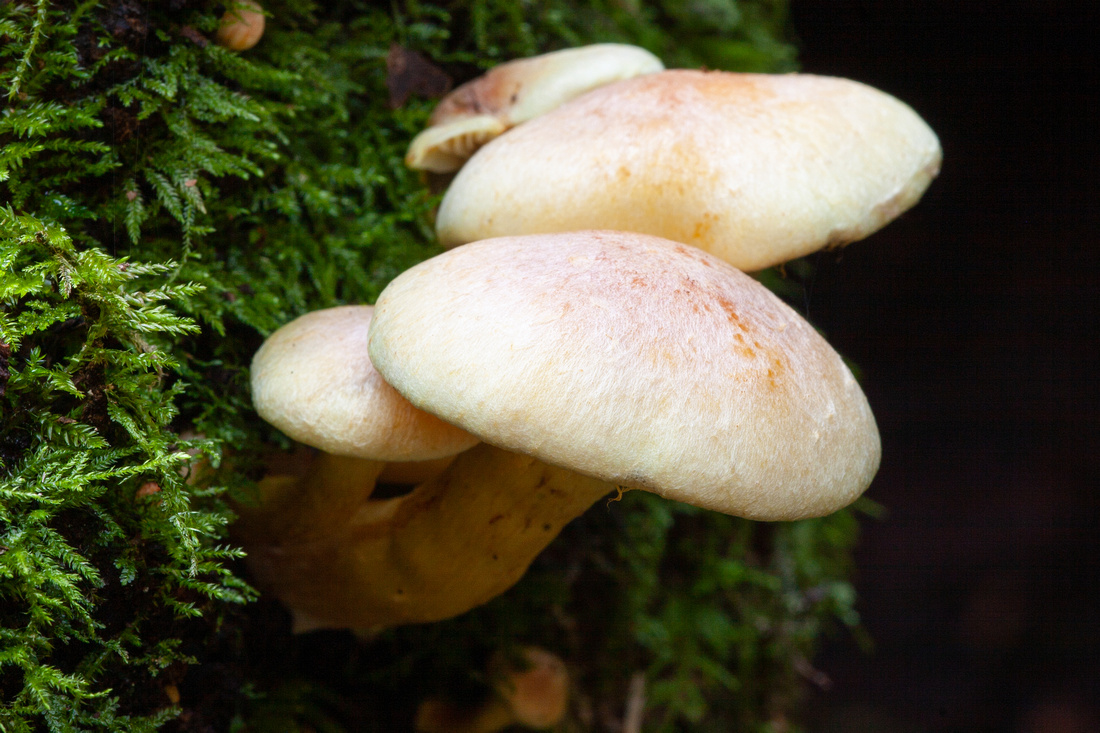
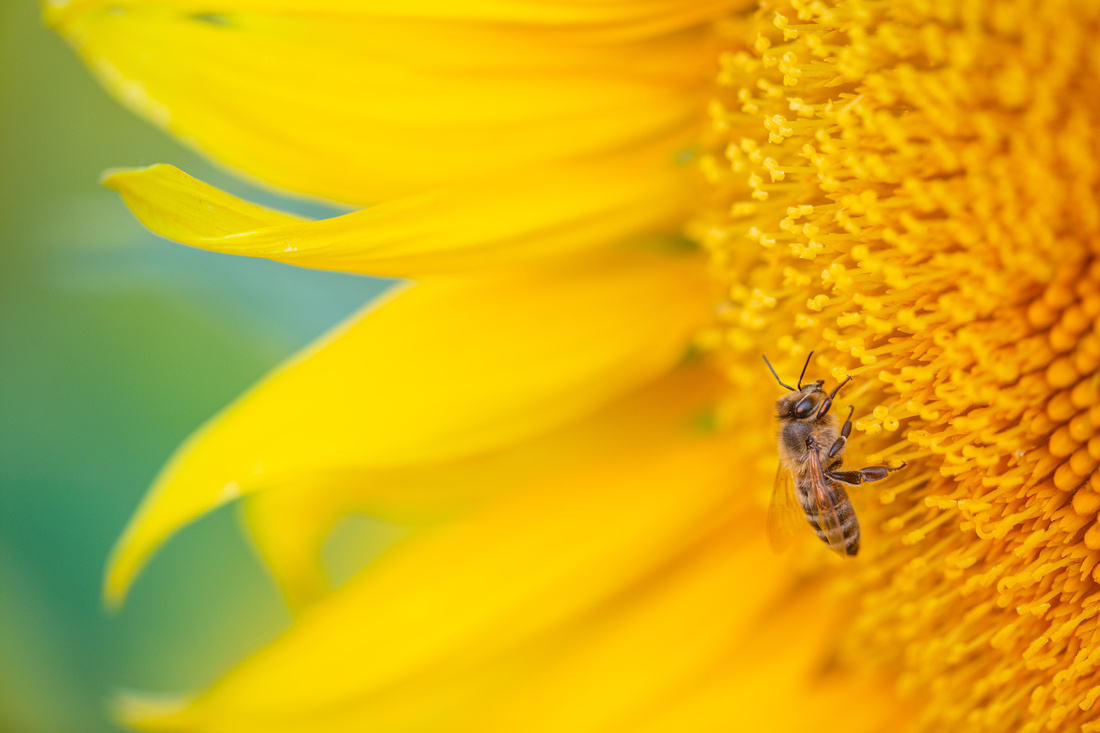
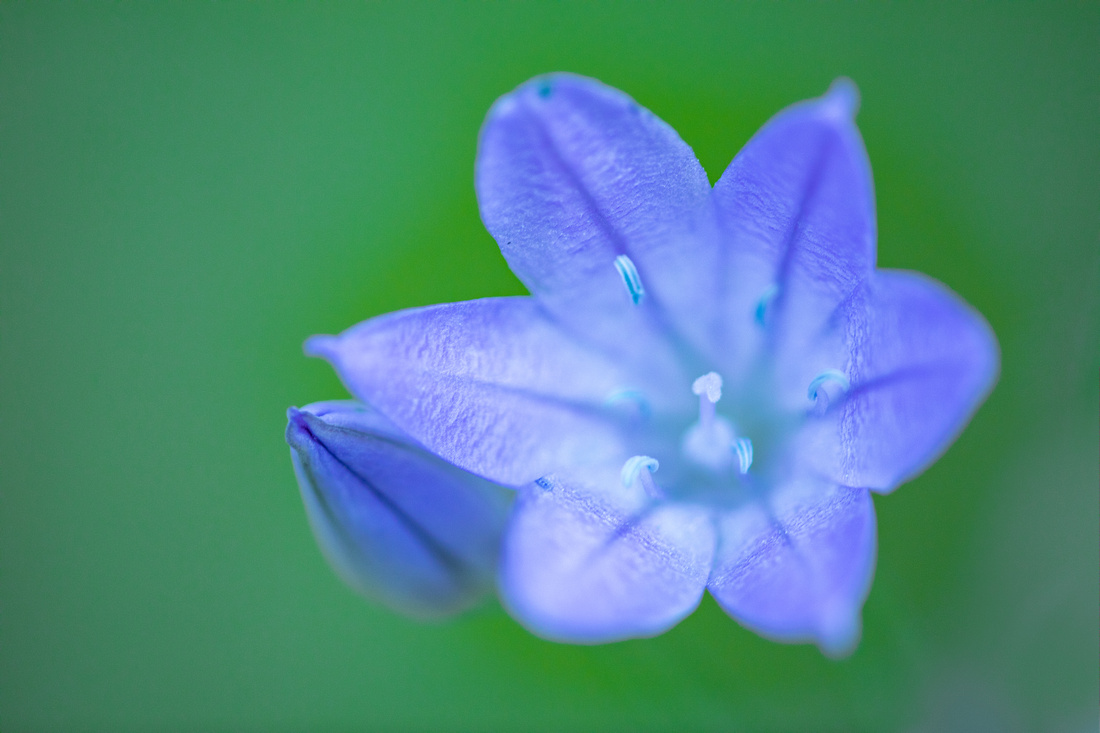
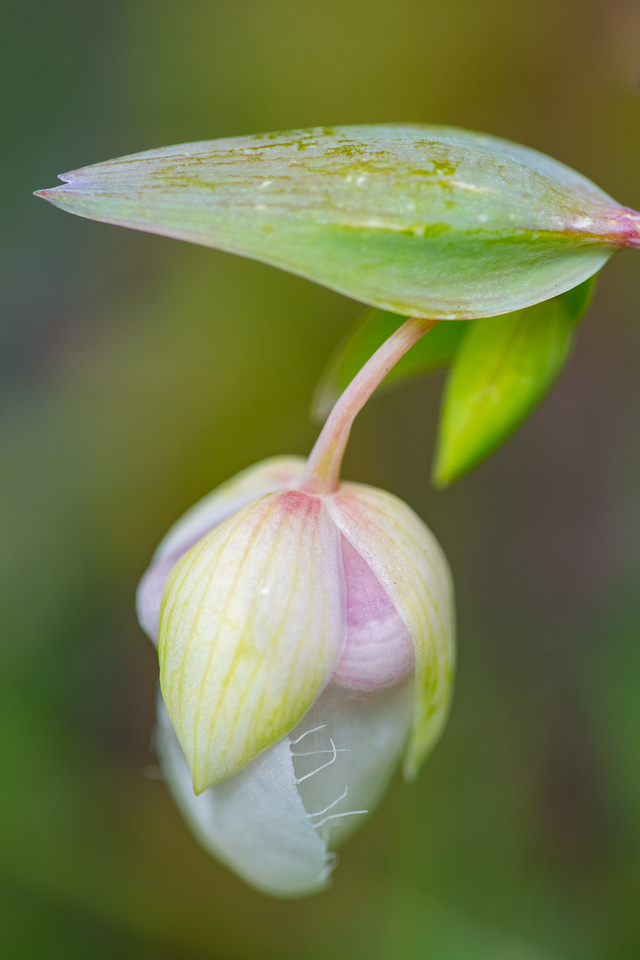
This post covers 10 tips to improve your macro images. Hover over any photo for title and information. You can also jump to my macro gallery by click on any photo or here.
#1 Details --------------------------------------------------------------------------
Macro photography is intended to capture the details that might otherwise be missed with other photography techniques. It is because of this that you need to ensure everything in that viewfinder is what you intend to have in the photo, and I mean every highlight, every blade of grass, and every spec of dirt. When I am doing macro work, I bring something I can kneel or sit on because I know I'm going to be spending some time on the ground "grooming the scene". Even with meticulous grooming, you may still find details in your photo that you did not intend, like discoloration on a flower or leaf. In these cases, I take the liberty of using Lightroom or Photoshop to clean up the image. Judge me if you like.


#2 Vision --------------------------------------------------------------------------
One thing about macro photography is it will quickly expose whether you have a clear vision of the desired composition. You can't hide anything. Macro photography is a slower type of photography though, so you can take time to think through the composition.
#3 Lighting--------------------------------------------------------------------------
You can use a lot of different tools to light your subject, from macro ring lights, flashes, reflectors, and even flashlights. I have used all of these with lighting tools with the same level of success - even the flashlight. Fancy tools are so awesome but they aren't necessary to create good images.
#4 Background--------------------------------------------------------------------
If you want to capture detail all the way through your image, you will need to shoot at a smaller aperture which can expose distracting background elements. If you are shooting with a wide aperture, the background will be blurred out but you can still capture distracting highlights, so it is worth really looking through that viewfinder (or Live View) and even using the aperture preview button to give you a sense of what will be in the final image. Fortunately, I have found that a slight repositioning of the camera can eliminate distractions. You can also create/control the background with portable photography backgrounds or a simple piece of fabric. I've tossed my jacket over bright objects in a pinch and it blends in with the out of focus greenery.
#5 Tripod --------------------------------------------------------------------------
Again, you are shooting details here, so camera movement is not your friend. Having a tripod is the best tool for getting your best macro images because it allows you to create a composition and hold it exactly where you want it while you make sure the scene and background are clean. Using your mirror lock up can help reduce shutter vibration if you are doing extreme macro as well. And - if you have a remote shutter release, even better, but if you don't, you can use the self-timer in a pinch. I have and it works!
#6 Equipment ---------------------------------------------------------------------
I personally cannot attest to the benefits of using close up filters or extension tubes, I can (and did research) this so I could share here.
Extension tubes are basically tubes that allow you to focus on an object closer than you would without them. Pros: cost, and they can be used with any lens. Cons: loss of light, decreased sharpness, these force you to get very close to your subject which can create lighting issues.
Close up filters are magnification filters you screw to the front of your lens. They do exactly what you think. Pros: cost, and they can be used with any lens. Cons: decreased sharpness, distortion, color fringing, and loss of light.
I can vouch for macro lenses. I have used the Canon 65mm 1-5x life size and Canon 180mm. Both are prime lenses which automatically produce more sharp images and retain all the benefits lost when using extension tubes or close up filters. The only real con is the cost. You knew that was coming, right? However, if you consider that the average alcoholic spends just over $1200 a month on their drug of choice, I think an addiction to photography is a much better investment.
#7 Third Hand ---------------------------------------------------------------------
A third hand or helping hand is a clamp that holds stuff. It can be really helpful for arranging objects or holding objects, like flowers in a specific position for a photo. They are pretty inexpensive and handy but if you are in a pinch, you can also rig something up with clothespins too!

#8 Aperture ------------------------------------------------------------------------
Since macro photography allows you to take your time, take the opportunity to try out different apertures to see what works best. I usually have a vision in my mind when I'm setting up and know exactly what I want to the depth of field to be, but sometimes I'll try the same shot at different apertures to see how it effects the image. It only takes a few extra seconds and can produce better results.
If you use a mirrorless camera, the electronic viewfinder allows you to see the effect of changing the aperture in real time. Same concept as the DSLR but - ehhh - fancier!

#9 Live View ----------------------------------------------------------------------
Most DSLR's have Live View capabilities these days. This is a great tool for getting tack sharp images. It is also helpful if it is easier to see the LCD than to get your eye into the viewfinder. Trust me - when your face is in the dirt - this can be challenging! When I am using Live View, I switch my lens to manual instead of autofocus. While in Live View, I'll set the magnification to 5x, focus until it is tack sharp, then increase to 10x and check focus again. I learned this tip at a workshop and it can actually produce sharper images than if you leave your lens on autofocus.
#10 Patience ----------------------------------------------------------------------
By the time you locate a good subject, set up your tripod and camera, groom the scene, perfect the light and background, and adjust your camera settings, you might be ready to pack it up and head home. Macro photography is a very good way to exercise patience so having realistic expectations and the right mindset before you go out will improve your odds of getting good shots. Wearing the right clothes, having something to put on the ground, even bringing knee pads can improve your comfort level and patience as well.
I hope this post provided some good information and inspiration to get out and look for the little things!
