The art of flower photography
The Art of Flower Photography: A creative approach
Text and photos by Heather Cline
Wildflower season is one of my favorite times of year. I never grow tired of the annual visits to wildflower hotspots to photograph and enjoy the wide variety of flowers that pop up each spring and summer. But - if you have the itch to photograph flowers and its not the season - or you just cant get out there, there is a nice alternative. Welcome to the art of flower photography,
There are flowers available to us every day and they're pretty darn accessible, geographically and economically. You can pick up a bouquet of flowers at Trader Joe's, for example, for $5. I did this and want to show you how I created some creative images in the comfort of my own home (well - home, garage, and backyard!)
Lightbox
I own a small lightbox (9" x 12"). I bought it years ago when I was shooting slide film as it was the only way to preview images before I sent them for printing. I hung onto it and used it for this experiment.
You can buy a lightbox for about $30+ at a craft store, on Amazon, or you can make one DIY using opaque acrylic and a light source. What you want to create is a bright white background in which to arrange the flowers. It doesn't need to be fancy. In a pinch, you could probably achieve a similar effect by placing the flowers on a piece of white poster board and lighting from the front too.
I simply arranged the flowers on the lightbox, turned it on, and began shooting.
Camera Settings: My camera's ISO was set at 100 and aperture at f8. From there, I adjusted the camera's shutter speed to create different high key effects. This was a fairly straightforward shoot.
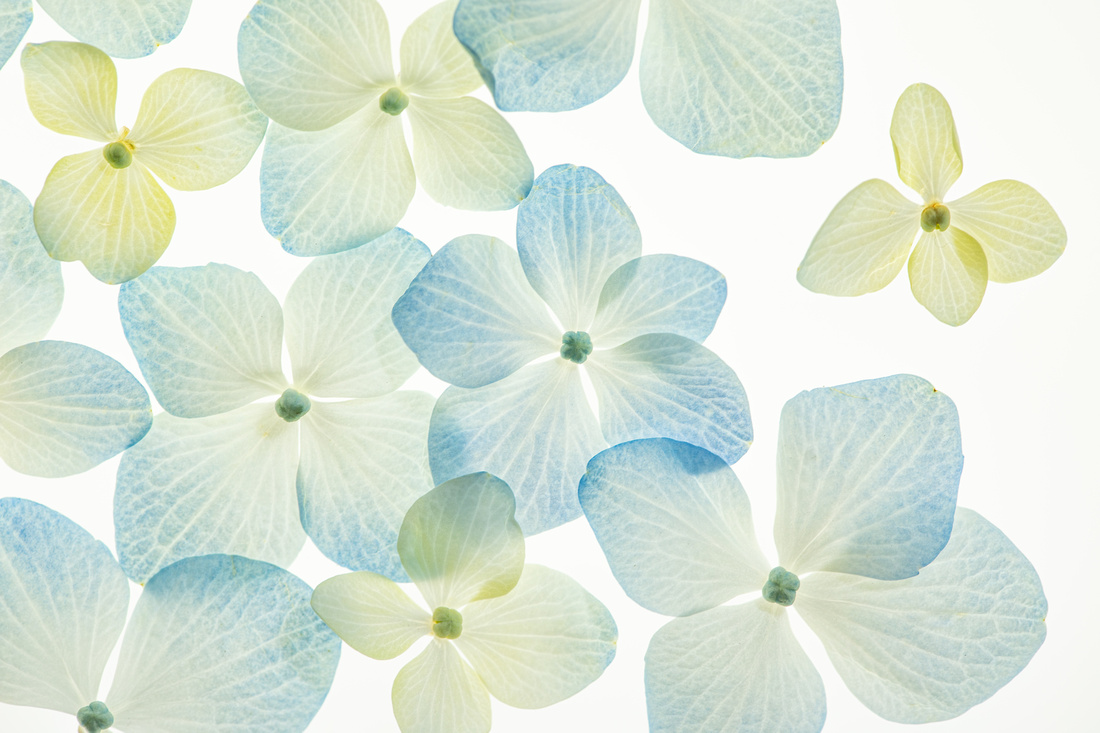 
Hydrangea petals on lightbox |
|
For this shot of the tulips, I also used a flash to illuminate from the front. I tried with an external flash mounted on the hot shoe of the camera as well as off to the side to try out different effects. The vast majority of images I kept were those where the flash was slightly to the right of the flowers.
Tulips on lightbox |

Abstracts
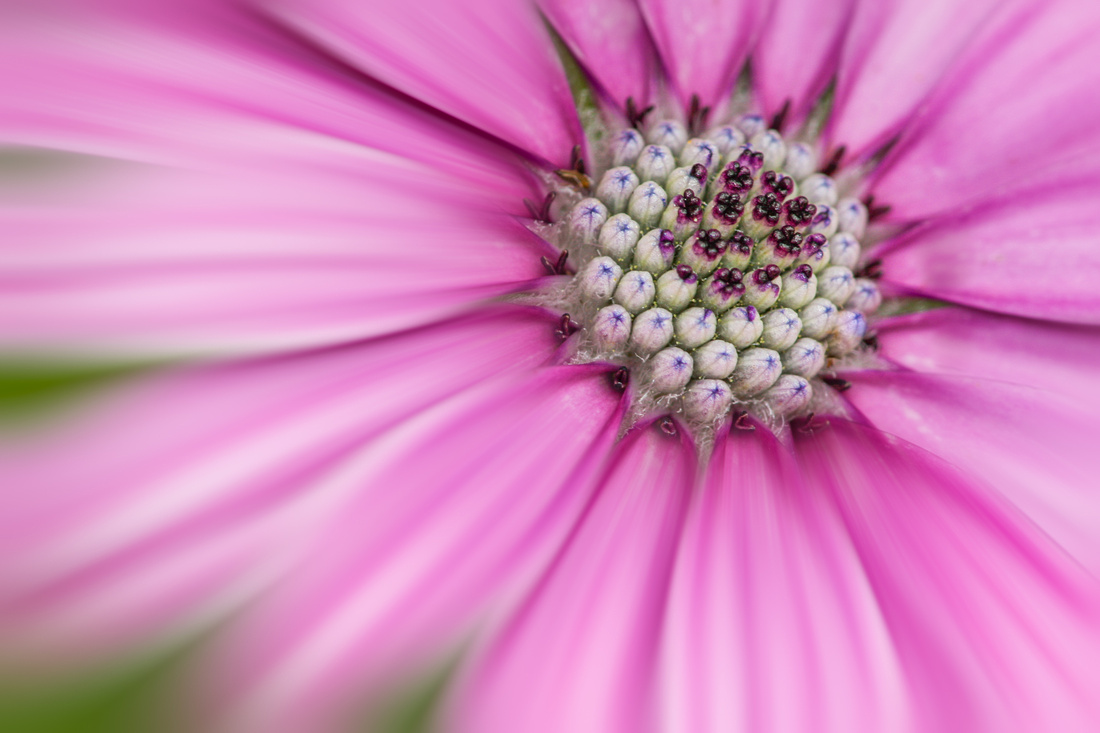
Flowers really lend themselves to macro photography. You can get close and create abstract images, which is a great way to start thinking "out of the box" if you are starting to feel like you have photographed it in every way possible. If you don't have a macro lens, you still get close (note your lenses closest focusing distance) then crop the image in post process to create an abstract effect.
You can also use extension tubes or purchase close focus filters to achieve the macro effect.
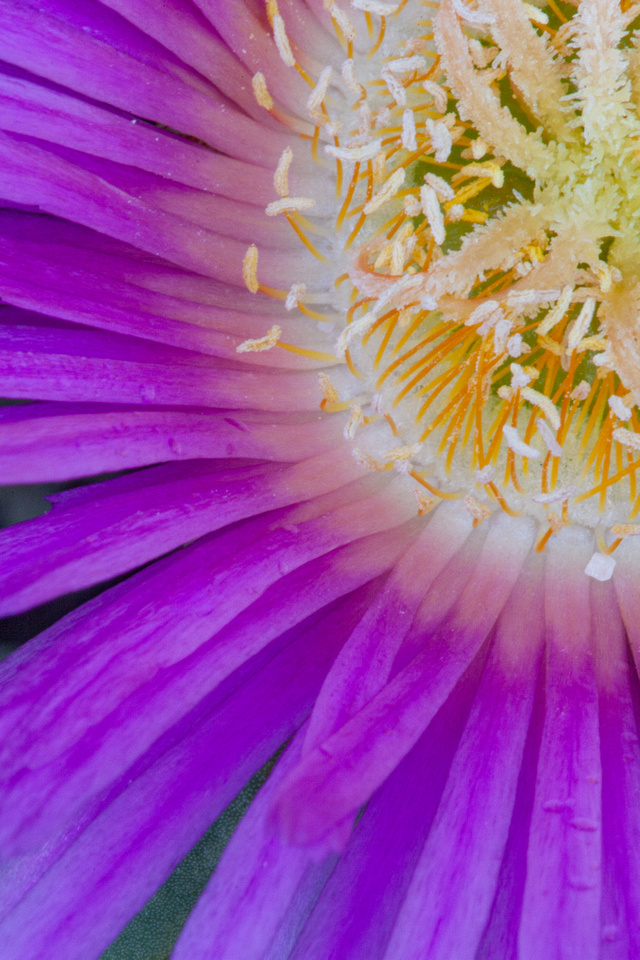
Sea fig shot close up to isolate the pistil and petals. The complimentary colors help this image as well. |
If you have some flowers in a vase at home and they are getting a little "past prime" don't throw them out just yet. These can also be used to create images like the Chrysanthemum below that was getting close to the end of it's blooming period. Using a shallow depth of field made for some interesting tentacle effects.
|
Chrysanthemum |

Water
If you have a flower and watering can or garden hose, you can create the effect below. I experimented with both a watering can and garden hose on the shower setting. The watering can creating slightly better rain drops. Here's how I did it:
- I secured the flower firmly at the base using floral foam
- I filled a watering can
- I set up my camera on a tripod
- I set the aperture to F8 and shutter speed to 1/200 second
- I set the shooting mode to continuous
- I locked down the shutter using a cable release. This causes the camera to take images continuously until the lock is released, so you will end up with dozens of images that you will delete but it's a small price to pay. You can also enlist a helper to water the flowers while you shoot. My husband gives me weird looks when I do this stuff so I'm usually on my own. :)
- Finally, I watered the flower with the watering can for about 10 seconds. This ensured I got enough images to get one with decent water splashes

Gerbera Daisy with makeshift "rain drops" using a watering can |
Another easy effect you can create with water is to place flowers outside a window or piece of glass and spraying the glass with water to produce water droplets. If you focus on the drops, the flowers will get blurred out and you can achieve all kinds of different effects. If you move your camera farther away from the glass, it will result in a more representational image of flowers versus the abstract image I created below. For this, I got pretty close to the glass to increase the blur in the background.
Quick tip: if you spray Rainex on the window/glass before spraying with water, it helps to create more beads of water vs. drips.
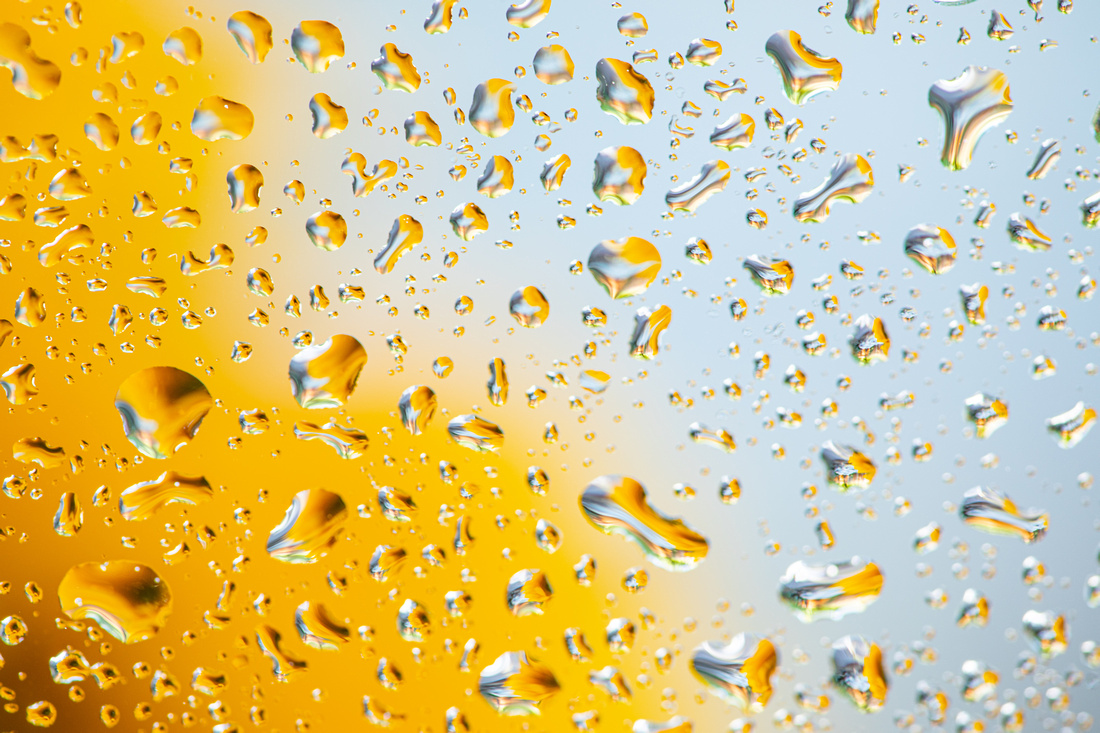 Water drops against sunflower and sky
 |
Go dark
There is something about a black backdrop that makes flowers more mysterious and interesting. The Chrysanthemum and Fuchsia below were both shot with a studio light but the Gerbera Daisies were shot with an external flash off to the side of the flowers. The common denominators in all set ups included:
- The use of a black piece of fabric for the background
- Setting my light source to come from the left or right
- Leaving a little space between the subject and background
These factor combined ensured the subject was well lit while letting the background go into complete shadow. Setting up a reflector or while poster board opposite the light source is a good way to get some fill light bounced back into the subject as well.

Chrysanthemum |

Fuchsia (I stole this from my garden) |
|
|

Post Processing
Flowers are also fun subjects to try out different post processing techniques. I used Photoshop to create both of the effect below, and neither was terribly complicated to cerate.
|
|
|
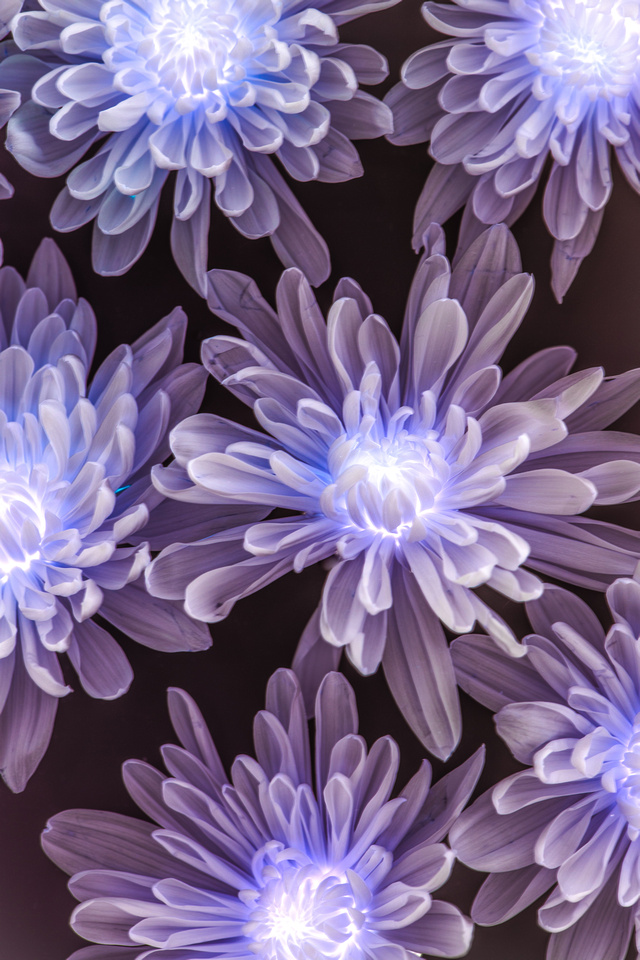
These were white Chrysanthemums that I photographed on a lightbox, then inverted in Photoshop to create an x-ray effect. It's simple to create:
|
I hope this post has given you some ideas on how to create interesting and beautiful flower photos without having to leave your home. Stay tuned for more flower tips as spring wildflower season is right around the corner.
