Creative Tree Photography Ideas
Text and photos by Heather Cline
One of the best symbols of nature is trees. They come in all shapes and sizes and grow in nearly every environment, making them a perfect subject for nature photography. As a result, there are a lot of photos of them. Even the most beautiful trees can translate into an average image when photographed using straightforward techniques. Here are 10 ideas for infusing some creativity into your tree photography.
|
|
1. Silhouettes
Silhouettes are probably the single most easy technique to capture trees in a creative way. You simply expose for the sky and let the foreground fall into shadow. As you can see from the images below, the focus is on the background and the shape of the tree. You can create silhouettes that range from completely black to exposing some foreground detail. You can also include the entire tree or just parts of the tree to create interesting compositions. This is also a nice option if you were waiting around for a nice sunset but only got a blue sky. As the sun creeps below the horizon, there is more pronounced color variation in the sky - almost like a rainbow sherbet effect.
|
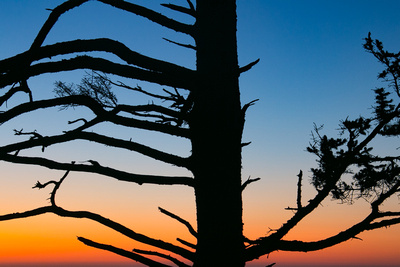 
Pine at sunset |
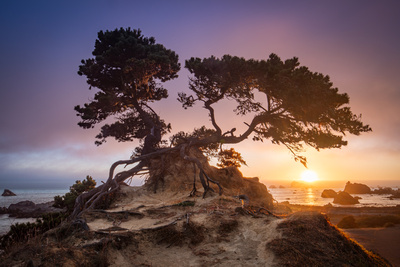  "Bonsai tree" at sunset
 |
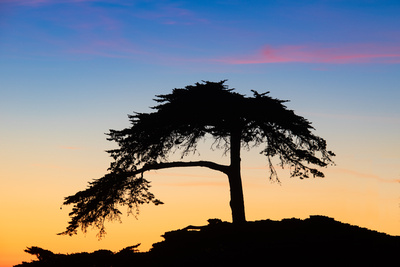  Dwarf tree at sunset
 |
|
2. Reflections
Utilizing reflections is another simple and reliable method to creating a unique image. I've found that many lakes and ponds have trees nearby, making it easy to compose a nice reflection. Having an actual tree in the water is a bonus.
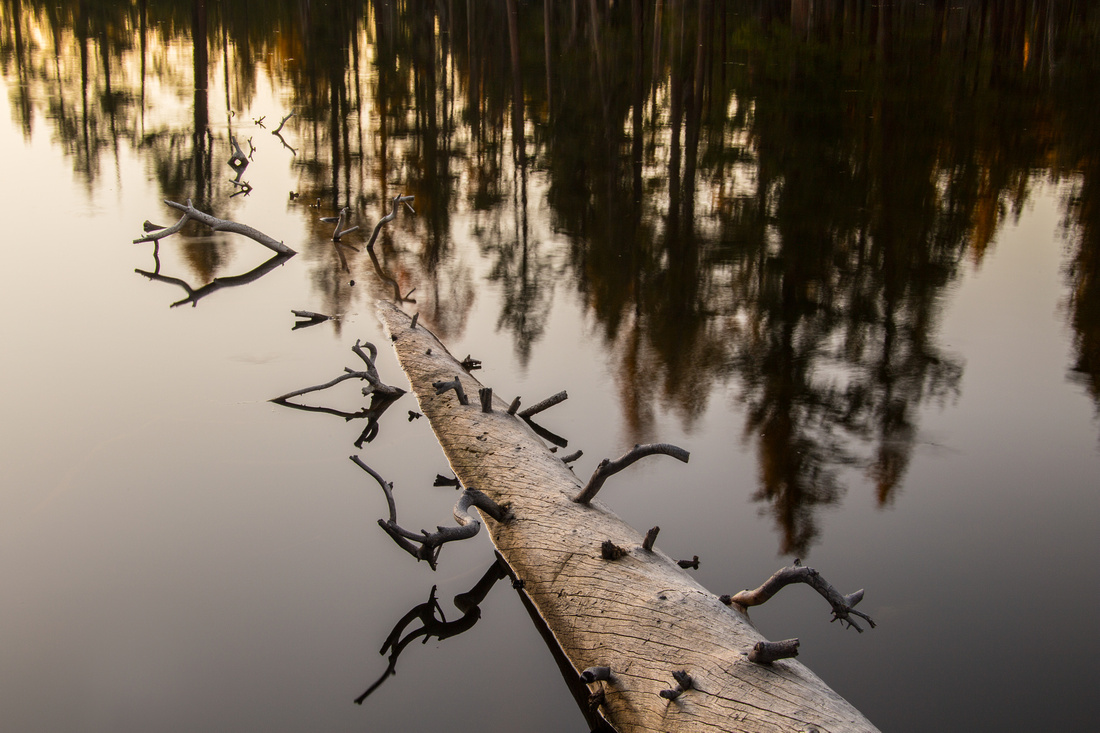 
Fallen tree and reflections
|
|
3. Detail
Not all trees have remarkably interesting trunks but when they do, you can capture some nice detail images. This doesn't require any special equipment - not even a tripod. As long as you are able to get close to the tree, the sky's the limit on compositions.
|
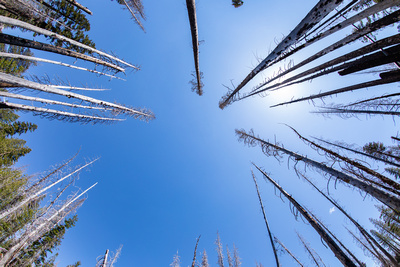 
Looking up at fire damaged trees |
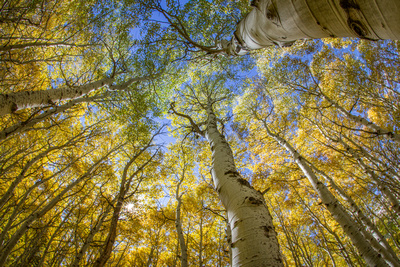  Looking up at Autumn Aspens
 |
  Looking at at palm trees on the beach
 |
|
5. Panorama
Panoramas are another simple way to create interesting and creative tree compositions, especially when you are surrounded by forest. The juxtaposition between the vertical subject matter and horizontal composition create a slice of forest that is difficult to convey in any other way. A little fog doesn't hurt either! You can create panoramas by taking multiple images with your camera and stitching together in Lightroom or Photoshop. You can also just take out your phone and do it in one shot.
|
 
Foggy forest panorama |
|
6. Abstract
One of the easiest ways to create abstract images of trees is to incorporate motion blur. This can be accomplished by using a long exposure with the camera remaining static - or - by moving the camera during the exposure.
Tree trunks lend themselves to strong vertical compositions. I recommend at least a 1 second exposure to achieve the blurred effect. Don't be discouraged if the first 1 or 10 tries doesn't give you the results you want. This is one of those things that you have may have to experiment with before you get a good one.
I've found that in a shaded area, even during the day, I can shoot a 1 second exposure as long as I use a smaller aperture like f22. If it's still too bright, adding a polarizer or neutral density filter will allow you to slow down the shutter speed by at least 2 stops. You can handhold or use a tripod. I've found that I get cleaner lines when I use a tripod but honestly, there are no rules here.
|
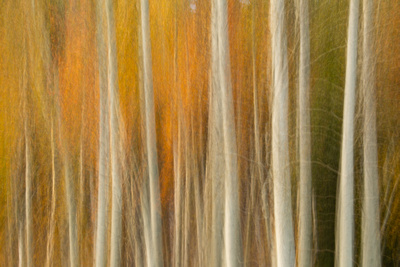 
Autumn Aspens |
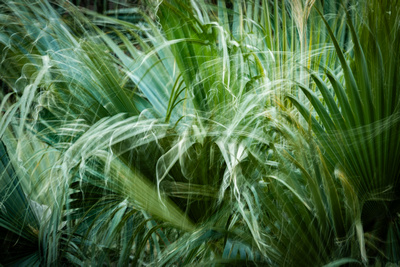  Date Palms in the breeze
|
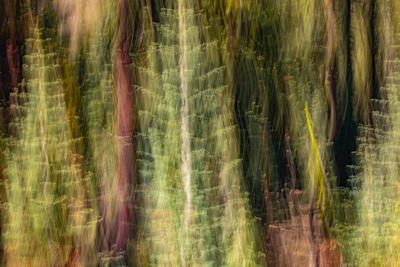  Pine Trees
 |
|
7. Infrared
Foliage is always a great subject to include in infrared photos because it becomes ultra bright. When contrasted against the sky, which renders almost black, it converts an average image into something unique. This image isn't a true infrared. A true infrared camera must be modified to have a filter removed from in front of the sensor, and once that is done, that is all the camera can be used for. If you don't have the budget for that, you can recreate the look in Lightroom as I have done here.
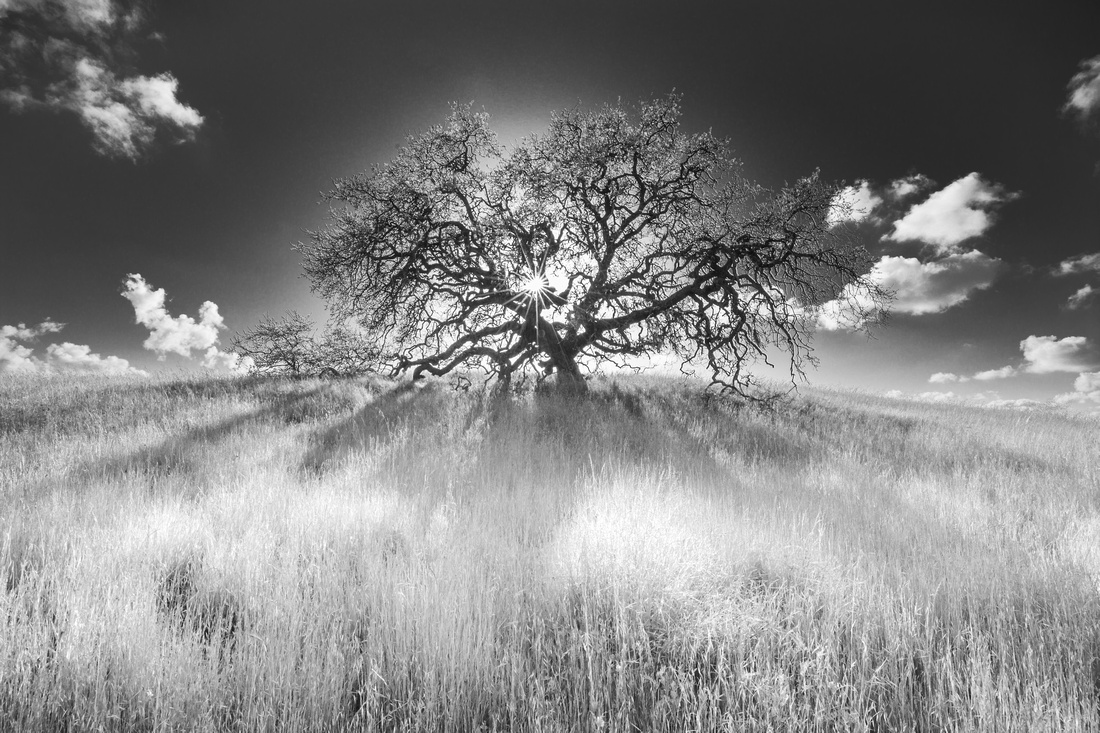 
Oak and clouds on a sunny afternoon |
|
8. Complimenting the Night Sky
The night sky is interesting when you can really expose the details, but it still needs a foreground element to tie everything together. Trees provide the perfect anchor when capturing stars, Milky Way, or star trails. You generally want to use as wide angle lens for night sky photography. A tripod is a must due to the long exposures. I typically start by setting my camera to use the widest aperture, a 30 second exposure, and ISO around 3200. I light the foreground using basic flashlights. Due to the wide wide aperture, if you focus on the stars they will be sharp and your foreground element blurry. I overcome this by taking 2 images; one of the sky and another of the foreground, then stitch the two together in Photoshop.
|
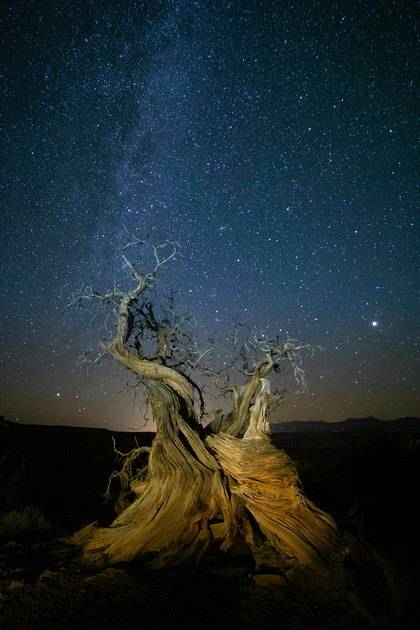 
Twisted tree reaching for the stars |
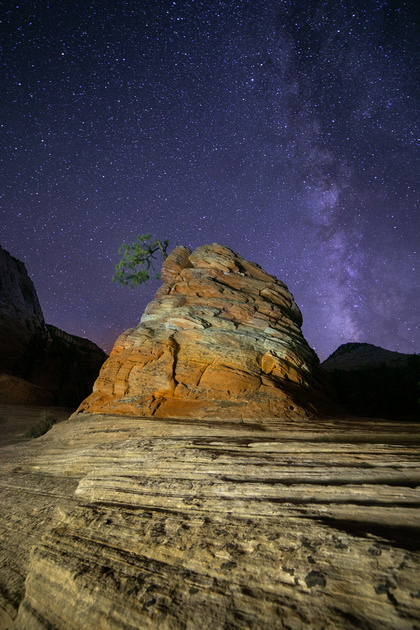 
Bonsai tree and Milky Way |
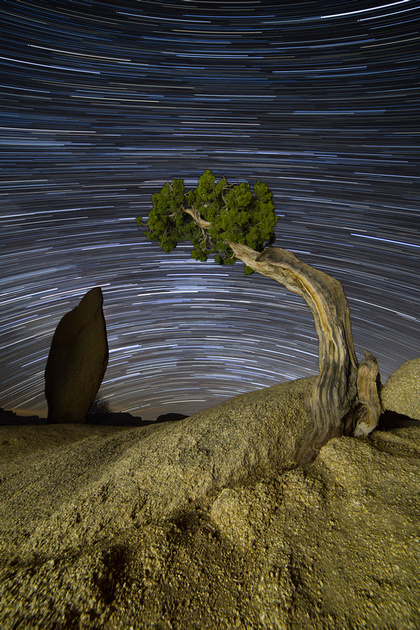 
Pinyon Pine and star trails |
|
9. Light Painting
Light painting goes hand in hand with night photography but it's really focused on highlighting the foreground element and letting the sky be a supporting character. This technique requires some practice to ensure the light is evenly distributed across the tree, but the unique results are worth the effort.
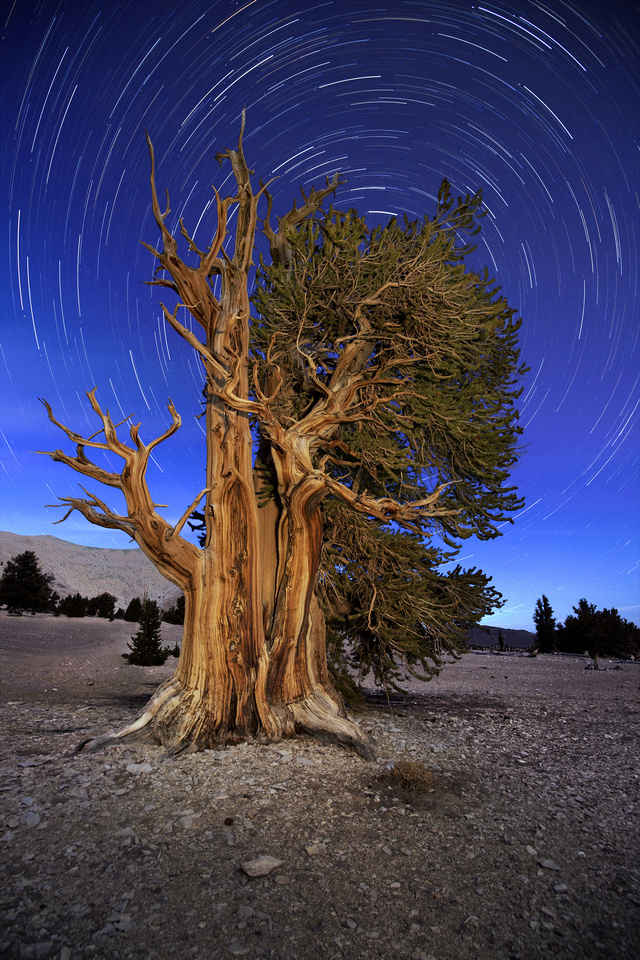 
Ancient Bristlecone and star trails |
|
10. Composites
Trees lend themselves to composited images no nicely, and the result is quite unique. Composited images are where you take two or more images and combine them into one. The possibilities are only limited to your imagination. I explain a little more on how to create these types of images in my post on double exposures.
|
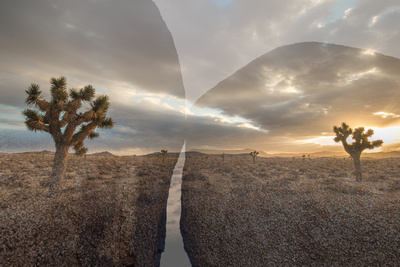 
Joshua Trees composited with granite boulders |
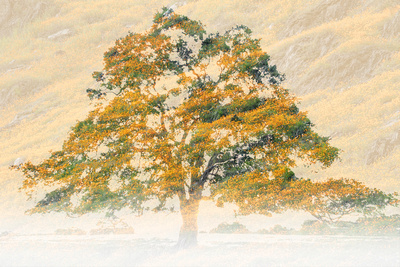 
Oak tree composited with spring poppies |
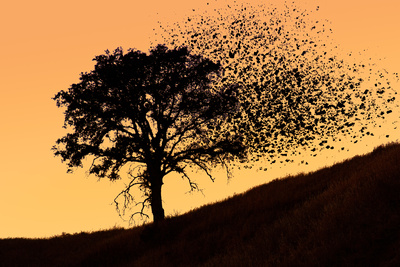 
Oak tree composited with scatter |
| We've covered 10 ideas for making creative tree photos - from simple to complex. I hope this has inspired you to create some new and interesting photos of natures most iconic symbol. To see additional images from my creative tree gallery, click here. |


 Pine Trees


