Night photography part one: Starry skies and the Milky Way
Have you ever wondered what it takes to capture night photos? I did at one point and found that reading articles helped prepare me to go out and try it myself. Now I am paying it forward with a blog post of my own.
This is the first of a three part series on night photography. I started writing a post that covered three types of night photography then quickly realized how much detail is required to truly explain each. I thought readers might appreciate these as separate blog posts. In this first post, I’ll cover starry skies and the Milky Way.
|
|

Before you go
- Make sure it is dark. Did I just blow your mind? Of course not. Yes, it needs to be dark when you shoot but it’s helpful to arrive at your location before dark so you can set up and familiarize yourself with the area.
- Bring a light. I bring a headlamp with a red light for a hands-free light source, plus a flashlight, and a backup flashlight. I once had two flashlights fail and was left with just my headlamp on a mile hike to my car in the dark.
- Dress for the weather. A cold night can mean misery if you are unprepared. If you are uncomfortable, you are more likely to call it quits before you have gotten all the shots you need.
- Eat. Hunger is just another form of uncomfortable.
- Pee. No matter how late it is, if you duck behind a tree to pee, a car will show up out of nowhere. Guess how I know that.
- Safety. If you can shoot with a group or friend, that is best. If you cannot, prepare to defend yourself from an unwanted visitor, be it a bear, mountain lion, or homicidal maniac.
|
|
Gear
Any DSLR that has manual mode will work for night photography. If your model works well shooting at high ISO’s, that is even better. You will want to shoot in RAW mode. RAW images contain more information than JPEGS which allows you to get the most out of each image. With RAW, you can also recover image issues much better than JPEG files. RAW files are higher quality, have a broader range of tones, allow for shadow and highlight adjustments, and allow for white balance adjustments.
You will need a sturdy tripod because you will be taking long exposures. If it is especially windy, hanging some weight from the center column can help reduce shake too. I carry an empty bag with my gear and fill it with rocks or dirt when needed. It has saved me on a few occasions.
A remote shutter release is a necessity to avoid touching your camera to trigger the shutter. I have a built in intervalometer which has proven itself quite useful on the night shoots.
|
|

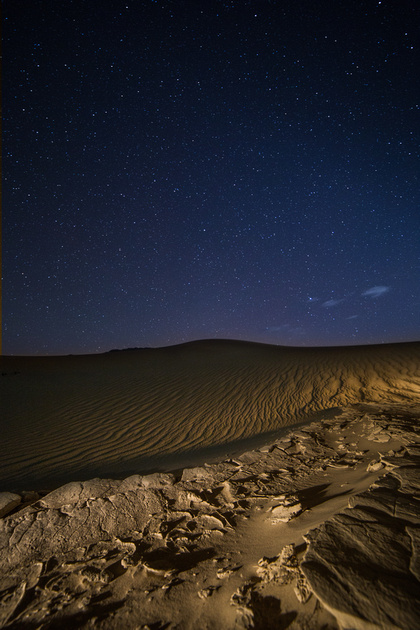
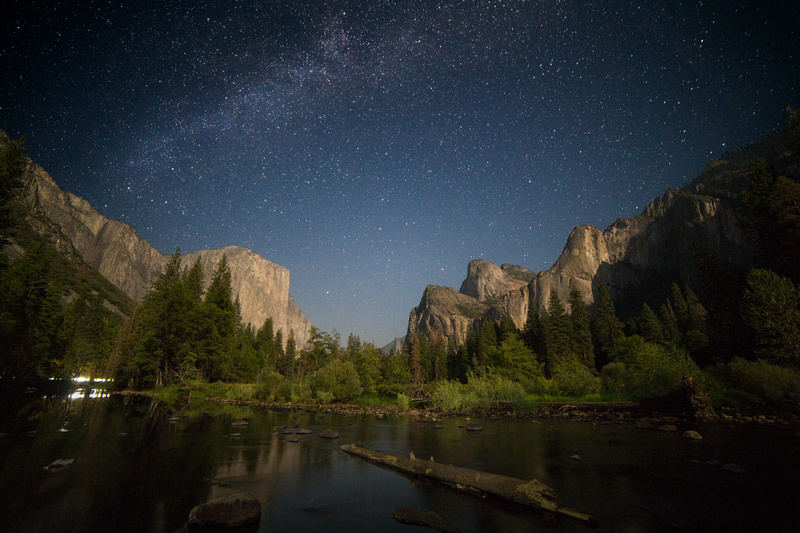
Where
If you want to see and photograph stars and the Milky Way in all their glory, you need a truly dark sky. It isn’t hard to find one though, thanks to the internet. Sites like Dark Sky Finder and Light Pollution Maps can help you locate a dark sky nearby. I have found National and State Parks to be reliable places for dark skies as well.
|
|
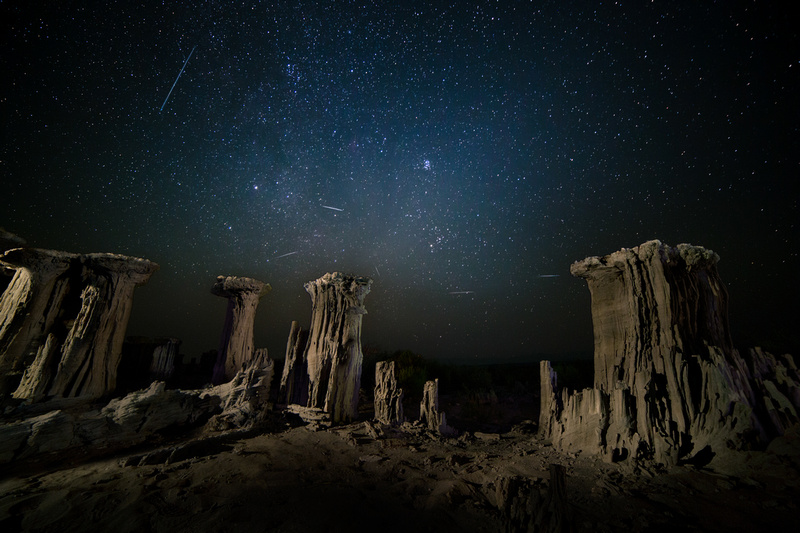
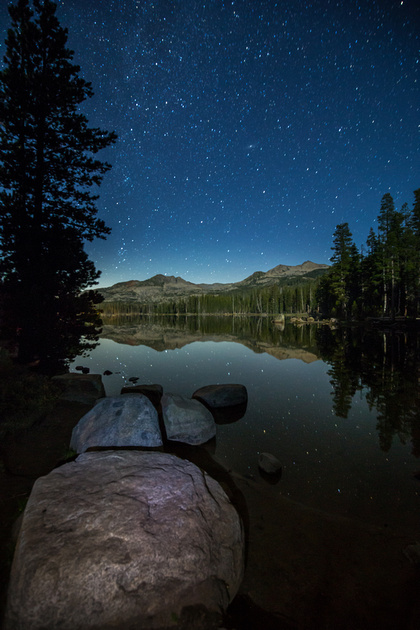
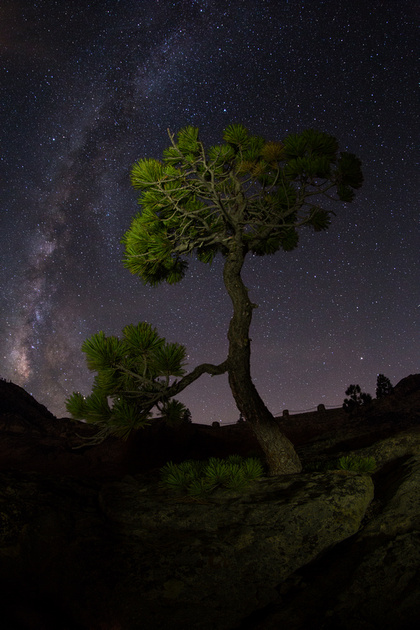
Composition
Once you find a location, you might want to locate some foreground elements to use in your shots. Lakes, rivers, trees, rocks, mountains, and manmade structures all made good subjects to incorporate into your night shots.
|
|
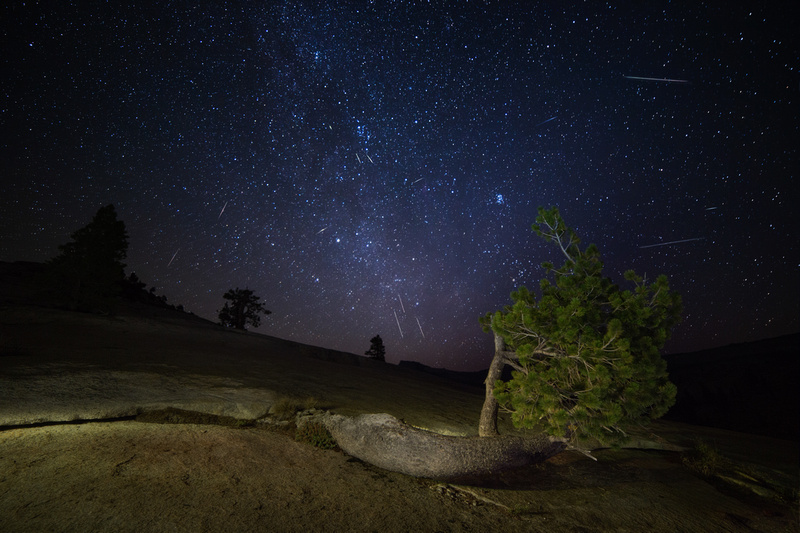
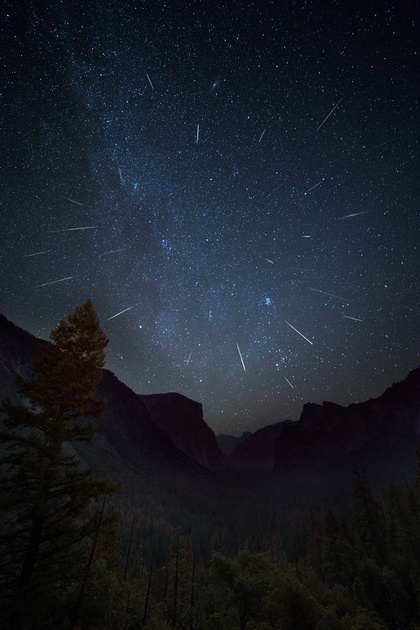
When
If you live in the northern hemisphere, the Milky Way can be seen in its entirety during the summer, but the night sky has more haze to it. It can be partially viewed during the winter months but the sky is crisp and clear. Regardless of when you choose to shoot, it can be seen, and photographed, all year long.
When you are shooting stars or the Milky Way, you want to avoid light as much as possible. That includes our friend the moon. Apps like Sky View and Photo Pills can provide you with moon phases, rise and set times, and Milky Way location based on date and time.
There is another site called Clear Dark Sky that gives the predicted cloud cover for a location for a few days in advance. This is worth checking to make sure you don’t go through a ton of prep to get skunked by some clouds.
|
|
Camera settings
|
Detail |
Recommended setting |
Why |
|
Focal length |
14 – 24 mm |
A wide angle lens has a larger frame of view that will allow you to capture more of the Milky Way and stars. You can also use longer shutter speeds while maintaining pin point stars. |
|
ISO |
1600 – 3200 |
A high ISO will help expose as much detail as possible without impacting image quality. Try starting with 1600 and move up from there. If I can get away with 1600 ISO, I’ll use it, but I often find I need to use a higher ISO to achieve good detail. |
|
Aperture |
1.4 – 2.8 |
Use the widest Aperture you have available to you to allow as much light into the camera as possible. If your widest aperture is smaller than this, you will need to compensate with a higher ISO. |
|
Shutter speed |
20-35 seconds |
Use the longest possible shutter speed to allow as much light into the camera as possible without creating star trails. If in doubt, use the “500 Rule”: 500 divided by the focal length of your lens = longest shutter speed before star trails appear. Example: 500 / 14 (14 mm lens) = 35 (35 seconds). |
|
|
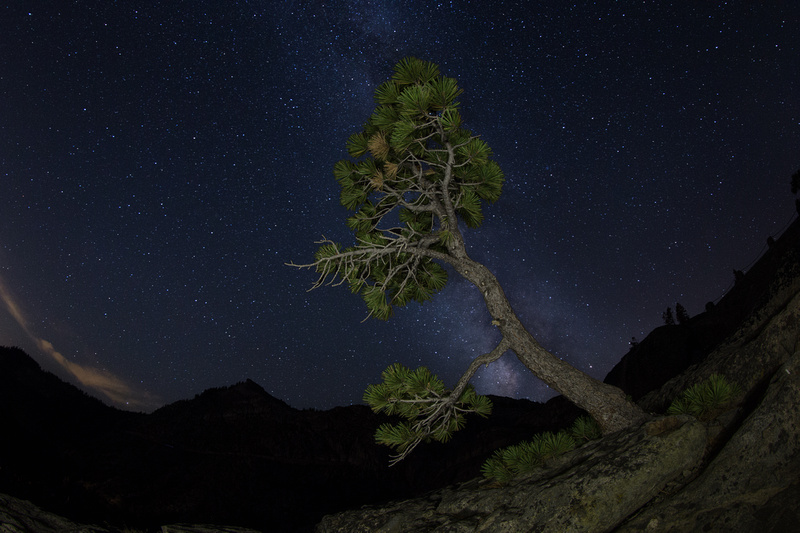
Focusing
This is a time when you do not want to rely on your auto focus. It just won’t work in the dark. The method I have found works best for me is to set the focus to manual, turn on Live View, set the magnification to 10x, then manually focus on a star until it is pinpoint sharp. Once I have done that, I’ll take a test shot then check the image in the LCD, also magnified, to confirm sharpness. If it is not sharp, I refocus and try again until I get it right. If it is sharp, I shoot away.
If I have a subject in the foreground, I will finish all my star shots, then refocus on the foreground and take those shots. Why? Because when you use a wide aperture, the range of focus will be very shallow. If your stars were sharp, your foreground will be blurry. You have to refocus to get the foreground in focus. I paint my foreground with a flashlight or headlamp, and this usually requires a few tries to get it right.
|
|
Post Processing
Once I have taken enough foreground shots to be satisfied, I’ll merge the two images in post processing using Photoshop. More on that in a future post!
|
|
If you are interested in seeing more night photographs, please visit my After Dark Gallery.
