Night photography part two: Star trails
"Ralph Waldo Emerson once asked what we would do if the stars only came out once every thousand years. No one would sleep that night, of course. The world would create new religions overnight. We would be ecstatic, delirious, made rapturous by the glory of God. Instead, the stars come out every night and we watch television." — Paul Hawkens
I stumbled across this quote and chuckled because many of us really do take the night sky for granted. When I have scanned photos from photography trips I took years ago, I think of photographic opportunities I missed out on because I only thought to shoot from dawn to dusk. Night photography has opened up a new world for me. It has forced me to think, plan, and visualize much differently and I'm so grateful for that.
|
|

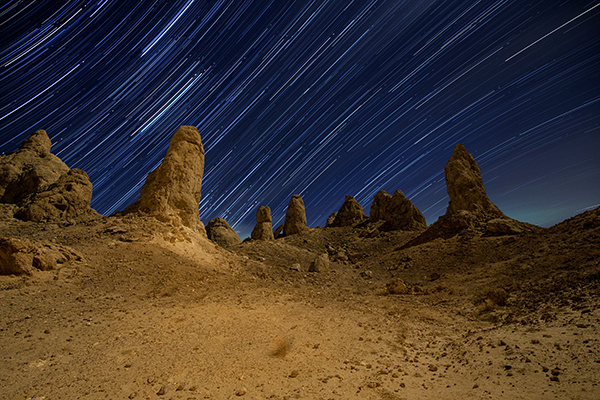
This is the second of a three-part series on night photography. In this post, I’ll cover star trails. If you haven't read my first post, check out the tips to know before you go and recommended gear.
|
|
Where
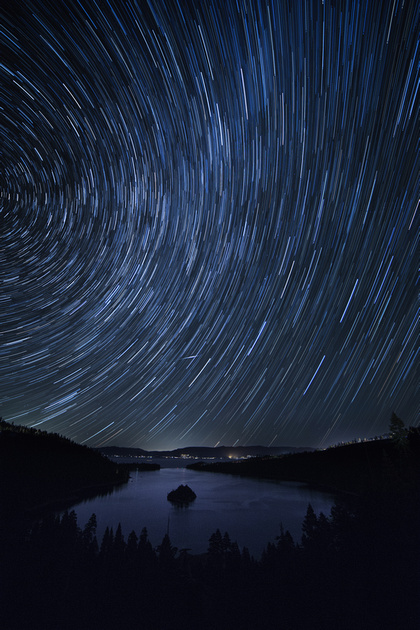
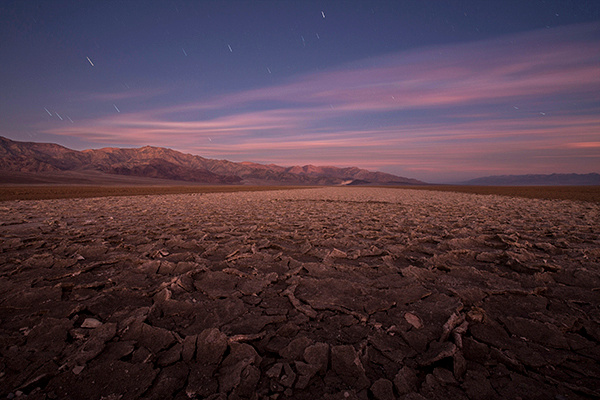
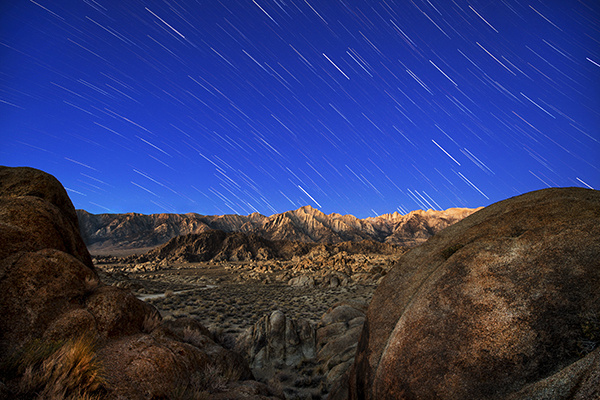
When photographing star trails, a dark sky is great, but I typically incorporate a foreground element in my shots and having a little moonlight from behind (front lighting my subject) can be very effective. A full moon can be a bit too bright, making the star trails appear fainter. If there is no moon, you can always use flashlights to illuminate foreground elements.
While star trails can be captured with moon lighting the sky, they are barely visible within areas of light pollution, so I would recommend finding a location away from city lights. If you haven't already tried these online resources, check out Dark Sky Finder and Light Pollution Maps with help in finding a good dark sky location.
|
|
|
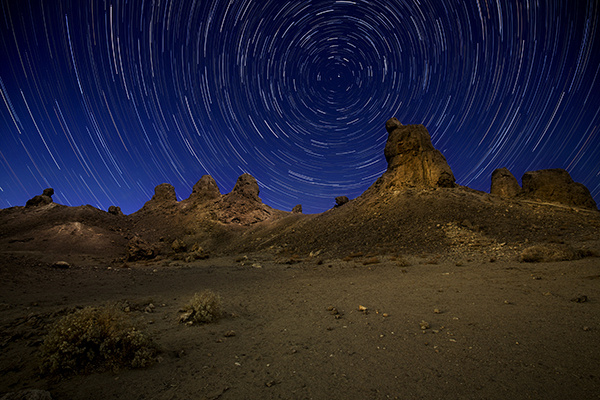
Composition
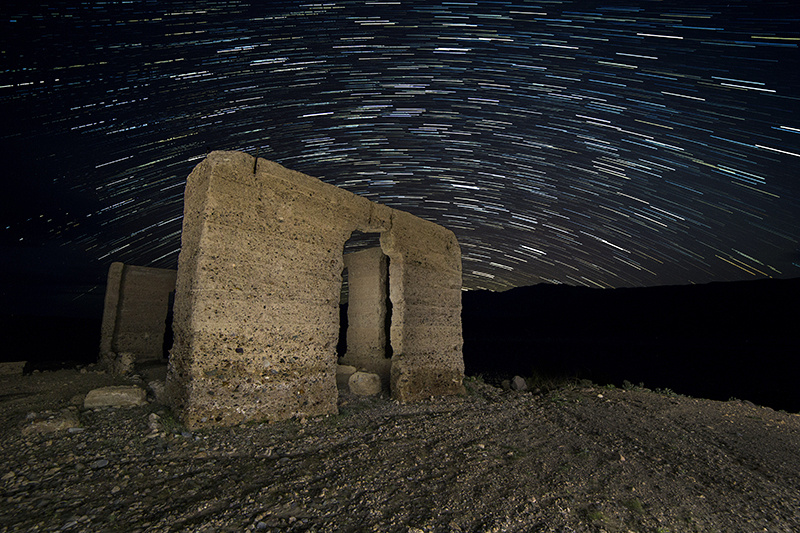
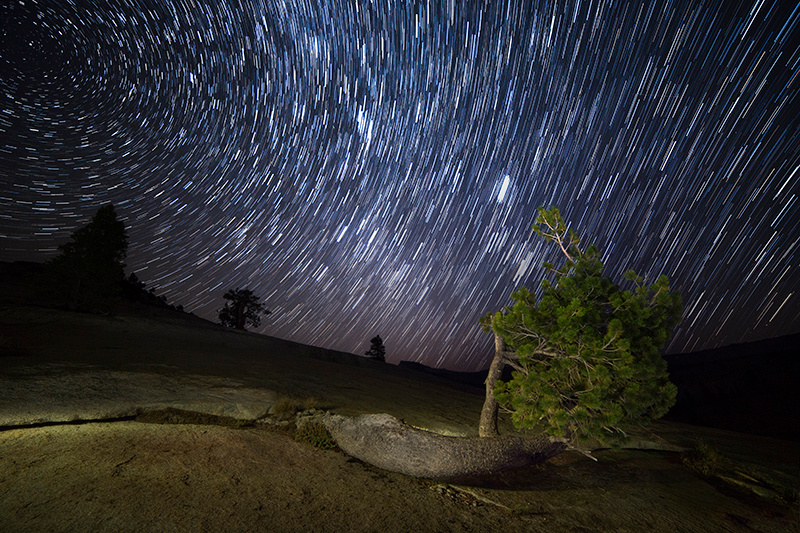
I mentioned a few ideas in my previous post on composition and the same applies here. I tend to favor nature over man-made objects but have found cars, industrial equipment, and buildings to be pretty cool. Really, the skies the limit with this type of photography (no pun intended).
|
|
When
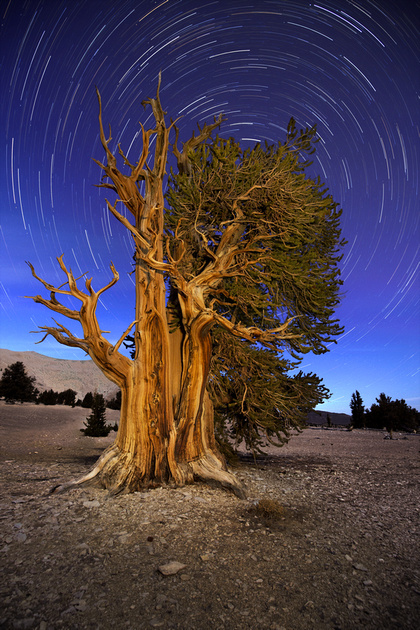
I've shot star trails year-round so I wouldn't say you need to limit yourself to a particular time of year. However, you do want to pay attention to the time of month and night. Why? The moon's phase will influence illumination. This, along with the moon's position will have an impact on your final image. Let's say, for example, you plan to photograph a unique tree in the Ancient Bristlecone Pine Forest, so you drive 3 hours to show up before dark, finalize your desired composition, set up your gear and apply your exposure setting, then notice the moon rising into your frame. If that is what you were going for, great. But if not, that sucks. Because now you have to find a new composition while it's dark, and you're cold, and you have to pee.
I don't even set out for a trip without checking the moon rise, set, illumination, and position in the sky. When I was first starting out, I didn't realize how many resources existed to help plan and I got burned by my own ignorance. Now I plan - and I almost always have a plan A, and plan B, and sometimes even a plan C.
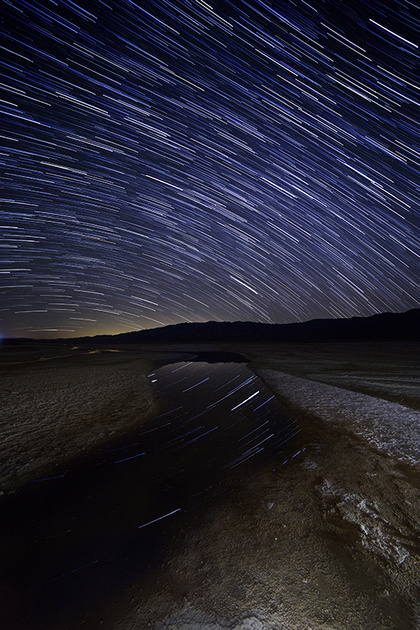
Clouds are more difficult to plan for but, if you are shooting shortly after the sun sets, you will probably know before dark if those little stinkers are going to interrupt your star trails. You can also check out the site Clear Dark Sky for predicted cloud cover in many locations.
|
|
Camera settings
There are two different methods you can us for star trails: one long exposure or many short exposures merged into one image in post process. I choose the latter and here's why: If you use a long exposure, you should turn on the in-camera noise reduction feature which takes a second image immediately after your recorded image for the same amount of time. The benefit is this reduces the noise accumulated during a long exposure. The drawback is that you have to wait for this to complete before taking another image. This feature also drains our battery more quickly. Another drawback is planes. Those darn things fly all over the place at night and usually right into your frame, over and over and over again. I have found it is much easier to remove them from shorter exposures where the stars are pinpoints than from an exposure that already has a trail built.
|
Detail |
Recommended setting |
Why |
|
Focal length |
14 – 24 mm |
A wide-angle lens has a larger frame of view that will allow you to capture more of the sky and stars. |
|
ISO |
1600 – 3200 |
A high ISO will help expose as much detail as possible without impacting image quality. Try starting with 1600 and move up from there. If I can get away with 1600 ISO, I’ll use it. |
|
Aperture |
1.4 – 2.8 |
Use the widest Aperture you have available to you to allow as much light into the camera as possible. If your widest aperture is smaller than this, you will need to compensate with a higher ISO. |
|
Shutter speed |
30 seconds |
I just set my camera to continuous at 30 seconds then lock my remote shutter. The camera will continuously shoot 30 second images until you unlock the shutter. Once you have done this, you pretty much just have to wait, enjoy the stars, and try not to think of zombies showing up. |
|
|
Focusing
I covered this in my previous post but it's worth stating again. The method I have found works best for me is to set the focus to manual, turn on Live View, set the magnification to 10x, and then manually focus on a star until it is pinpoint sharp. Once I have done that, I’ll take a test shot then check the image in the LCD, also magnified, to confirm sharpness. If it is not sharp, I refocus and try again until I get it right. If it is sharp, I lock down my shutter and wait for the magic to happen.
If I have a subject in the foreground, I will finish all my star shots, then refocus on the foreground and take those shots. Why? Because when you use a wide aperture, the range of focus will be very shallow. If your stars were sharp, your foreground will be blurry. You have to refocus to get the foreground in focus. I paint my foreground with a flashlight or headlamp, and this usually requires a few tries to get it right.
|
|
Post Processing
For the star shots, I will have taken a series of 30 second exposures over the course of 1-3 hours. This gives me a minimum of 120 images to work with. Note: one hour of shooting will generally give you a "full circle" of stars. When I get home, I go through my images to remove the annoying plane trails. If a group of images has a cloud drifting through, I may decide to keep them if they aren't too distracting, or I may eliminate them from the stacking all together (another benefit of multiple short exposures vs. one long one). I use an open source program called StarStax to build (or stack) my trails. This has produced good results so I have continued with this method. It's also fun to watch the program build the trails! If you are interested in this, just Google StarStax.
Once my star trails have been built, I edit my foreground image then merge this with my star trail image in Photoshop. That's it!
Stay tuned for my third post covering my favorite night photography activity: light painting!
|
|
If you are interested in seeing more night photographs, please visit my After Dark Gallery.
