Avoiding the photography equipment trap

Avoiding the Photography Equipment Trap
Text and photos by Heather Cline
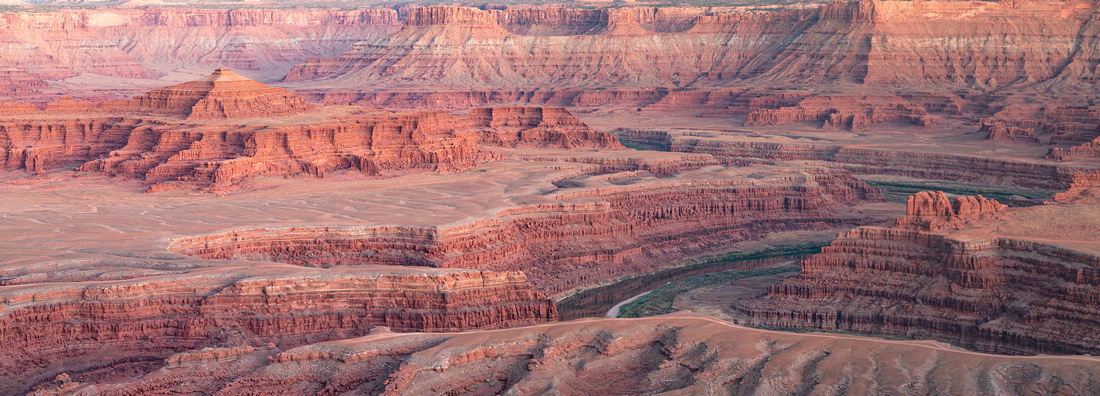 
Dead Horse Point State Park |
If you are new to nature photography, you might believe that you must have the top of the line equipment to make professional quality images, but thankfully, nothing could be further from the truth.
When I was first starting out in photography, I had a used Minolta Single Lens Reflex camera and one zoom lens. While I did outgrow this setup and eventually move to the Canon line of cameras and lenses, I have never had the best gear that Canon offers. Quite frankly, I can't afford it and I am grateful for that because it taught me that the equipment is not nearly as important as having a solid understanding of exposure, composition, lighting, among other technical skills.
It's not the camera that makes the image, it's the photographer. This article will cover some tips for making high quality images with whatever camera and lenses you own. Note: this will not cover smartphone photography. I'll save that for another day!
Exposure
Exposure is a key skill to master if you want professional looking images. It doesn't matter how good you are in other aspects, poor exposure will not be overlooked by someone purchasing or even just viewing your images. There are a few ways you can improve exposure:
- Learn the Zone System: I won't go into detail on the Zone System here, but I wrote an article on this subject that you might enjoy. In short, the Zone System helps you to understand how to meter based on the lighting situation to achieve the best possible exposure. It also puts the power in your hands to determine when to sacrifice detail in the shadows or highlights if the lighting is constrasty.
- Histogram: Leverage that little mountain on your camera's LCD! I always make sure my LCD view is set so that the histogram appears with every shot I take. I still use the Zone System methodology for metering but the histogram tells me if I got it right, or if I need to correct. What you are striving for is a "mountain". This ensures you have not blown out the highlights or lost all detail in the shadows (unless that is what you are going for!)
- Bracketing: Assuming you know the Zone System and leverage your histogram, you are still going to encounter situations where the dynamic range of the highlights and shadows are too great for your camera to capture in one shot. This is where bracketing comes in. Bracketing simply means you take one or more photos below the recommended exposure, one at the recommended exposure, and one or more photos above the recommended exposure. The idea is to give yourself multiple images at differing exposure then merge these into a High Dynamic Range image in post process. I wrote an article on High Dynamic Range too. You can check that out here.
- Graduated Neutral Density Filters: These filters help you accomplish in the field what High Dynamic Range merging allows you to do in post process. I enjoy making the best possible image in camera so I don't have to spend as much time editing on my computer. I wrote an article on this one too. Check it out here.
- Shoot in RAW: Shooting in RAW as opposed to JPEG provides more information in the photo file so if you do need to recover some shadow detail or tone down some highlights in post-process, RAW lest you do that. Guess what? I wrote an article on shooting in RAW too. For more detail, you can check that out here.
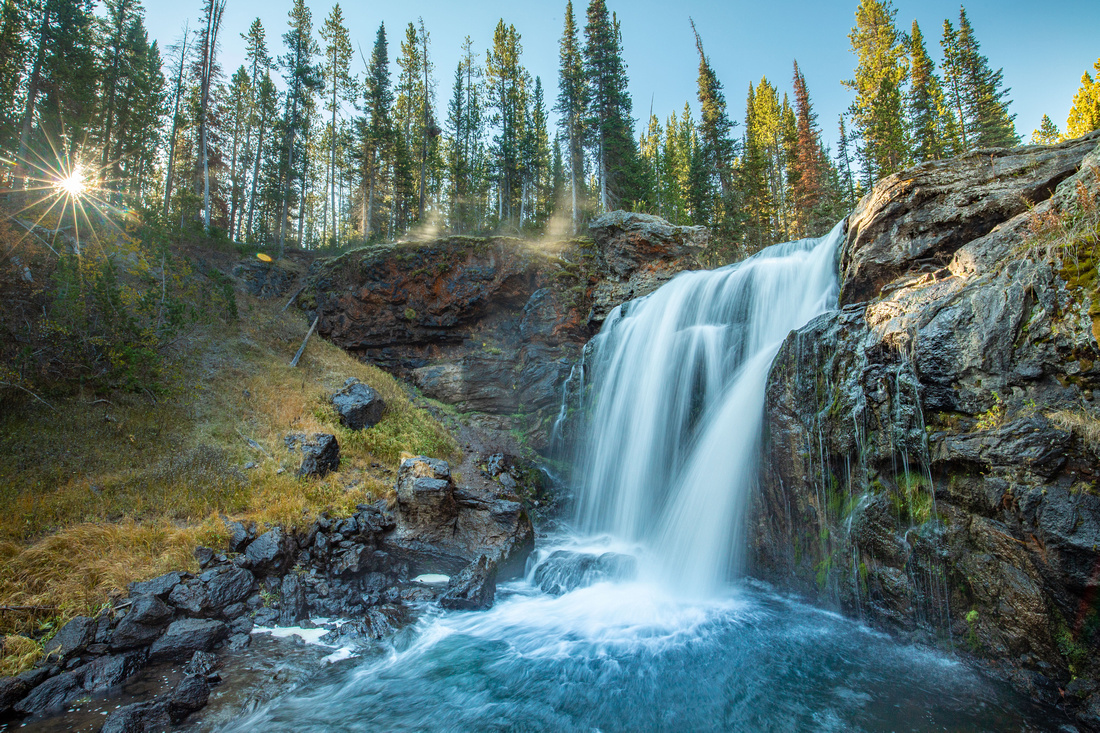
Moose Falls, Yellowstone National Park |
Composition
Modern camera equipment will do a lot for you. It will choose exposure, depth of field, shutter speed, white balance, and focus if you allow it, but one thing your camera cannot do is compose your image. Composition is the way the elements are arranged in your image and is probably the most important element of any photograph.
There are many compositional 'rules' you can use to help improve your photography and none of these require a fancy camera. Some of common compositional rules you might hear are: rule of thirds, leading lines, fill the frame, etc., but there are many you can employ to improve your photos. For an exhaustive list of compositional rules and examples, check out this article.
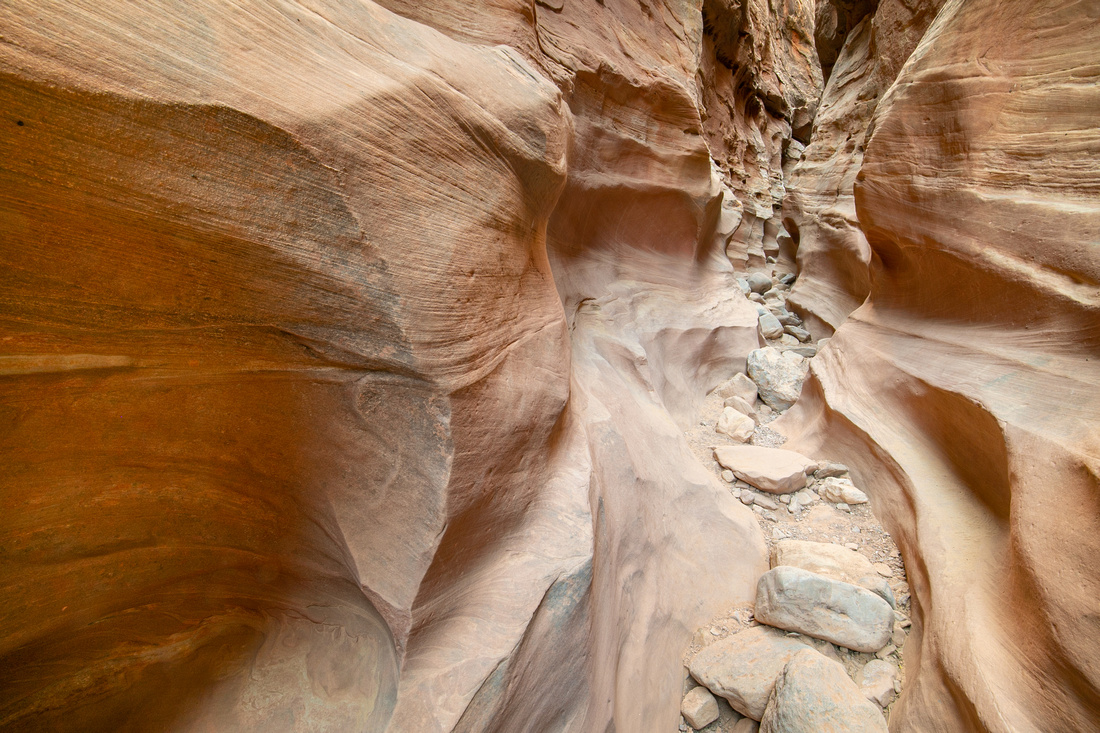
Little Wildhorse Slot Canyon |
Focus
Focus is the process of making adjustments to the lens to achieve maximum sharpness of your subject. Achieving tack sharp focus is critical if you aspire to create outstanding images and this can be accomplished with any modern camera. Here are some tips for ensuring you have achieved maximum focus and sharpness.
- Use a tripod - This is especially important if you are taking landscape images with a small aperture or are shooting in low light.
- Shoot in RAW - This creates an image with more information and sharpness, which you can fine tune in post process
- Auto focus is your friend - Auto focus can be more reliable than our own eyes sometimes, and we don't always have the luxury of time when we are shooting wildlife, so manual focus is not always the best option.
- Live View - If you do have time to slow down and focus manually, one way to ensure sharp focus is to use Live View and magnify up to 10x, then fine tune the focus. I use this technique for macro photography and it works very well.
- Use mirror lockup - this help reduce any vibrations that occur as the mirror is opening and shutting during an exposure, If you are taking photos using a tripod, this is just one more method to achieve maximum sharpness.
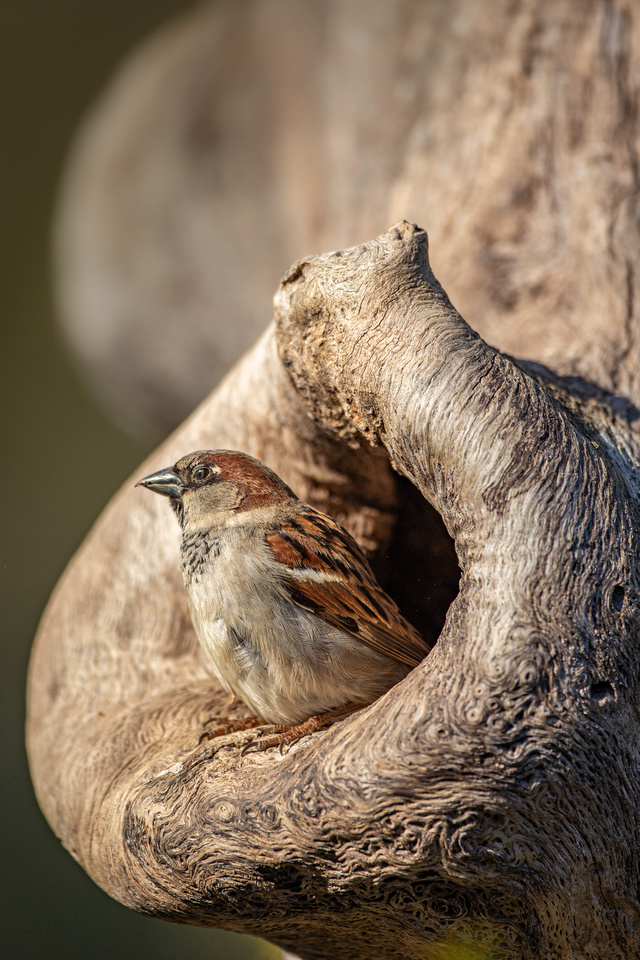
House Sparrow |
Lighting
It doesn't matter how much you spend on a camera, it will never create light. You, as the photographer, must recognize the best lighting conditions for the images you want to create.
There are many different types of lighting and each can create a different feeling and effect in your images. For a comprehensive overview, check out this article.
In short, when you are thinking about the light, there are two main areas to consider: the quality and direction. Quality is all about the softness or hardness of the light and how that impacts the subject and scene. Soft light is good to even out highlights and shadows. You will typically achieve the most saturated colors in this type of light as well. Hard light creates a lot of contrast which can be great for creating dramatic black and white images. Direction of the light is the direction of light as it hits your subject. Side light often creates attractive conditions and is why shooting at the edges of the day are so popular among nature photographers.

Mammoth Hot Springs, Yellowstone National Park |
It doesn't matter if you own a high end 50 megapixel mirrorless camera or an entry level digital SLR, you have the ability to create stunning images just by enhancing your technical skills. I hope this article has provided some valuable information and tips for creating your best images regardless of the gear you own.